There is something inherently comforting about the scent of wildflower honey wafting through a warm kitchen. These honey cupcakes are the ultimate tribute to that liquid gold, offering a moist, fine-crumbed sponge that is as visually stunning as it is delicious. If you have ever scrolled through social media and wondered how to achieve that perfect, glossy honey cascade over stiff buttercream ridges, you are in the right place.
In this guide, we are breaking down the science of honey-based baking to ensure your cupcakes come out with a perfect golden-brown hue every single time. Inspired by the rustic elegance of a handheld smartphone photo, these treats prove that you do not need a professional studio to create a masterpiece. We are focusing on high-quality ingredients and precise techniques to bridge the gap between amateur baking and professional pastry arts.
Whether you are preparing a special treat for a garden party or looking for the perfect follow-up to a meal of hot honey crispy chicken caesar salad, these cupcakes deliver a sophisticated flavor profile. The addition of fresh thyme and organic honeycomb bits elevates the humble cupcake into a gourmet experience that captures the essence of late summer afternoons.
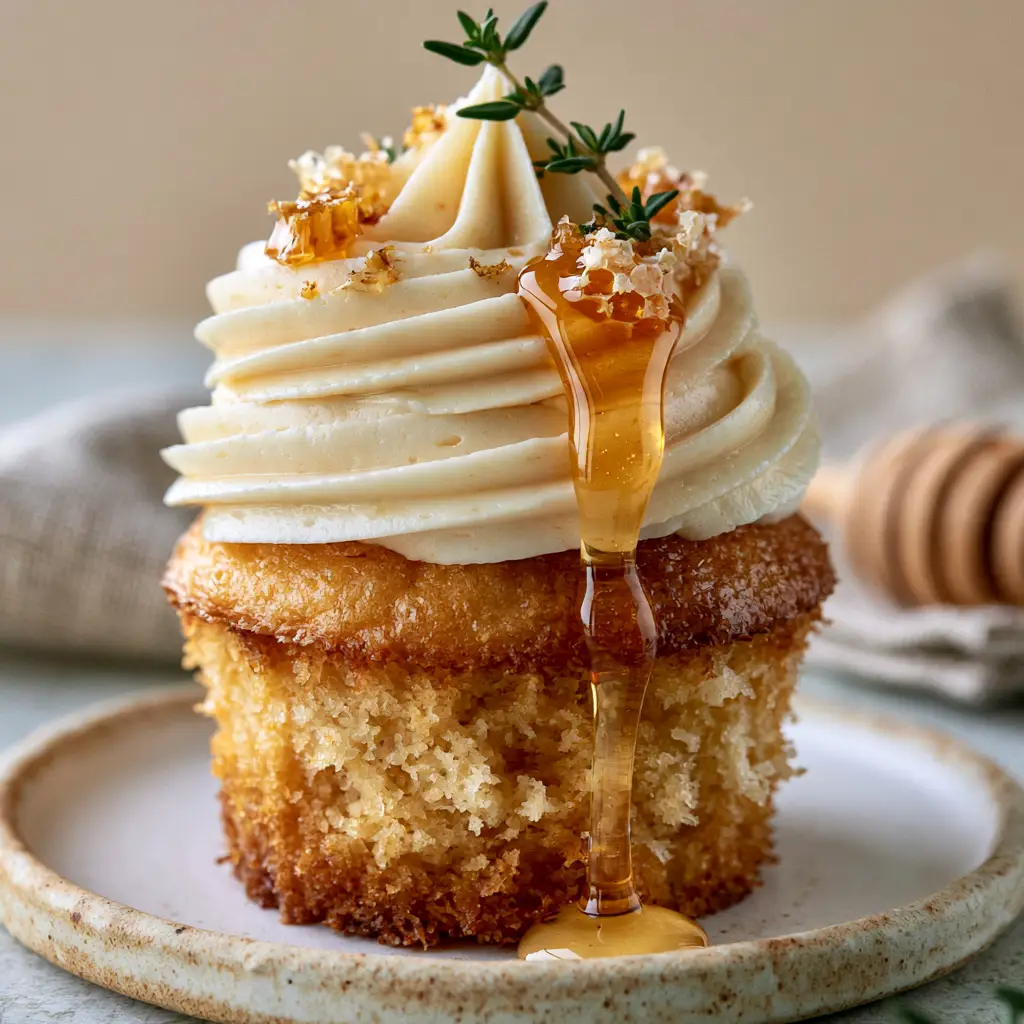
Why These Golden Honey Treats Are the Ultimate Crowd-Pleaser
- Moist, Fine-Crumb Texture: The hygroscopic nature of honey ensures a sponge that stays tender and moist for days, unlike standard sugar-heavy cakes.
- Architectural Buttercream: A pale cream honey frosting designed to hold crisp, piped ridges that won’t wilt under the weight of a thick honey drizzle.
- Sophisticated Flavor Balancing: The earthy, floral notes of the honey are balanced by a touch of sea salt and the aromatic brightness of fresh thyme sprigs.
- Visual Masterpiece: Every element, from the golden-brown base to the translucent cascade of honey, is designed to look like a high-end boutique bakery creation.
Essential Elements for the Ultimate Honey Cupcakes
To achieve the specific “moist and fluffy” result seen in our visual blueprint, we must select ingredients that prioritize both structure and flavor. Honey behaves differently than granulated sugar, acting as a liquid and an acid, which influences how our leavening agents react in the oven.
High-Quality Honey: Use a floral honey like Clover or Wildflower for the best results. The honey provides the primary flavor profile and creates that signature golden-brown Maillard reaction on the cupcake exterior.
Unsalted European-Style Butter: 1 cup (227g) of softened butter is the foundation of our crumb. Higher fat content in European butter leads to a richer mouthfeel and a more stable buttercream.
Cake Flour: 2 ½ cups (300g) of cake flour provides the lower protein content necessary for a “fine crumb.” This ensures the cupcake is soft rather than bready or tough.
Full-Fat Sour Cream: ½ cup (120ml) of sour cream adds necessary acidity and fat. This ingredient is the secret to a “moist” cupcake that holds its shape under a heavy swirl of frosting.
Organic Honeycomb: Small chunks of real honeycomb provide a textural contrast. These waxy, sweet bits melt slightly into the buttercream, creating pockets of intense flavor.
Fresh Thyme: A single sprig of thyme isn’t just a garnish; its aromatic oils complement the floral notes of the honey perfectly. Ensure your thyme is vibrant green and supple.
Professional Tools for Bakery-Quality Results
Achieving the visual precision of a “stiff swirl with crisp ridges” requires the right equipment. While a simple spoon can get the job done, these tools ensure your honey cupcakes look exactly like our blueprint.
High-Speed Stand Mixer: Essential for aerating the butter and honey. This creates the “fluffy” texture and the “pale cream” color of the frosting through mechanical aeration.
Large Open Star Piping Tip: To get those distinct, crisp ridges in the frosting, use a tip like the Wilton 1M or 2D. This allows the honey drizzle to catch in the grooves beautifully.
Digital Kitchen Scale: Baking is a science, and measuring by weight (grams) is the only way to ensure consistent results every time you bake.
Heavy-Bottomed Stainless Steel Pot: If you are making a larger batch of honey syrup or melting honeycomb, using a quality stainless steel pot ensures even heat distribution without scorching.
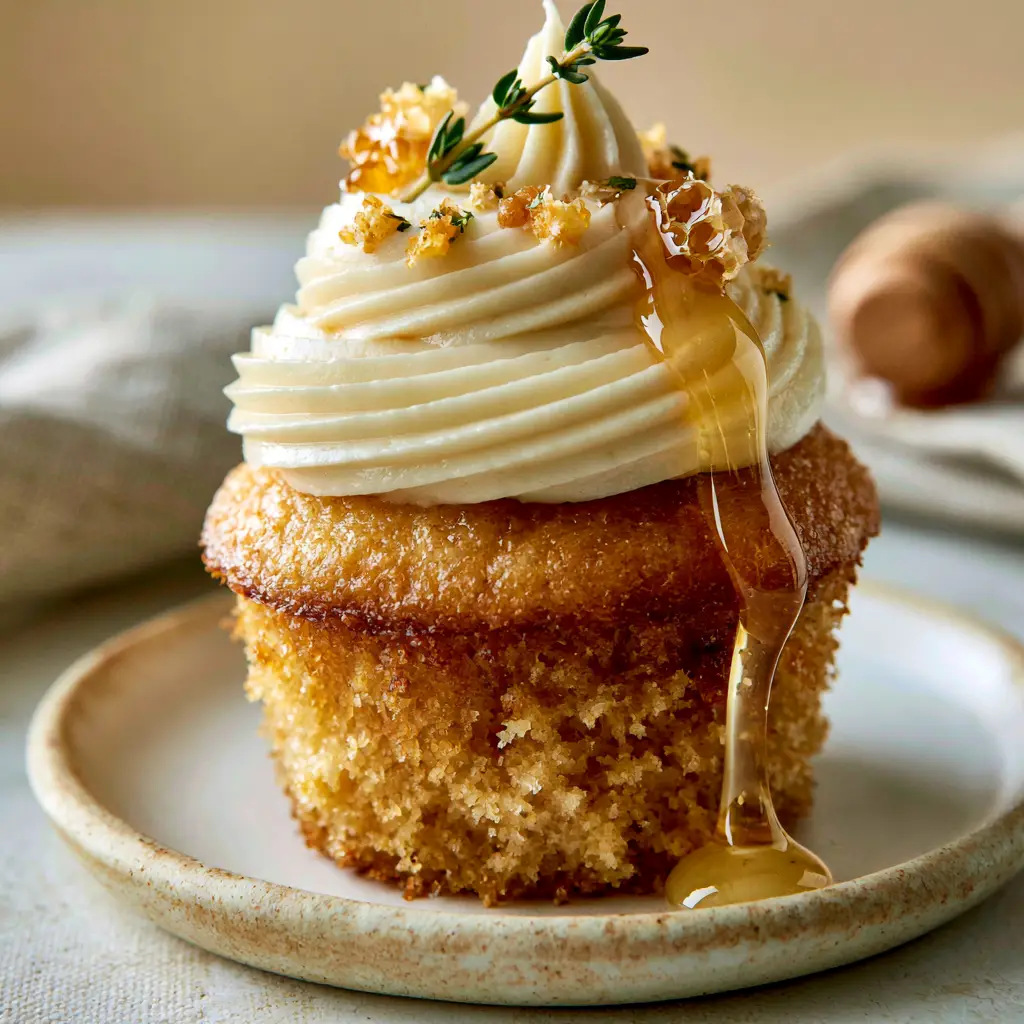
The Science of Crafting the Perfect Honey Sponge
Step 1: The Creaming Method for Maximum Loft
Preheat your oven to 350°F (175°C) and line a cupcake tin. In your stand mixer, beat 1 cup (227g) of room temperature butter with ¾ cup (150g) of granulated sugar and ¼ cup (85g) of honey. Beat on medium-high for at least 5 minutes until the mixture is pale and voluminous; this traps the air bubbles that make the cupcake “fluffy.”
Step 2: Incorporating the Liquid Gold
Add 3 large eggs one at a time, ensuring each is fully incorporated before adding the next. This prevents the emulsion from breaking. Whisk together your dry ingredients: 2 ½ cups (300g) cake flour, 1 ½ tsp (6g) baking powder, and ½ tsp (3g) salt. Slowly alternate adding the dry ingredients and ½ cup (120ml) of sour cream to the mixer on low speed.
Step 3: Achieving the Golden-Brown Bake
Fill your cupcake liners about two-thirds full to allow for a slight dome. Bake for 18-22 minutes. You are looking for a “golden-brown” surface and a springy touch. Let them cool completely on a wire rack; frosting a warm cupcake will cause your “stiff ridges” to melt instantly.
Engineering the Architectural Honey Buttercream
Step 4: Whipping the Frosting to Pale Perfection
For the frosting, beat 1 ½ cups (340g) of slightly cool butter until smooth. Add 4 cups (500g) of sifted powdered sugar, ½ cup (170g) of honey, and a pinch of salt. Beat on low to incorporate, then crank it up to high for 3-4 minutes until it reaches a “pale cream-colored” hue and holds a stiff peak.
Step 5: The Art of the Piped Swirl
Transfer the buttercream to a piping bag fitted with your star tip. Starting from the outside edge of the cupcake, pipe a continuous spiral upward, finishing in the center. Apply steady pressure to ensure the ridges remain “crisp” and defined, creating the perfect channel for the honey cascade.
Step 6: The Signature Honey Drizzle and Garnish
Warm 1/4 cup (85g) of honey slightly in the microwave for 5-10 seconds until it is “translucent and glossy” but not hot. Using a spoon or the wooden honey dipper seen in our background, let the honey cascade slowly down the side of the frosting. Top with a small piece of organic honeycomb and a single fresh thyme sprig at the peak.
Expert Tips for Success
- Temperature Control: Ensure your honey is at room temperature before adding it to the batter. Cold honey is too viscous and won’t incorporate evenly, leading to tunnels in your cake.
- Sift Your Flour: To achieve that “fine crumb” mentioned in the prompt, sifting your cake flour is non-negotiable. It removes clumps and aerates the dry ingredients.
- The Drizzle Timing: Only add the honey drizzle right before serving. Honey is a humectant and will eventually begin to dissolve the sugar in the buttercream if left for too long.
- Avoid Overmixing: Once you add the flour, mix only until just combined. Overmixing develops gluten, which will turn your “fluffy” cupcake into a tough one.
Creative Pairings and Serving Suggestions
These honey cupcakes are versatile enough for a variety of occasions. For a sophisticated dessert spread, serve them alongside our passion fruit martini cupcakes to provide a beautiful contrast between floral honey and tart tropical flavors.
If you are hosting a festive celebration or a traditional German school enrollment party, these make a wonderful addition to an einschulungskuchen themed dessert table. The natural golden tones pair beautifully with rustic decor and neutral linens.
For a lighter pairing, consider serving these cupcakes after a fresh honey-lime chicken avocado salad bowl. The honey in the dressing echoes the honey in the dessert, creating a cohesive culinary theme throughout the meal.
Common Questions About Honey Cupcakes
Yes! Clover honey is mild and classic, while Buckwheat honey will give a much darker color and robust, molasses-like flavor. Wildflower honey is the best middle-ground for a floral aroma.
For the specific fine-textured crumb in the photo, cake flour is highly recommended. All-purpose flour can be used but will result in a slightly heartier, denser cupcake.
Make sure the buttercream is completely chilled and the honey is only slightly warmed. If the honey is too hot, it will melt the frosting and slide right off.
Store them in an airtight container at room temperature for up to 2 days. For longer storage, refrigerate them, but let them come to room temperature before serving for the best texture.
This usually happens if the leavening agent is expired or if the oven door was opened too early. Honey cakes are also sensitive to over-creaming; too much air can cause a collapse.
The Ultimate Honey Cupcake Recipe Card
Honey Cupcakes with Golden Honeycomb and Whipped Honey Buttercream
Ingredients
Equipment
Method
- Beat the softened butter, sugar, and honey in a stand mixer for 5 minutes until pale cream-colored and fluffy.
- Add eggs one at a time, followed by the sour cream, mixing until just combined.
- Gently fold in the sifted cake flour, baking powder, and salt on low speed until no flour streaks remain.
- Divide batter into liners and bake at 350°F (175°C) for 18-22 minutes until golden brown and a tester comes out clean.
- Transfer cupcakes to a wire rack to cool completely before frosting.
- Whip cool butter, powdered sugar, and honey for 4 minutes on high until stiff ridges form.
- Pipe a high swirl on each cupcake using a star tip, ensuring defined ridges.
- Warm the drizzle honey slightly and cascade it over the frosting. Top with honeycomb and a thyme sprig.
Notes
Warm the honey drizzle for only 5-10 seconds to keep it thick enough to cascade slowly without running off.
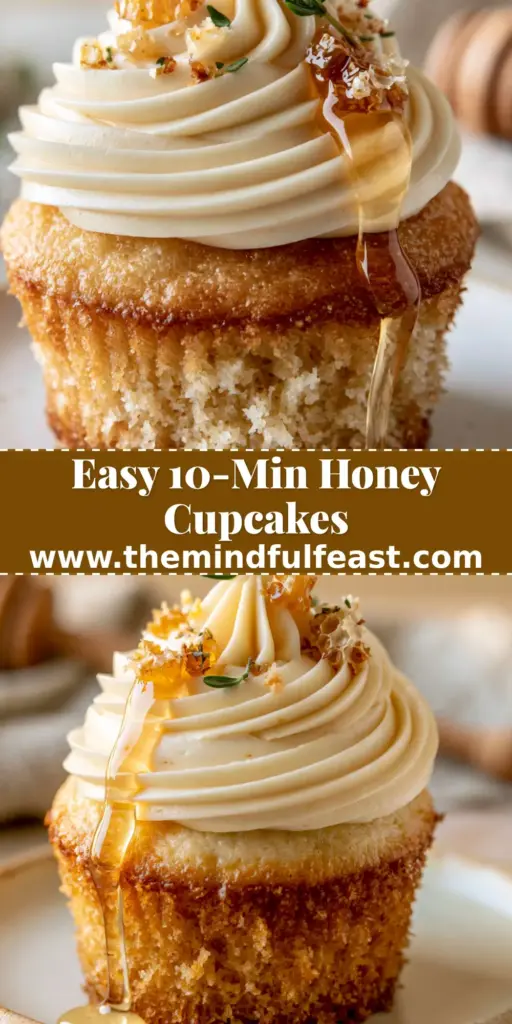
Final Thoughts on These Golden Delights
Mastering the balance of honey in baking is a skill every home cook should have in their repertoire. These honey cupcakes offer a perfect blend of rustic charm and professional precision. From the moist sponge to the aromatic thyme garnish, every bite is a testament to the beauty of natural ingredients.
If you enjoyed this recipe, please leave a comment below and share your results! Don’t forget to follow us on Pinterest for more culinary inspiration and visual recipe guides. Happy baking!


