The shimmering surface of a high-end stainless steel pot or skillet is often the hallmark of a professional kitchen, yet for many home cooks, it remains an intimidating tool. We have all been there: a beautiful piece of protein or a fresh egg ends up fused to the metal, resulting in a frustrating cleanup session. However, once you unlock the metallurgical secrets of your cookware, that polished surface becomes the ultimate non-stick canvas.
In this guide, we are diving deep into the science of heat and metal to produce a gourmet result that looks like it was plucked from a high-end food magazine. We are focusing on the elusive “lace egg”—a single sunny-side-up egg with a vibrant orange yolk and delicate, crispy golden edges that slide effortlessly across the pan. By mastering the stainless steel pot temperature, you can achieve textures that are simply impossible in a standard non-stick pan.
Whether you are preparing a quick breakfast or looking for 5-minute snacks, understanding how your cookware reacts to heat is the foundation of culinary success. Let’s explore how to transform a simple egg into a crispy-edged masterpiece using the power of tri-ply construction and precise thermal control.
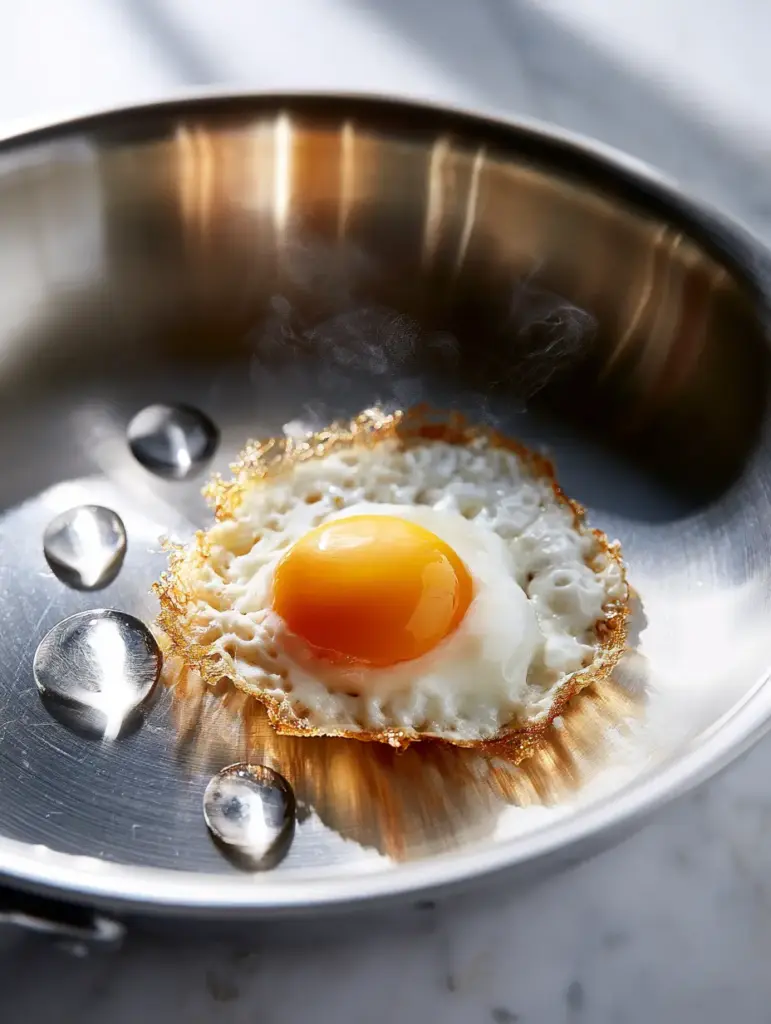
Why Your High-End Stainless Steel Skillet is the Secret to Gourmet Textures
- Unrivaled Searing Power: The multi-layered construction of a quality stainless steel pot allows for even heat distribution, creating the Maillard reaction needed for those “shattering” crispy edges.
- The Leidenfrost Effect: By reaching the perfect temperature, a physical barrier of steam forms, allowing delicate ingredients like eggs to glide like liquid mercury.
- Chemical-Free Cooking: Unlike coated pans, stainless steel provides a clean, non-reactive surface that won’t degrade over time, ensuring your vibrant orange yolks remain the star of the show.
- Sensory Precision: You will learn to listen for the specific sizzle and watch for the micro-steam wisps that signal the exact moment of culinary perfection.
The Anatomy of a Perfect Lace Egg: Essential Ingredients
1 Large Pasture-Raised Egg: Look for eggs with a deep, vibrant orange yolk; these have a higher fat content and structural integrity, allowing the yolk to bulge beautifully without breaking. The freshness of the egg is paramount for achieving that clean, circular shape in the center of your stainless steel pot.
1 tbsp (15ml) High-Smoke Point Oil or Ghee: To achieve those crispy golden-brown “lace” edges, you need a fat that can withstand high heat without smoking. Ghee or avocado oil works best to fry the proteins in the egg white until they turn into a delicate, brittle lattice.
2 tbsp (30ml) Filtered Water: This isn’t for the egg itself, but for the “Mercury Test.” We use spherical water droplets to gauge the surface tension and heat of the stainless steel pot before the fat ever touches the metal.
A Pinch of Flaky Sea Salt and Fresh Cracked Pepper: Seasoning should be minimal to let the natural richness of the yolk shine. The salt also helps to draw out a tiny bit of moisture from the edges, aiding in the crisping process.
Professional Tools for the Home Chef
To replicate the visual result of our blueprint, you need a polished tri-ply stainless steel pot or skillet. Tri-ply means a layer of aluminum is sandwiched between two layers of stainless steel, providing the conductivity of aluminum with the durability of steel. You will also need a thin metal spatula (though if done correctly, the egg will slide right out) and a small glass bowl to crack your egg into first.
Using the right equipment is just as important as the technique itself. If you are used to different cooking methods, like using a pancake and waffle guide, you’ll find that stainless steel requires a slightly more patient approach to preheating. The goal is a surface so smooth and hot that the egg creates its own air cushion upon contact.
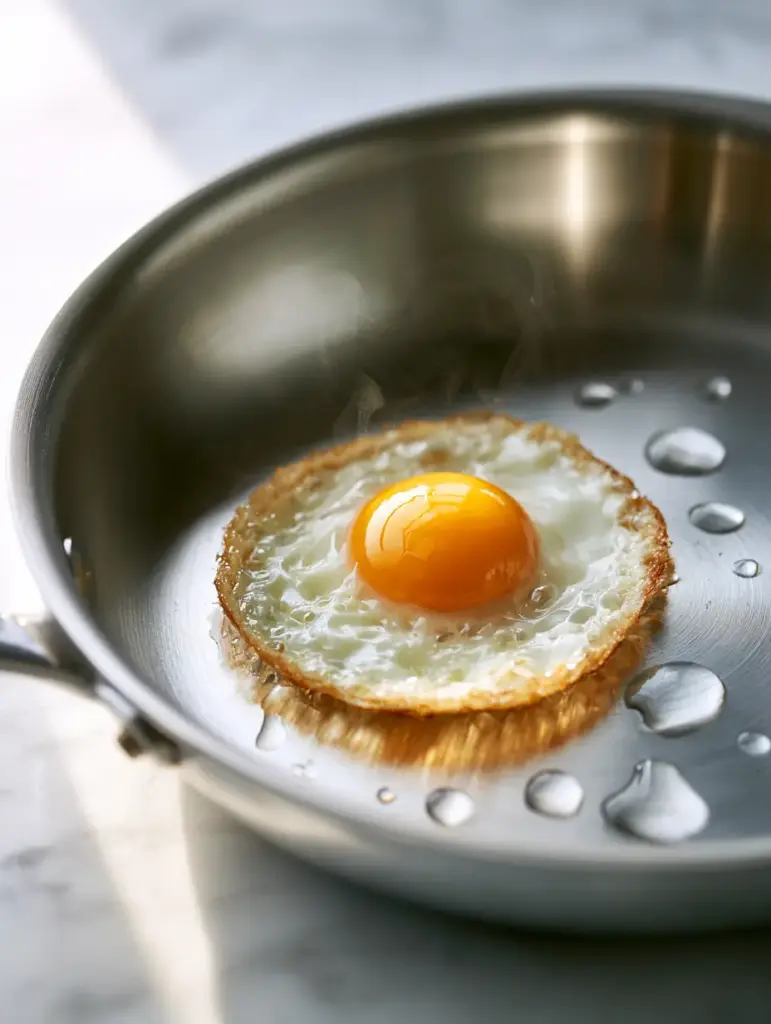
Mastering the Leidenfrost Effect: A Step-by-Step Guide
Step 1: The Cold Start and Gradual Preheat
Place your polished stainless steel pot on a medium burner. Do not rush this process by using high heat immediately; we want the metal molecules to expand evenly. Allow the pan to heat for approximately 2-3 minutes until you can feel a steady radiance when holding your hand 3 inches (7.5cm) above the surface.
Step 2: The Mercury Droplet Test
This is the most critical stage for ensuring a non-stick experience. Flick a few drops of water onto the dry stainless steel pot. If they sizzle and evaporate, the pan is too cold. You are looking for the droplets to stay whole and dance across the surface like liquid mercury—this is the Leidenfrost effect in action.
Step 3: Introducing the Fat
Once the water droplets dance, wipe the pan dry and immediately add your 1 tbsp (15ml) of oil. Swirl it to coat the bottom of the stainless steel pot. You should see faint wisps of micro-steam and a shimmering “legged” texture in the oil, indicating it is ready for the egg.
Step 4: The Controlled Drop
Carefully slide the egg from your glass bowl into the center of the pan. You should hear an immediate, aggressive sizzle. This sound is the water in the egg white instantly turning to steam, which creates the “lace” structure. The edges will immediately begin to turn golden-brown and frilly.
Step 5: Basting for the Perfect Yolk
While the edges crisp up in the stainless steel pot, the yolk should remain vibrant and runny. If you prefer a slightly more set white, you can tilt the pan and spoon a bit of the hot oil over the whites near the yolk, being careful not to cloud the orange center.
Culinary Troubleshooting for Flawless Fried Eggs
- If the egg sticks: It usually means the stainless steel pot was not hot enough to trigger the Leidenfrost effect, or you tried to move the egg before the bottom had fully “released” through searing.
- If the oil smokes: Your heat is too high. Remove the pan from the burner immediately, let it cool, and wipe it out before starting over to avoid a bitter, burnt taste.
- To achieve the “Lace”: Ensure you are using enough fat. The lace is essentially a shallow-fry of the egg white’s outer perimeter.
- Visual Cue: Watch for the “bulging” yolk. As the whites set and the bottom crisps, the yolk should sit high and proud, glowing like a morning sun against the silver background.
Preserving Your Polished Tri-Ply Cookware
After your egg has effortlessly slid out of the stainless steel pot, maintenance is key to keeping that mirror finish. Never plunge a hot pan into cold water, as this can cause the metal to warp. Allow it to cool naturally on the countertop.
For stubborn spots, a simple paste of baking soda and water will restore the shimmer without scratching the surface. Keeping the interior of your stainless steel pot polished is not just about aesthetics; a smooth surface has fewer microscopic “pores” for food to grip onto, making your next cooking session even easier.
Gourmet Pairings for Your Morning Masterpiece
A perfectly fried lace egg deserves a supporting cast that complements its rich, crispy profile. For a balanced breakfast, serve your egg atop a bed of hearts of palm salad for a bright, acidic contrast to the fatty yolk. Alternatively, the crispy edges of the egg pair beautifully with the soft, comforting textures of creamy garlic baby potatoes.
If you are looking for something more substantial, place the egg inside a steak sandwich, allowing the orange yolk to act as a natural sauce. The versatility of the stainless steel pot allows you to transition from frying eggs to searing meats or even preparing a baked zucchini and spinach casserole with ease.
Frequently Asked Questions
Butter has a lower smoke point and contains water and milk solids which can burn at the temperatures required for a lace egg. It is better to use ghee (clarified butter) or a high-heat oil like avocado oil.
The lace is created by the rapid evaporation of moisture in the egg white when it hits hot fat. Ensure your oil is shimmering and you hear a loud sizzle immediately upon dropping the egg.
For a standard soft egg, non-stick is easier. However, for a ‘lace egg’ with crispy, browned edges, stainless steel is superior because it allows for higher heat and the Maillard reaction that creates texture.
The Mercury Test involves flicking water onto a heated pan. If the droplets form perfect spheres and dance across the surface instead of evaporating, the pan is at the optimal temperature for non-stick cooking.
Food sticks because of protein bonding with the microscopic pores in the metal. To prevent this, you must preheat the pan until it reaches the Leidenfrost temperature, where a layer of steam creates a non-stick barrier.
Recipe: The Ultimate Stainless Steel Lace Egg
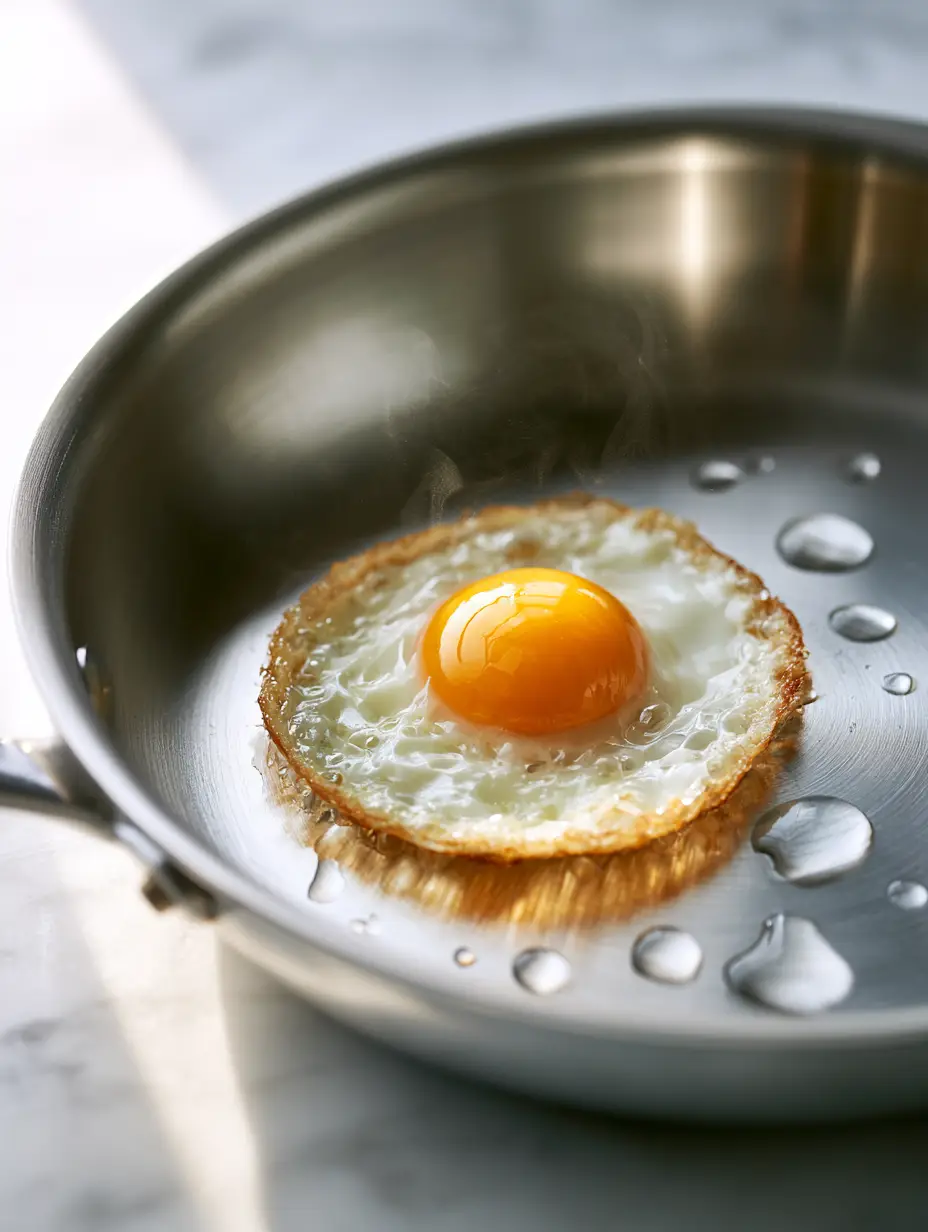
Stainless Steel Pot Cooking Secrets: Mastering the Perfect Crispy Lace Sunny-Side-Up Egg
Ingredients
Equipment
Method
- Place your stainless steel pot on medium heat for 2-3 minutes until the surface radiates heat.
- Flick water droplets into the pan. When they roll around like liquid mercury without evaporating, the temperature is perfect.
- Add the oil or ghee. It should shimmer and produce tiny wisps of micro-steam almost immediately.
- Carefully slide the egg into the oil. Listen for the aggressive sizzle that creates the crispy lace edges.
- Cook for 90-120 seconds until the edges are golden-brown and the white is set, but the yolk remains vibrant and bulging.
Notes
Use a high-quality tri-ply pan to avoid hot spots that lead to sticking.
Closing & Call to Action
Mastering the stainless steel pot is a rite of passage for any serious home cook. It transforms the kitchen from a place of guesswork into a laboratory of delicious precision. Once you see that vibrant orange yolk surrounded by a golden, lacy halo, you will never go back to “easy-clean” pans again. The flavor and texture of a lace egg cooked in high-quality steel are simply unparalleled.
Did you manage to get your water droplets to dance like mercury? We want to hear about your successes! Leave a comment below with your tips for the perfect fry, and don’t forget to follow us on Pinterest for more culinary forensics and kitchen science. Share your beautiful breakfast photos with the hashtag #TheMindfulFeast!


