Learning How to Make Cake Pops is a rite of passage for every home baker, but achieving that professional, bakery-style finish requires a blend of culinary science and artistic patience. These aren’t just mere cake balls; they are bite-sized masterpieces featuring a moist vanilla center and a shimmering, pastel pink shell.
The secret to a truly stunning cake pop lies in the contrast between the velvety interior and the ultra-smooth, glossy exterior. By following this guide, you will master the art of the perfect dip, ensuring your treats look exactly like the high-end boutique versions that grace professional dessert tables.
Whether you are preparing for a bridal shower or a weekend project, this recipe focuses on the foundational techniques that prevent cracking and falling sticks. We will transform simple vanilla cake into elegant spheres adorned with delicate sugar pearls and a touch of gold brilliance.
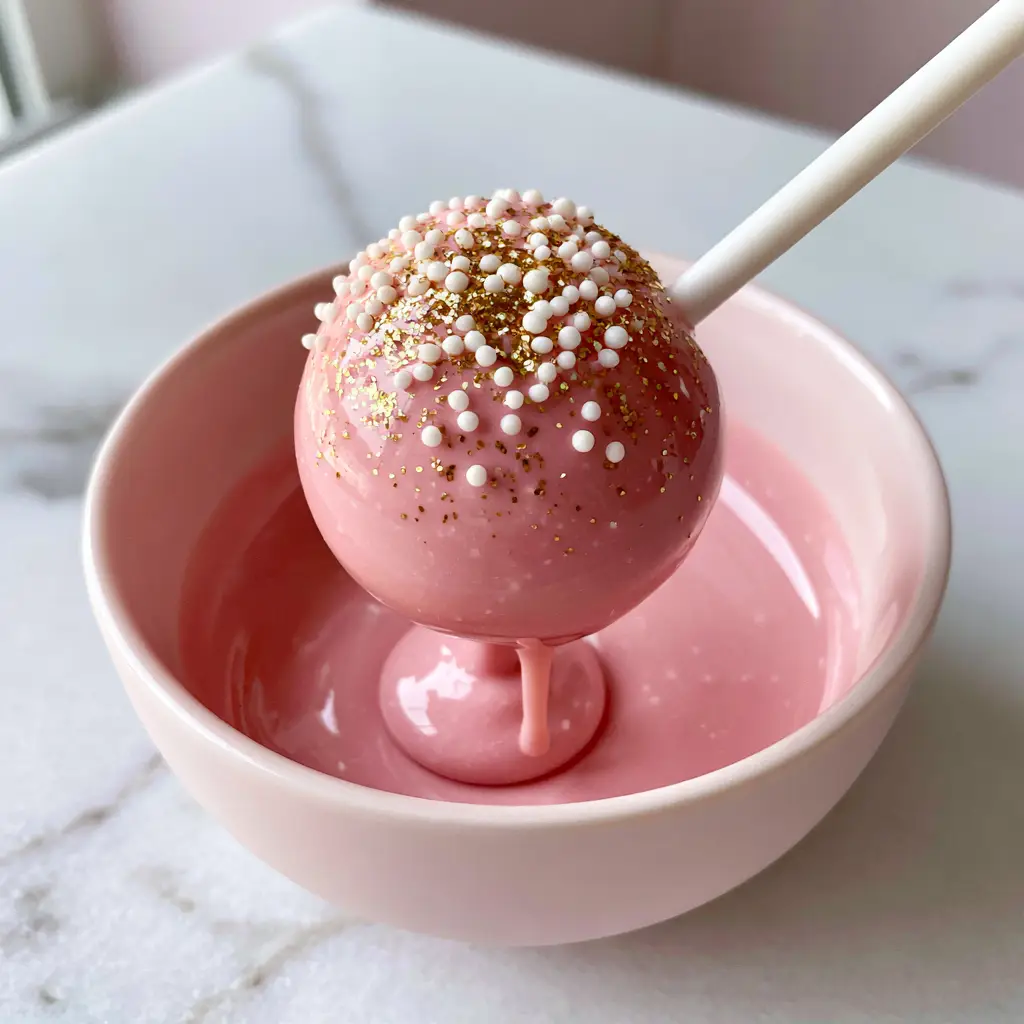
Why This Elegant Pink Cake Pop Recipe Works
- Ultra-Glossy Texture: We use specific thinning techniques to ensure the candy coating mimics the look of polished porcelain.
- Structural Integrity: Our method ensures the cake ball stays firmly on the stick during the dipping process.
- Sophisticated Aesthetic: The combination of pastel pink, white sugar pearls, and gold glitter creates a high-end visual appeal.
- Perfect Moisture Balance: Using a precise cake-to-frosting ratio prevents the pops from being too mushy or too crumbly.
The Anatomy of a Perfect Vanilla Cake Pop
Prepared Vanilla Cake: You will need approximately 1 standard 9×13 inch (23x33cm) cake. This provides the structural bulk; a fine, tight crumb works best for rolling into spheres.
Vanilla Buttercream Frosting: Use 1/2 cup (120g) of frosting to act as the “glue.” It binds the crumbs together while keeping the center moist and decadent.
Pastel Pink Candy Melts: You will need 16 oz (450g) of high-quality pink candy wafers. These melt into the thick, luscious coating seen in our visual guide.
Paramount Crystals or Coconut Oil: Essential foundational ingredients! Adding 1 tbsp (15g) helps achieve that signature glossy, drip-friendly consistency.
White Lollipop Sticks: Standard 6-inch (15cm) sticks provide the necessary leverage for dipping and serving.
White Sugar Pearls and Edible Gold Glitter: These are your crowning jewels. They add texture and a luxurious shimmer to the top hemisphere of the pop.
Essential Tools for Success
To achieve the result in our smartphone-captured visual, you will need a deep, narrow microwave-safe bowl. This depth is critical for a single-motion dip that covers the entire sphere without dragging. You also need a styrofoam block or a dedicated cake pop stand to allow the coating to set without flat spots.
Step-by-Step Guide to Rolling and Shaping
Creating the Cake Crumb Foundation
Start by breaking your cooled vanilla cake into large chunks. Rub the pieces together over a large bowl until you have fine, sandy crumbs with no large lumps remaining. If you enjoy this process, you might also love experimenting with our funfetti loaf cake for a colorful interior twist.
Achieving the Perfect Bind
Add your vanilla buttercream one tablespoon at a time. Mix with your hands until the dough holds together when squeezed, similar to the consistency of playdough. Be careful not to over-mix, or the center will become heavy and greasy.
Precision Rolling for Uniform Spheres
Scoop approximately 1.5 tbsp (30g) of the mixture and roll it between your palms to form a smooth, round ball. Place these on a parchment-lined sheet and chill in the refrigerator for at least 30 minutes. Chilling is non-negotiable; it ensures the cake doesn’t fall apart in the warm candy melt bath.
The Master Class in Dipping and Decorating
Melting for Maximum Gloss
Melt your pink candy wafers in the microwave in 30-second bursts, stirring vigorously in between. Once melted, stir in your paramount crystals or coconut oil. You are looking for a “slow-moving lava” consistency that drips smoothly off a spoon.
Securing the Stick
Dip the tip of a white lollipop stick about 1/2 inch (1cm) into the melted pink coating, then insert it halfway into a chilled cake ball. This “candy weld” prevents the pop from sliding off the stick. Let it set for 2 minutes before the full dip.
The Perfect Single-Motion Dip
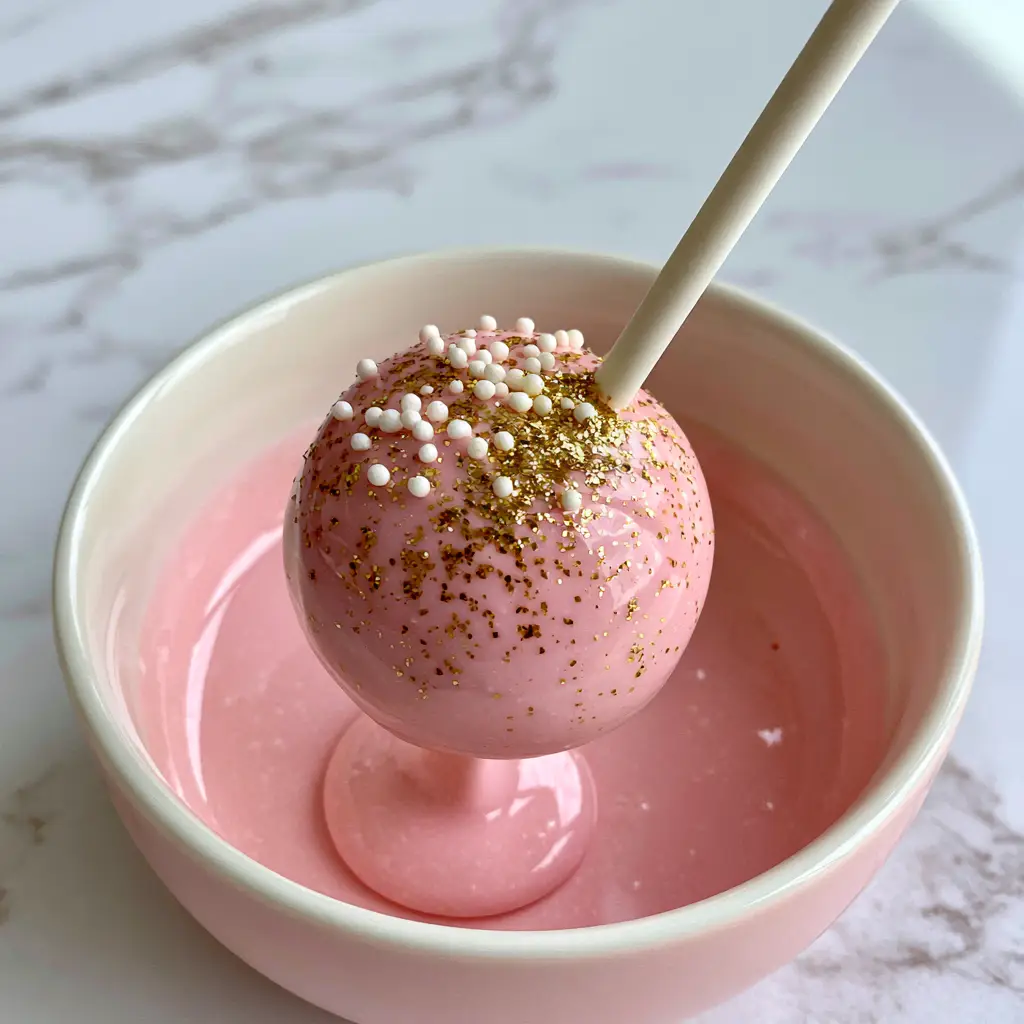
Hold the stick and plunge the cake ball straight down into the pink coating until it reaches the base of the stick. Pull it straight up and gently tap your wrist—not the stick—to let the excess coating drip back into the bowl. This creates that flawless, smooth surface seen in professional photography.
Adding the Golden Finishing Touches
While the coating is still wet, delicately sprinkle tiny white sugar pearls over the top hemisphere. Follow this with a light dusting of edible gold glitter. The moisture of the coating will act as the adhesive for these decorations. For more inspiration on decorated treats, check out our collection of cake pop recipes.
Pro Tips for Troubleshooting
- Prevent Cracking: Ensure the cake balls aren’t “ice cold” and the candy coating isn’t “piping hot.” A extreme temperature difference causes the coating to expand and crack.
- Smooth Coating: If the candy is too thick, add a tiny bit more oil. It should flow off the pop in a continuous ribbon.
- Air Bubbles: If you see bubbles after dipping, gently pop them with a toothpick while the coating is still wet.
Storage and Freshness
These cake pops can be stored in an airtight container at room temperature for up to 3 days or in the refrigerator for up to a week. If you are preparing a large spread, they pair beautifully with a vanilla cherry cake for a cohesive dessert table aesthetic. To freeze, wrap them individually in plastic wrap and store in a freezer bag for up to 2 months.
What to Serve with Cake Pops
Cake pops are the ultimate party finger food. They serve as a light, sweet finish after a savory meal like taco rice casserole or a fresh tomato burrata salad. For a themed event, consider serving them alongside a honey lemon butterfly fizz to complement the pastel tones and gold accents.
Frequently Asked Questions
Yes! You can roll the cake balls up to 2 days in advance and keep them refrigerated. Once dipped and decorated, they stay fresh at room temperature for 3 days or in the fridge for up to a week.
Add a small amount of paramount crystals or refined coconut oil to your melted candy wafers. This thins the consistency, allowing it to flow smoothly and dry with a high-shine, porcelain-like finish.
After dipping, place the lollipop sticks upright into a styrofoam block or a cake pop stand. This allows the coating to dry evenly in the air without touching any surfaces.
This happens if the cake ball is too heavy or the ‘weld’ wasn’t set. Always dip the stick into the candy melt before inserting it into the cake ball, and ensure the cake mixture isn’t overly oily from too much frosting.
Cracking is usually caused by a temperature shock. If your cake balls are too cold and your candy coating is too warm, the cake expands and cracks the shell. Let your chilled cake balls sit at room temperature for 5-10 minutes before dipping.
The Ultimate Glossy Pink Cake Pop Recipe
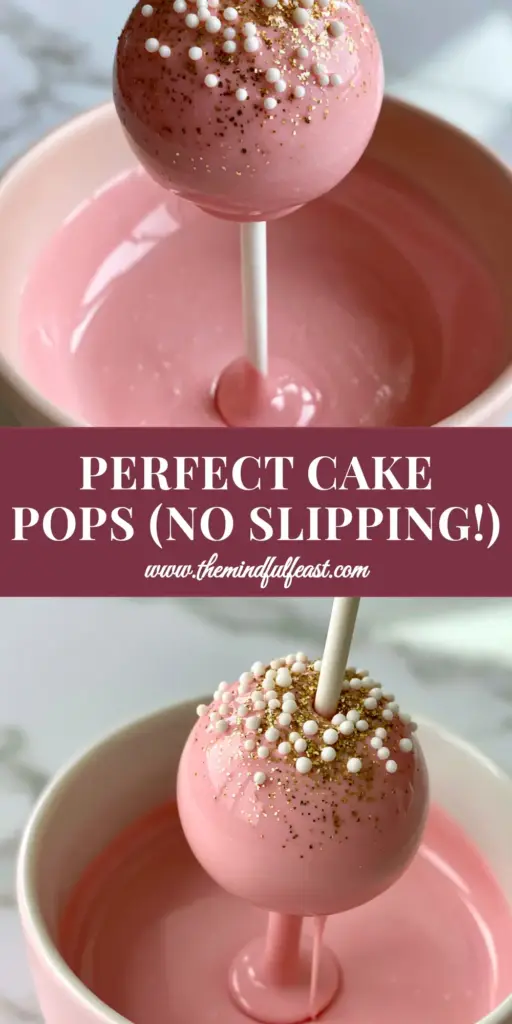
How to Make Cake Pops with a Flawless Glossy Pink Finish
Ingredients
Equipment
Method
- Crumble the cooled vanilla cake into a large bowl until fine crumbs form.
- Mix in the vanilla frosting 1 tablespoon at a time until the mixture holds the shape of a ball.
- Roll the mixture into 24 even spheres and place on a tray. Chill in the refrigerator for 30 minutes.
- Melt pink candy wafers with oil or paramount crystals in 30-second intervals until smooth and glossy.
- Dip the end of a lollipop stick into the candy melt, then insert halfway into a cake ball.
- Submerge the cake pop fully into the coating, lift, and tap off the excess until perfectly smooth.
- While wet, sprinkle with white sugar pearls and gold glitter dust. Place in a stand to set.
Notes
Use a deep bowl to ensure one-dip coverage.
Closing & Call to Action
Mastering How to Make Cake Pops allows you to bring a touch of bakery-level luxury into your own kitchen. The glossy pink finish combined with the shimmer of gold makes these a guaranteed showstopper for any occasion. If you enjoyed this tutorial, please leave a comment below and share your creations with us! Don’t forget to follow us on Pinterest for more stunning dessert inspiration.


