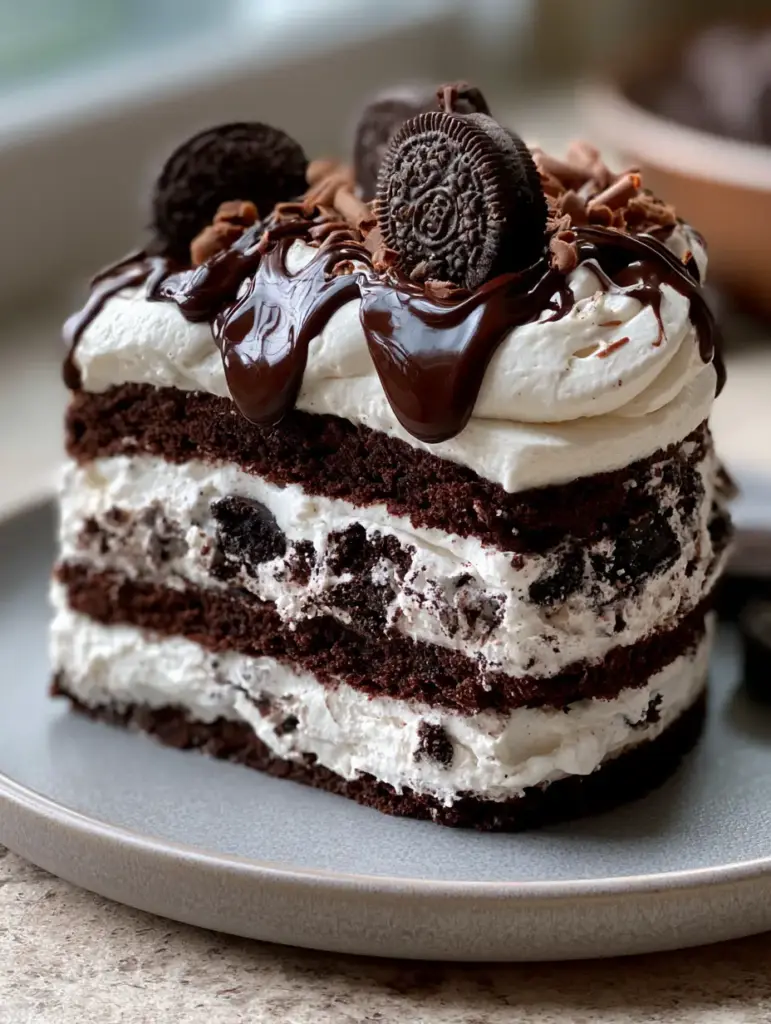
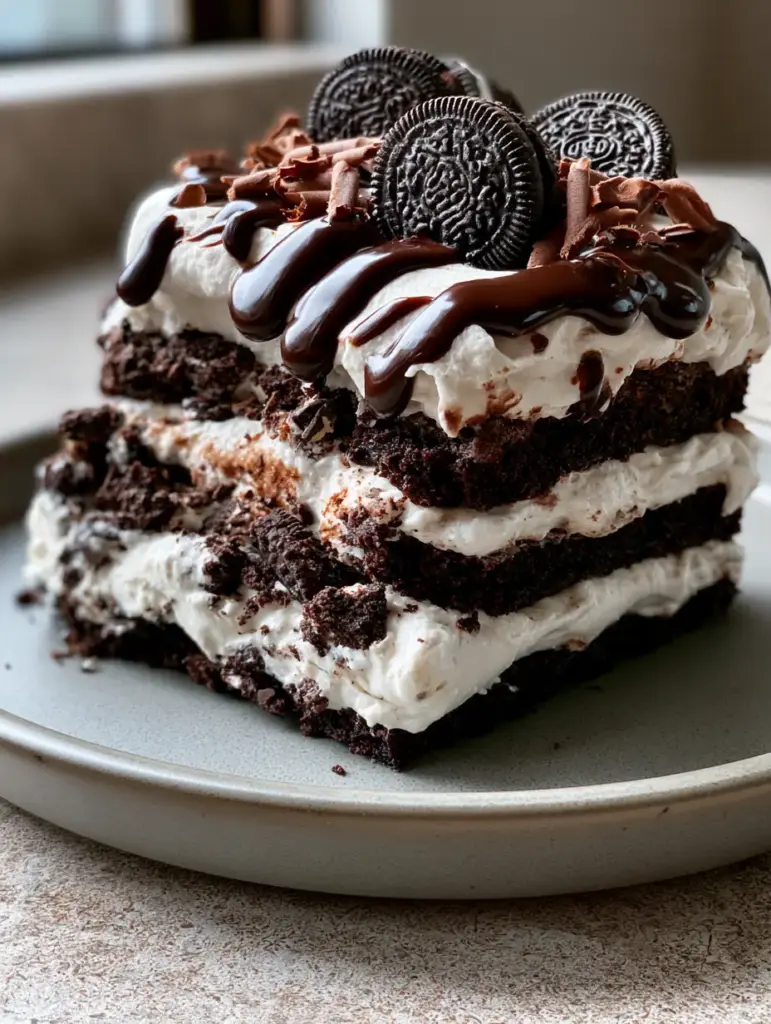
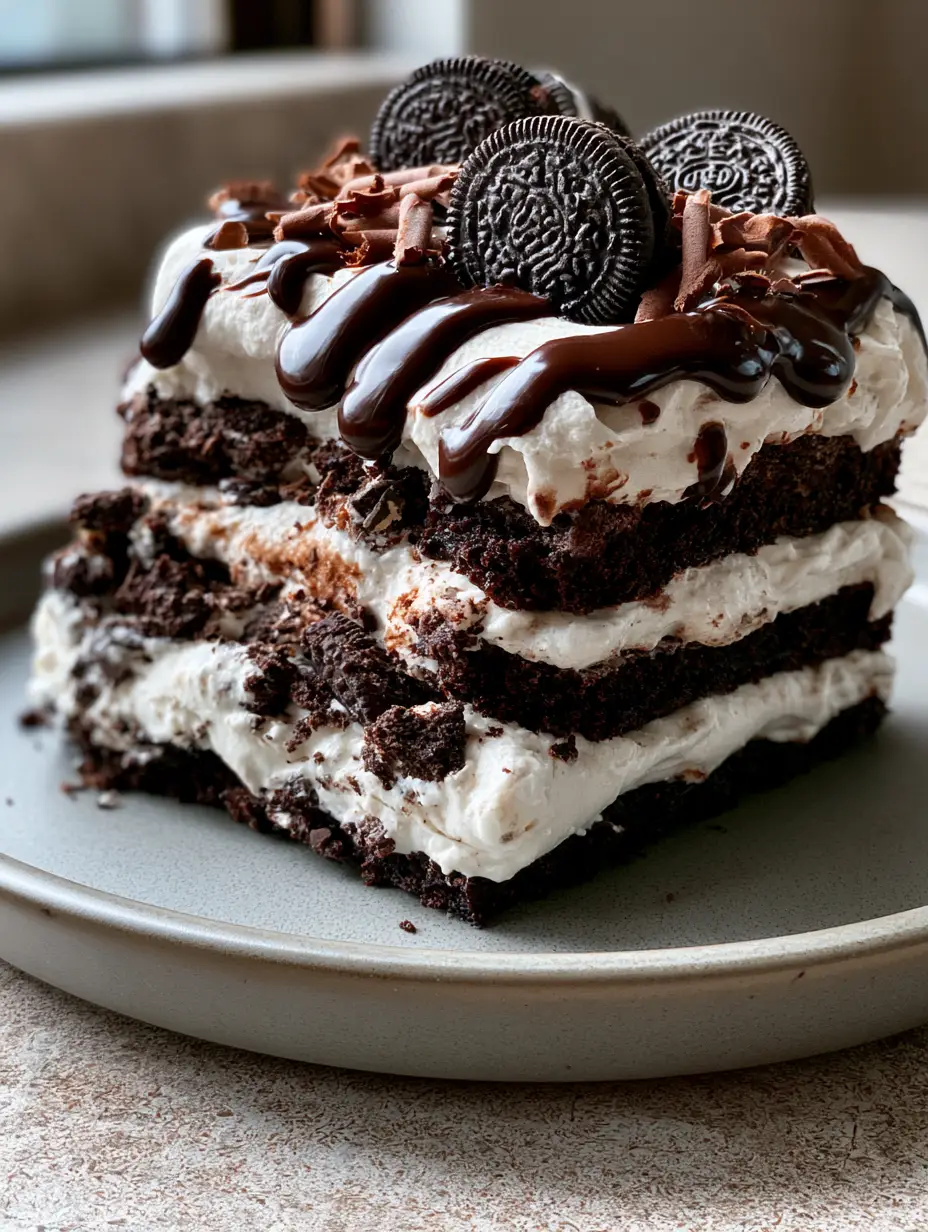
There is something undeniably nostalgic about the combination of dark cocoa wafers and sweet cream, but this Oreo cake elevates that classic pairing into a sophisticated, multi-layered masterpiece. Imagine a handheld smartphone photo capturing a perfect slice: the distinct layers of crunchy dark chocolate cookie crust and velvety whipped white cream filling are enough to make anyone stop scrolling. This is not just a dessert; it is a structural marvel that relies on the “icebox” method to achieve its signature melt-in-your-mouth texture.
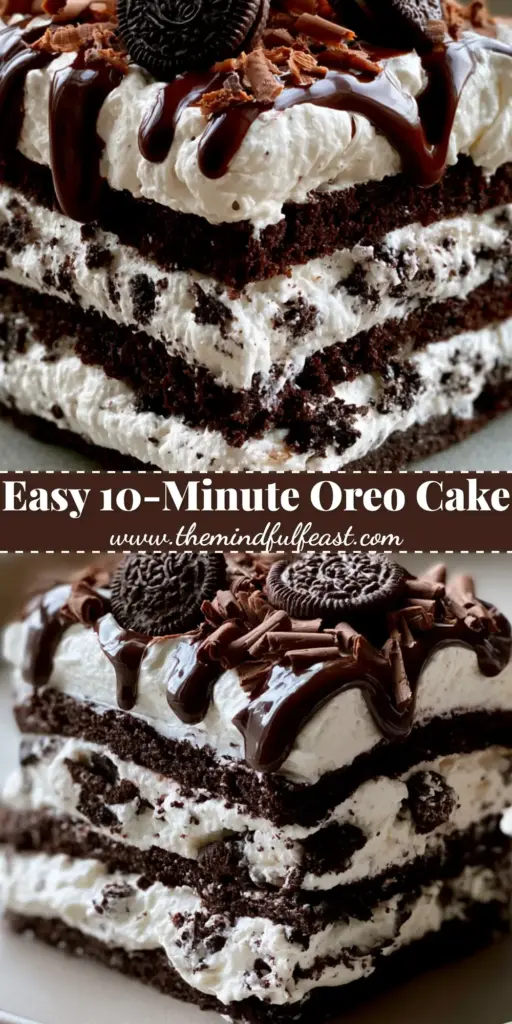
This Oreo cake design features a glossy dark chocolate drizzle that cascades over the edges, accented by the playful crunch of mini Oreo cookies and the elegance of fine chocolate curls. Bathed in soft natural kitchen window lighting, the contrast between the dark biscuits and the snowy cream is visually arresting. Whether you are hosting a summer soirée or simply craving a decadent treat, this no-bake wonder delivers professional results with minimal heat.
Why This No-Bake Icebox Oreo Cake Works Every Time
- Textural Contrast: You get the crunch of a traditional crust followed by the “cake-like” softness of biscuits that have softened in the whipped cream.
- Visual Sophistication: The dark chocolate drizzle and hand-grated chocolate curls create a bakery-level aesthetic without the need for a professional oven.
- Make-Ahead Convenience: Since the refrigerator does the “cooking” by softening the cookies, this Oreo cake is perfect for stress-free entertaining.
- Structural Integrity: By using a whipped cream cheese base, we ensure the cake stands tall and yields clean, beautiful slices every time.
The Anatomy of an Elite Oreo Cake: Essential Ingredients
The Foundation: Cookie Crust and Biscuits
24 (approx. 260g) Standard Oreo Cookies: These are finely crushed to create the base. The cocoa solids provide the deep, dark color seen in our visual blueprint.
1/4 cup (57g) Unsalted Butter: Melted and mixed with the crumbs, this acts as the “glue” that sets firm in the fridge to support the heavy layers above.
12 (approx. 130g) Additional Oreo Cookies: Roughly chopped or crushed into larger chunks to be folded into the cream for that iconic “cookies and cream” interior texture.
The Velvety Filling: Whipped Cream Cheese Core
16 oz (450g) Full-Fat Cream Cheese: It is crucial that this is softened to room temperature. It provides the tangy depth and the necessary stability for the cake to hold its shape.
1 cup (120g) Powdered Sugar: Sifted to ensure no lumps, this sweetens the filling while the cornstarch within the sugar helps stabilize the whipped structure.
2 cups (480ml) Heavy Whipping Cream: Must be ice-cold. This is whipped into stiff peaks to provide the “airy” and “velvety” mouthfeel described in our visual prompt.
The Artistic Finishes: Drizzle and Curls
4 oz (115g) Dark Chocolate (60-70% Cocoa): High-quality chocolate provides the “glossy” finish for the drizzle and the structure for the hand-grated curls.
1/4 cup (60ml) Heavy Cream: Used to create a simple ganache for that perfect, slow-dripping chocolate effect.
1/2 cup (approx. 50g) Mini Oreo Cookies: Placed strategically on top for visual height and a nod to the main ingredient.
Professional Tools for the Perfect Slice
To achieve the clean lines shown in a handheld smartphone photo, you will need a 9-inch (23cm) springform pan. This allows you to remove the sides without damaging the delicate cream layers. A high-speed hand mixer or a stand mixer is essential for achieving stiff peaks in the cream, ensuring the Oreo cake doesn’t collapse. Finally, a sharp vegetable peeler is the secret to creating those fine, elegant chocolate curls that catch the natural window light so beautifully.
Step-by-Step Architecture for the Ultimate Oreo Cake
Phase 1: Constructing the Dark Cookie Base
Place 24 Oreo cookies into a food processor and pulse until they resemble fine, dark sand. In a medium bowl, combine the crumbs with 1/4 cup (57g) of melted butter, stirring until the mixture feels like wet sand. Press this firmly into the bottom of your springform pan, using the bottom of a flat glass to ensure an even, compact layer. Chill this in the freezer for 10 minutes to set while you prepare the filling.
Phase 2: Achieving the Velvety Whipped Filling
In a large bowl, beat the 16 oz (450g) of cream cheese and 1 cup (120g) of powdered sugar until completely smooth and aerated. In a separate chilled bowl, whip the 2 cups (480ml) of heavy cream until stiff peaks form—look for the cream to hold its shape firmly when the whisk is lifted. Gently fold the whipped cream into the cream cheese mixture using a spatula, maintaining as much air as possible. Finally, fold in the 12 roughly crushed Oreo cookies to create that distinct layered biscuit look.
Phase 3: The Assembly and The “Icebox” Magic
Pour the filling over the chilled crust, smoothing the top with an offset spatula until perfectly level. This Oreo cake now requires patience; cover it and refrigerate for at least 6 hours, though overnight is better. This time allows the moisture from the cream to migrate into the cookie bits, transforming them from “crunchy” to “cake-like” in texture.
Phase 4: Glossy Drizzle and Finishing Touches
Once set, heat the 4 oz (115g) of dark chocolate and 1/4 cup (60ml) of heavy cream in 20-second bursts in the microwave, stirring until glossy and smooth. Let it cool slightly so it is thick enough to “hang” on the edges. Pour it over the chilled cake, letting it drip naturally. Immediately top with mini Oreo cookies and use a vegetable peeler to grate fine curls of dark chocolate over the entire surface.
Expert Tips for a Picture-Perfect Result
- Cold is Key: Ensure your heavy cream is straight from the fridge. Warm cream will not trap the air bubbles needed for a velvety filling, leading to a flat Oreo cake.
- Clean Slicing: For those distinct, beautiful layers, dip your knife in hot water and wipe it dry between every single cut.
- Chocolate Tempering: If your chocolate curls are breaking, the chocolate might be too cold. Hold the bar in your hand for 30 seconds to slightly warm the surface before peeling.
- Cookie Control: Don’t over-crush the cookies that go *inside* the filling; larger chunks provide a better visual contrast against the white cream.
Pairing Your Oreo Cake with Other Favorites
While this Oreo cake is a star on its own, it pairs beautifully with other textures. If you’re looking for a lighter fruit-based contrast, consider serving it alongside a creamy mango coconut chia pudding. For those hosting a full dinner party, this decadent dessert is the perfect follow-up to a savory chicken scarpariello or a fresh chickpea tuna salad. If you have guests with dietary restrictions, you might also want to look into a vegan chocolate cake recipe to ensure everyone has a seat at the dessert table.
Storage and Preservation
This Oreo cake should always be kept refrigerated until the moment of serving. It will stay fresh and delicious for up to 4 days in an airtight container. While you can freeze this cake (it becomes a delicious frozen treat!), the glossy chocolate drizzle may lose some of its luster upon thawing. If freezing, wrap it tightly in plastic wrap and then foil for up to one month.
Common Questions About No-Bake Cakes
Yes, you can build this in a deep 9×9 inch baking dish. However, you won’t be able to remove the sides for the ‘perfect slice’ look; you’ll need to serve it directly from the dish like a traditional icebox cake.
You can, but keep in mind that the extra filling will make the cake much sweeter and slightly less stable. If using Double Stuf for the crust, you may need to reduce the butter slightly.
No, the cream filling in the Oreos actually helps bind the crust together and adds flavor to the interior layers. Crush the whole cookies for the best results.
Ensure your ganache has cooled to a lukewarm temperature so it is slightly thickened. Use a spoon to ‘test’ a drip on the side of a bowl; it should flow slowly rather than running quickly.
Soft filling usually happens if the heavy cream wasn’t whipped to stiff peaks or if the cream cheese was too warm. Ensure the cake chills for at least 6 hours to allow the structure to set firmly.
The Definitive Oreo Cake Recipe Card
Oreo Cake: The Ultimate No-Bake Layers of Cookies and Cream Perfection
Ingredients
Equipment
Method
- Pulse 24 Oreos in a food processor until fine. Mix with melted butter until the texture of wet sand is achieved.
- Firmly press the mixture into a 9-inch springform pan. Freeze for 10 minutes to set the base.
- Beat softened cream cheese and powdered sugar until light and smooth.
- In a cold bowl, whip heavy cream to stiff peaks. Gently fold into the cream cheese, then fold in 12 crushed cookies.
- Spread the filling over the crust and smooth with a spatula. Refrigerate for at least 6 hours or overnight.
- Melt dark chocolate with heavy cream until glossy. Drizzle over the chilled cake.
- Top with mini Oreos and use a peeler to create fine chocolate curls across the surface.
Notes
Use a hot knife to get clean, professional slices.
Bringing the Bakery Home
Creating this Oreo cake is about more than just mixing ingredients; it is about building layers of flavor and texture that delight the senses. The combination of the deep cocoa biscuits and the airy whipped filling creates a balance that is neither too heavy nor too sweet. We invite you to share your results and tag us in your photos! For more visual inspiration and decadent dessert ideas, be sure to follow us on Pinterest.