The quest for the perfect breakfast often feels like chasing a phantom, but our pancake and waffle guide poster is here to anchor your culinary ambitions. This isn’t just a recipe; it is a structural blueprint for achieving that elusive, two-inch-tall aeration that characterizes the world’s finest diner-style flapjacks. If you have ever stared at a professional food photograph and wondered how they achieve those “lacy” griddle marks and pillowy, bubble-flecked sides, you are in the right place.
We have engineered this specific method to replicate the visual and textural perfection seen in high-end culinary posters. By balancing the acidity of real buttermilk with the precise lift of dual leavening agents, we create a batter that holds its shape while expanding vertically. Every element, from the glistening amber of the maple syrup to the fine dusting of powdered sugar, is calculated for maximum sensory impact and flavor depth.
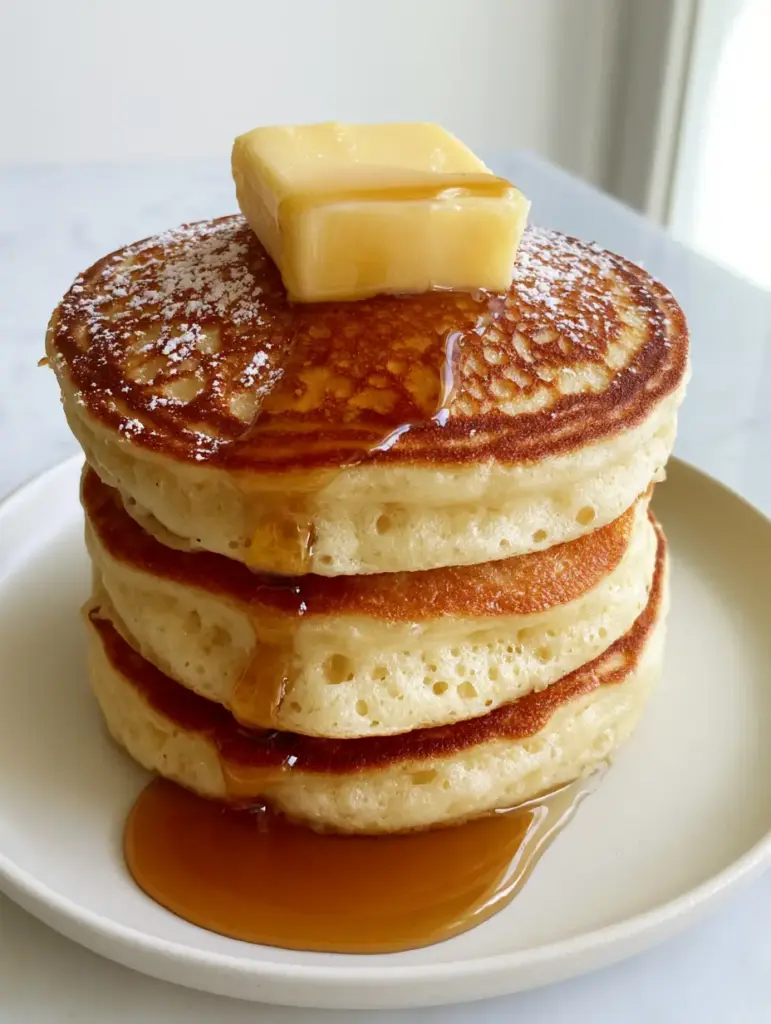
The Visual Anatomy of a High-Rise Masterpiece
Before we pick up a whisk, it is essential to understand what makes this pancake and waffle guide poster-worthy. A truly elite pancake isn’t just about taste; it is about the architecture of the crumb and the caramelization of the exterior. Here is what we are aiming for in today’s kitchen session:
- Structural Integrity: Each pancake should stand nearly two inches (5cm) tall without collapsing, achieved through specific aeration techniques.
- The Lacy Griddle Mark: A delicate, web-like pattern of golden-brown caramelization on the surface, contrasting with the pale, pillowy sides.
- The Cascade Effect: We utilize Grade A amber maple syrup for its specific viscosity, ensuring it pools richly at the base of the stack.
- The Butter Crown: A square of yellow, grass-fed butter that provides a salt-forward richness as it slowly melts into the aerated pores.
Architectural Ingredients for High-Rise Pancakes
To achieve the results depicted in our pancake and waffle guide poster, you cannot rely on a box mix. We need specific proteins and fats to build the necessary structure. This list combines foundational pantry staples with the “invisible” ingredients that guarantee a professional finish.
All-Purpose Flour (300g / 2.5 cups): This provides the gluten framework required to trap air bubbles. We use a slightly higher flour-to-liquid ratio than standard recipes to ensure the batter doesn’t spread too thin on the griddle.
Real Buttermilk (480ml / 2 cups): The lactic acid in the buttermilk is non-negotiable. It reacts with the baking soda to create immediate carbon dioxide, which is what gives us those visible bubbles on the pale sides of the stack.
Double-Acting Baking Powder (10g / 2 tsp): This provides two lifts—one when the batter is mixed and another when it hits the heat of the griddle. This is the secret to the two-inch height.
Baking Soda (3g / 0.5 tsp): Beyond its role in leavening, baking soda accelerates the Maillard reaction. This is how we achieve the “lacy” griddle marks that are the hallmark of our pancake and waffle guide poster style.
Grass-Fed Butter (56g / 4 tbsp, melted): Grass-fed butter has a higher beta-carotene content, giving the crumb a slight yellow hue and a richer, more complex fat profile that lingers on the palate.
Large Eggs (2 units): The proteins in the eggs act as the “cement” for our high-rise structure. We recommend bringing them to room temperature to ensure they emulsify perfectly with the buttermilk.
Fine Sea Salt (3g / 0.5 tsp): Salt is a flavor enhancer that cuts through the sweetness of the syrup. It also helps to strengthen the gluten bonds in the flour.
Granulated Sugar (25g / 2 tbsp): This isn’t just for sweetness. Sugar assists in the browning process, helping to create that intricate lacy pattern on the surface of the pancake.
Essential Tools for Culinary Precision
Achieving the look of a pancake and waffle guide poster requires more than just a pan. You need tools that allow for even heat distribution and delicate handling.
- Heavy-Bottomed Cast Iron or Carbon Steel Griddle: These materials hold heat better than thin non-stick pans, which is crucial for searing those lacy marks without burning the exterior.
- Whisk and Silicone Spatula: For the “folding” technique that preserves aeration.
- Mechanical Ice Cream Scoop (Large): This ensures every pancake is the exact same volume, creating a symmetrical stack.
- Fine Mesh Sieve: Essential for that delicate, cloud-like dusting of powdered sugar.
If you are looking to expand your kitchen arsenal, a high-quality stainless steel pot is also a great investment for warming your syrup to the perfect “cascading” temperature.
The Science of the Lacy Griddle Mark
The most visually striking part of the pancake and waffle guide poster is the “lacy” texture on the top. This is achieved through a specific interaction between the batter and the fat on the griddle. Instead of drenching the pan in oil, we use a “dry-grease” method.
We lightly coat the griddle with butter and then wipe most of it away with a paper towel. This leaves a microscopic film of fat. When the aerated batter hits this film, it creates tiny steam pockets that brown unevenly, resulting in that beautiful, intricate web of golden-brown marks.
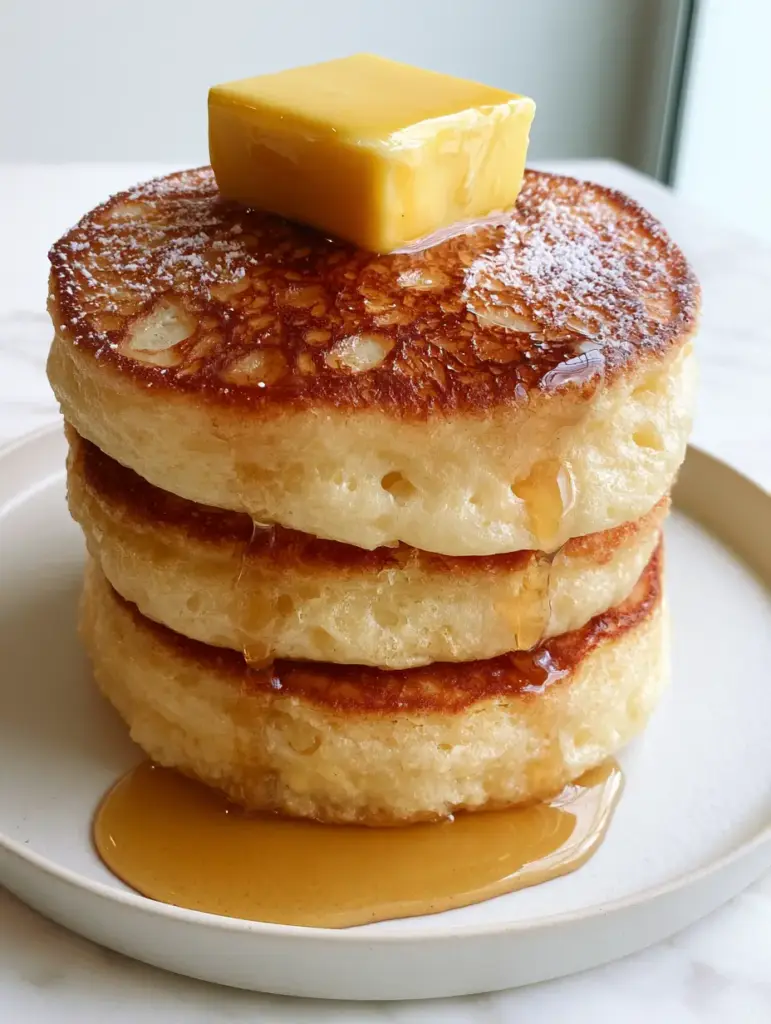
The Step-by-Step Blueprint for 2-Inch Stacks
Phase 1: The Dry and Wet Integration
In a large mixing bowl, whisk together your flour, sugar, baking powder, baking soda, and salt. Ensure there are no large clumps; the leavening agents must be perfectly distributed to ensure an even rise. In a separate jug, whisk your buttermilk, eggs, and slightly cooled melted butter.
Pour the wet ingredients into the dry. Now, here is the most important rule of the pancake and waffle guide poster: Do not overmix. Use your spatula to fold the ingredients until just combined. You should see visible lumps and streaks of flour. If the batter is perfectly smooth, you have overdeveloped the gluten, and your pancakes will be tough and flat rather than pillowy.
Phase 2: The Essential Batter Rest
Allow the batter to sit for at least 10 minutes. During this time, the flour hydrates fully, and the buttermilk begins to react with the baking soda. You will see the batter start to grow and develop small bubbles on the surface. This is the “aeration” that will lead to those two-inch tall stacks.
Phase 3: Mastering the Griddle Heat
Heat your griddle to medium-low. To test the heat, flick a drop of water onto the surface; it should dance and sizzle briefly before evaporating. Apply the “dry-grease” method mentioned above. Using your scoop, drop the batter onto the griddle. Do not spread it out with the back of the scoop! Let it sit as a thick mound.
Phase 4: The Visual Cue for the Flip
Watch the sides of the pancake. You are looking for the “pillowy” edges to begin looking matte and for “visible bubbles” to form and pop on the top surface. This usually takes 3-4 minutes. Carefully slide your spatula under and flip in one confident motion. Cook for another 2-3 minutes until the pancake is nearly two inches tall and has a slight spring when touched in the center.
Expert Tips for Success
- The Temperature Sweet Spot: If your pancakes are browning too fast but remain raw in the middle, your heat is too high. Aim for a “low and slow” approach to allow the 2-inch height to cook through.
- The Syrup Warmth: Never serve cold syrup. Warm your amber maple syrup in a small saucepan until it is translucent and runny. This ensures the “glistening cascade” effect.
- The Butter Square: Cut your butter into a perfect square while cold, then place it on the hot pancake stack. The residual heat will melt the bottom half while the top stays structured, exactly like our visual blueprint.
- Sifting the Sugar: Use a very fine dusting of powdered sugar at the very end. If you do it too early, the steam from the pancakes will dissolve the sugar, and you’ll lose that delicate highlight.
What to Serve With This Ultra-Thick Stack
While these pancakes are a meal unto themselves, they thrive when paired with contrasting textures. If you are hosting a brunch, consider serving them alongside a savory protein-rich salad to balance the sugar. For those who prefer a completely sweet morning, our blueberry chimichangas offer a crispy counterpoint to the soft, pillowy pancakes.
If you’re in a rush and can’t commit to the 10-minute batter rest, you might prefer some of our quick morning snacks to tide you over until the weekend when you can give this pancake and waffle guide poster recipe the time it deserves.
Storage, Reheating & Freezing
These pancakes are remarkably resilient. To store, let them cool completely on a wire rack to prevent the “pillowy” texture from becoming soggy. Place them in an airtight container in the fridge for up to 3 days.
For long-term storage, flash-freeze the pancakes on a baking sheet for an hour before transferring them to a freezer bag. They will stay fresh for up to 2 months. To reheat, avoid the microwave; instead, use a toaster or a low oven (300°F / 150°C) to restore the lacy griddle marks and the internal aeration.
Frequently Asked Questions
For this specific high-rise result, real buttermilk is required. The lactic acid is essential for reacting with the baking soda to create the visible aeration and pillowy texture.
Yes. Always whisk dry and wet ingredients separately, then fold them together. Overmixing after the wet hits the dry will develop gluten and result in flat, rubbery pancakes.
The secret lies in a thick batter, a 10-minute rest period to develop aeration, and using double-acting baking powder combined with buttermilk to create maximum vertical lift.
Lacy marks are created by using the ‘dry-grease’ method—applying a thin layer of butter to the griddle and wiping most of it away before pouring the batter.
In professional styling, we cook on medium-low heat. This allows the center to rise and set while keeping the sides pale and pillowy, focusing the browning only on the top and bottom ‘lacy’ surfaces.
The Ultimate High-Rise Buttermilk Pancake Recipe
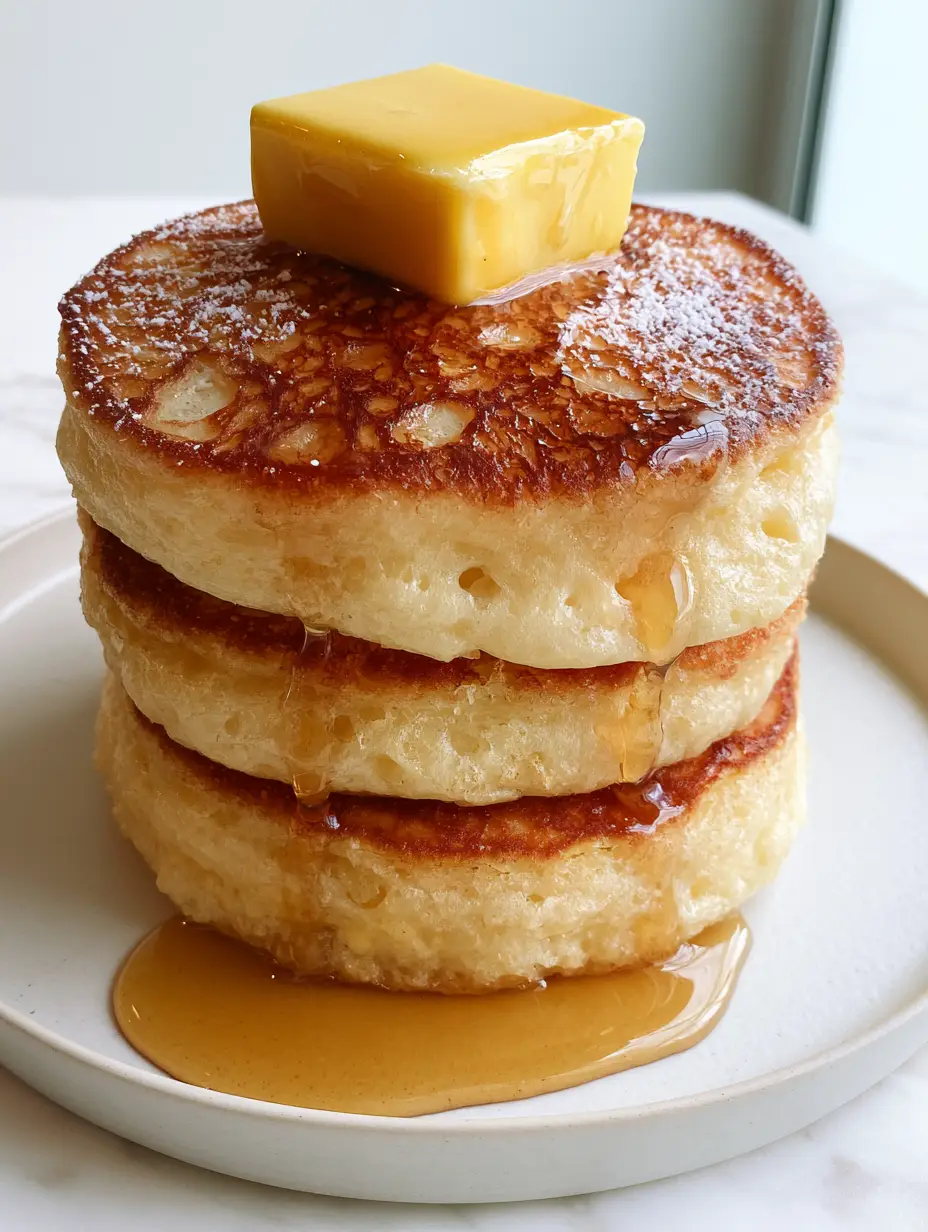
Pancake and Waffle Guide Poster: Mastering the Ultra-Thick Buttermilk Stack
Ingredients
Equipment
Method
- Whisk flour, sugar, baking powder, baking soda, and salt in a large bowl until uniform.
- In a separate jug, whisk buttermilk, eggs, and 56g melted butter.
- Fold wet ingredients into dry using a spatula. Stop when just combined; lumps are necessary for fluffiness.
- Let batter sit for 10 minutes to allow aeration to develop.
- Heat griddle to medium-low and apply a thin film of butter, wiping away excess.
- Scoop batter onto griddle. Do not flatten. Cook until bubbles pop on top and edges look matte (3-4 mins).
- Carefully flip and cook until the pancake stands 2 inches tall and is golden-brown (2-3 mins).
- Stack three pancakes. Top with a square of grass-fed butter, a cascade of warm syrup, and a dusting of powdered sugar.
Notes
Use medium-low heat to ensure the 2-inch center cooks before the outside burns.
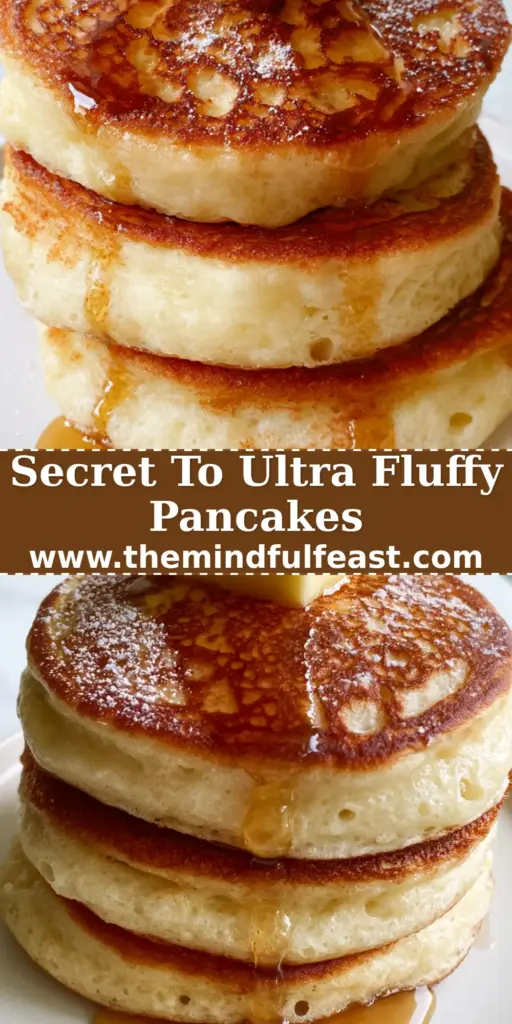
Our pancake and waffle guide poster is more than just a recipe—it is an invitation to elevate your breakfast ritual. By following these scientific techniques and focusing on the visual cues of the lacy marks and aerated crumb, you can create a restaurant-quality experience in your own kitchen. Don’t forget to share your towering stacks with us!
If you enjoyed this deep dive into breakfast architecture, we encourage you to sign up for our newsletter for more forensic recipe breakdowns. Follow us on Pinterest for more daily inspiration and to save this recipe to your “Morning Motivation” board.


