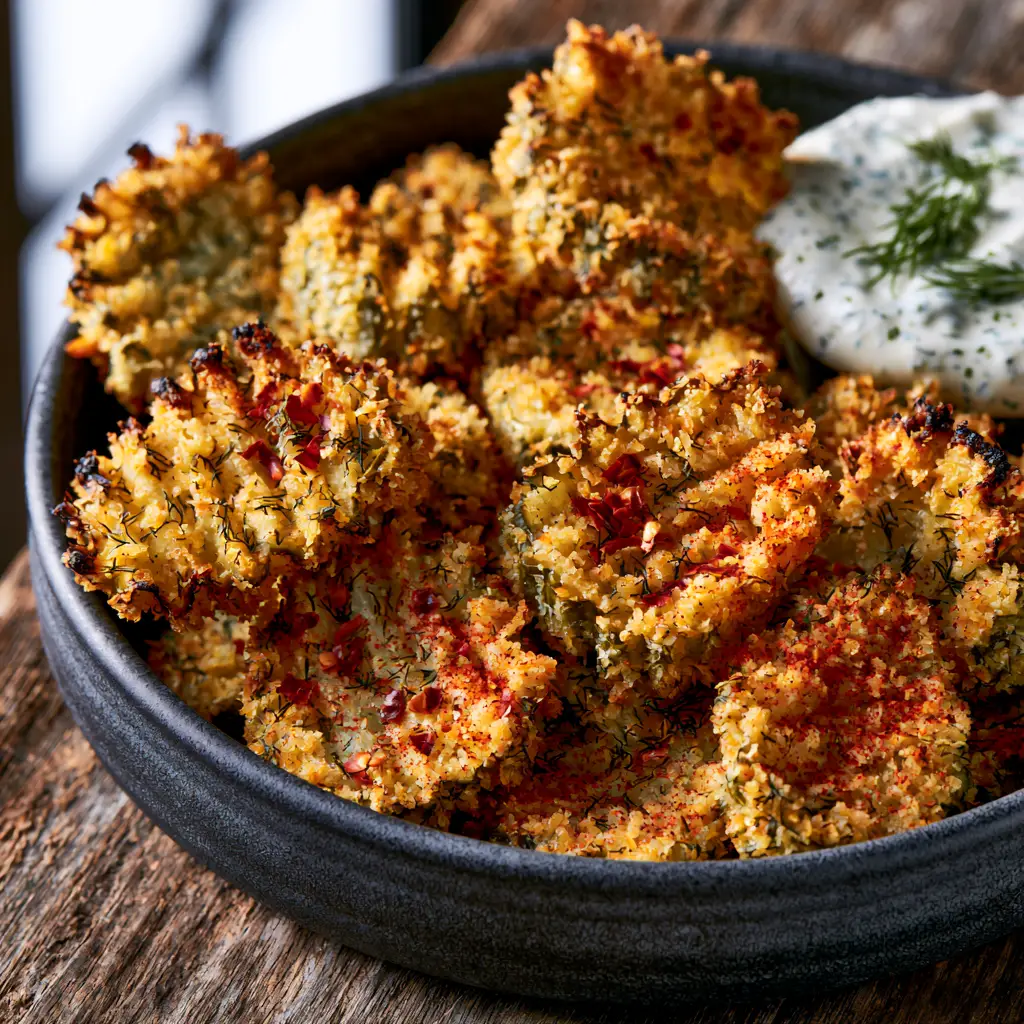
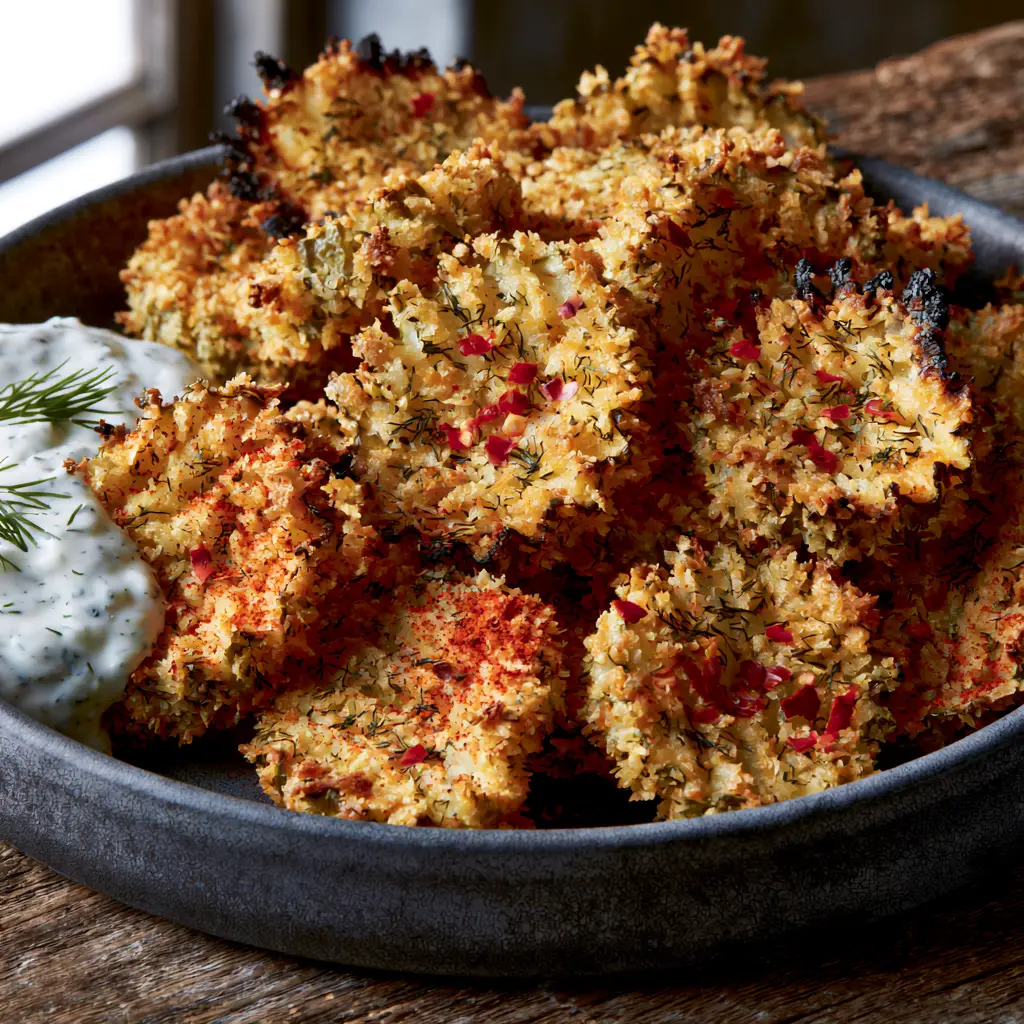
If you have ever craved the perfect salty, tangy, and fiery snack, these spicy dill pickle chips are the answer to your culinary prayers. Imagine a pile of ultra-crunchy, crinkle-cut pickles resting in a sleek matte charcoal ceramic bowl, each one boasting a thick, golden-brown panko crust that shatters with every bite. The visual contrast is stunning: the deep green of the pickle peeking through a rugged exterior flecked with dried dill weed and bright red chili flakes, all finished with a fine dusting of cayenne pepper. This isn’t just a snack; it is a sensory experience designed for those who appreciate the finer details of high-end comfort food.
Served on a rustic wooden surface with soft, natural side-lighting, these chips are more than just an appetizer. The heat from the cayenne and crushed red pepper is perfectly balanced by a side-dish of thick, velvety white ranch dressing, speckled with fresh green dill sprigs. Whether you are hosting a game night or simply looking to elevate your snack game, this recipe provides the forensic level of detail needed to achieve professional results at home. It is a far cry from soggy, greasy bar food; this is a refined, crunchy masterpiece.
Why These Fiery Crinkle-Cut Pickles Outshine the Rest
- Unrivaled Texture: By using Panko breadcrumbs instead of traditional flour-only batters, we achieve a thick, rugged crust with slightly charred, crispy edges that stay crunchy longer.
- Multi-Layered Heat: We don’t just add spice to the breading; we use a three-pronged approach with crushed red pepper flakes, cayenne pepper dust, and spicy seasoning for a lingering warmth.
- Visual Precision: The crinkle-cut shape isn’t just for looks; the ridges create more surface area for the Panko to cling to, ensuring every millimeter is coated in flavor.
- The Dip Factor: A cooling, velvety white ranch dip creates a temperature and flavor contrast that makes the heat of the cayenne pepper truly pop.
The Essential Elements for Fiery Fried Pickles
Creating the perfect spicy dill pickle chips requires more than just a jar of pickles. You need specific structural ingredients to ensure the coating doesn’t slide off and the spice is evenly distributed. We focus on moisture management and adhesion science to get that high-end, handheld foodie photo look every single time.
Crinkle-Cut Dill Pickles: You will need 16 oz (450g) of high-quality crinkle-cut dill pickles. The ridges are essential for catching the breading, and the brine provides the foundational tang. If you enjoy the process of making your own base ingredients, check out our guide on pickling recipes to start from scratch.
Panko Breadcrumbs: 2 cups (120g) of Japanese-style Panko. These are larger and airier than standard breadcrumbs, which is the secret to that “extreme detail” crunch seen in the visual blueprint. Standard crumbs will result in a dense, heavy coating that lacks the charred, crispy edges we desire.
All-Purpose Flour: 1 cup (125g) for the initial dredge. This invisible layer acts as a primer, absorbing the surface moisture of the pickle so the egg wash has something to grip onto. Without this, your panko crust will slide right off in the hot oil.
Large Eggs: 2 large eggs, beaten with 1 tbsp (15ml) of water. This creates the “glue” for our recipe. The protein in the eggs sets quickly when hitting the heat, locking the breadcrumbs into place.
Spices & Herbs: 1 tbsp (4g) dried dill weed, 1 tsp (2g) crushed red pepper flakes, and 1 tsp (2g) cayenne pepper. The dill provides the herbaceous notes, while the pepper flakes and cayenne deliver the visual “flecks” and the “dusting” described in the blueprint.
Neutral Frying Oil: 2 cups (480ml) of grapeseed or vegetable oil. You need an oil with a high smoke point to achieve that deep golden-brown exterior without burning the delicate panko flakes.
Must-Have Tools for the Professional Home Cook
To achieve the “unedited, high-end handheld smartphone foodie photo” quality, you need the right tools to manage heat and texture. Achieving the perfect sear and crispiness is as much about the equipment as it is the ingredients.
Cast Iron Skillet or Heavy-Bottomed Pot: A heavy vessel retains heat better, preventing the oil temperature from dropping when you add the cold pickle chips. This ensures the panko crisps instantly rather than soaking up oil and becoming greasy.
Wire Cooling Rack: Never drain fried pickles on paper towels. Paper towels trap steam, which turns a crispy panko crust soggy within seconds. A wire rack allows air to circulate around the entire chip, preserving the charred, crispy edges.
Digital Kitchen Thermometer: Precision is key. You want your oil at exactly 375°F (190°C). Any lower, and you lose the crunch; any higher, and the cayenne pepper dust will burn and turn bitter.
Step-by-Step Instructions to Culinary Perfection
Preparing the Pickles for Maximum Adhesion
Drain the 16 oz (450g) of crinkle-cut pickles and lay them out in a single layer on a thick stack of paper towels. Pat them extremely dry. Moisture is the enemy of the spicy dill pickle chips; if the pickles are wet, the flour will turn into a paste and the crust will fall off. Let them air dry for 10 minutes while you prepare your breading stations.
The Three-Stage Breading Process
Set up three shallow bowls. In the first bowl, place your 1 cup (125g) of flour. In the second, whisk together the 2 eggs and water. In the third, combine the 2 cups (120g) of panko, 1 tbsp (4g) dried dill weed, and 1 tsp (2g) crushed red pepper flakes. This ensures the visible flecks are integrated into the crust itself. Reserve the cayenne pepper for the final dusting.
Dredging and Coating
Working in small batches, toss the dry pickles in the flour until fully coated, shaking off the excess. Dip them into the egg wash, then press them firmly into the panko mixture. You want a “thick golden-brown panko crust,” so don’t be afraid to press the crumbs in with your palms to ensure every crinkle is filled with crunch.
Frying for the Perfect Visual Cue
Heat your oil to 375°F (190°C). Carefully drop the chips into the oil, being careful not to overcrowd the pan. Fry for 2-3 minutes per side. Look for the sensory cues: the oil should sizzle vigorously, and you are waiting for a deep golden-brown color with slightly charred, crispy edges. Remove them with a slotted spoon and immediately place them on your wire rack.
The Final Flourish: Cayenne and Garnish
While the chips are still hot and slightly glistening with oil, give them a generous dusting of cayenne pepper. This allows the spice to adhere to the crust. Transfer them to a matte charcoal ceramic bowl. Garnish the side of velvety white ranch with fresh dill sprigs, ensuring one chip is partially submerged to mimic that perfect “foodie photo” look.
Expert Tips for Ultra-Crunchy Success
- Chill Before Frying: If you have time, place the breaded pickle chips in the freezer for 10 minutes before frying. This firms up the coating and ensures it stays intact during the bubbling oil phase.
- Oil Temperature Management: Use a thermometer. If the oil drops below 350°F (175°C), the panko will absorb the oil, and you will lose that “ultra-crunchy” texture described in the midjourney prompt.
- Small Batches Only: Frying too many chips at once causes the oil temperature to plummet. For the best “charred edges,” fry no more than 8-10 chips at a time.
- Fresh vs. Dried: While we use dried dill in the breading for its concentrated flavor and visual flecks, always use fresh dill sprigs for the ranch dip garnish to provide that bright green contrast.
What to Serve With Spicy Panko Pickles
These spicy chips are bold and tangy, making them the perfect companion for a variety of dishes. If you are looking for more snack inspiration, these 3-ingredient snacks are a great way to round out an appetizer spread. For a full meal, pair these pickles with a steak sandwich or a hearty Korean beef bowl, where the acidity of the pickles cuts through the richness of the meat.
If you prefer a lighter pairing, consider serving them alongside a fresh vinegar cucumber salad to double down on that refreshing cucumber flavor profile. The contrast between the hot, fried chip and the cold, crisp salad is exceptional.
Frequently Asked Questions
Yes! Preheat your air fryer to 400°F (200°C). Spray the panko-coated pickles generously with oil and air fry for 8-10 minutes, flipping halfway through until golden-brown and crispy.
Fried pickles are best served fresh, but you can store them in an airtight container for 2 days. Reheat them in an oven or air fryer at 375°F to restore their crunch; avoid the microwave.
Place the hot fried pickles on a wire cooling rack instead of paper towels. This prevents steam from being trapped underneath the chips, which preserves the crunchy panko texture.
Crinkle-cut dill pickles are best because the ridges provide more surface area for the breading to cling to, resulting in a thicker, crunchier crust.
This usually happens because the pickles were too wet. Ensure you pat them extremely dry and use the flour dredge as a primer before the egg wash for maximum adhesion.
The Complete Spicy Dill Pickle Chips Recipe
Spicy Dill Pickle Chips: The Ultimate Panko-Crusted Crunch Recipe
Ingredients
Equipment
Method
- Drain the pickles and pat them thoroughly dry with paper towels to ensure the coating adheres.
- Place flour in one bowl, beaten eggs in a second, and panko mixed with dried dill and red pepper flakes in a third.
- Dredge each pickle in flour, dip in egg, then press firmly into the panko mixture until fully coated.
- Heat oil to 375°F (190°C) and fry in batches for 2-3 minutes until golden brown with crispy edges.
- Place on a wire rack, dust with cayenne pepper, and serve in a charcoal bowl with ranch dip.
Notes
Ensure the oil returns to 375°F between batches for consistent texture.
Mastering the Art of the Spicy Snack
These spicy dill pickle chips are a testament to how simple ingredients, when treated with professional culinary techniques, can become a high-end gourmet snack. The combination of the matte charcoal bowl, the rustic wood, and the vibrant red and green garnishes makes this dish a visual and flavorful triumph. Whether you followed every step for the perfect panko crust or adjusted the cayenne pepper dust to suit your own heat tolerance, we hope you enjoy every crunchy bite.
Did you achieve that perfect golden-brown crust? We would love to see your results! Leave a comment below and share your photos with us. Don’t forget to follow us on Pinterest for more visually stunning recipe inspiration and tips for home cooks.


