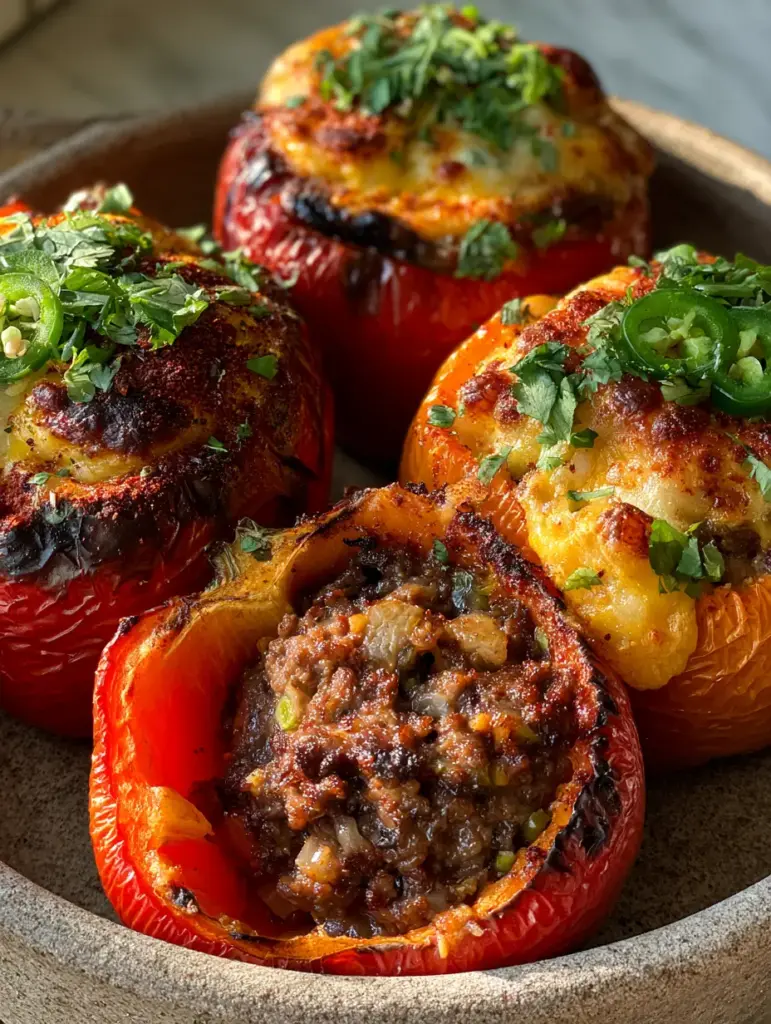
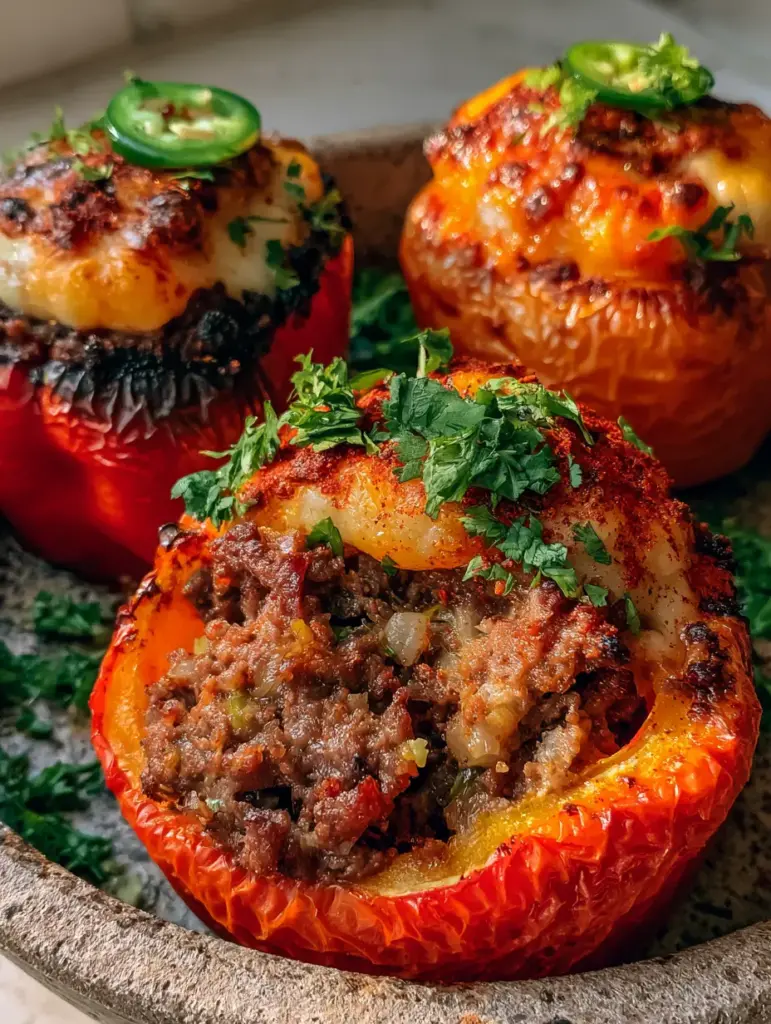
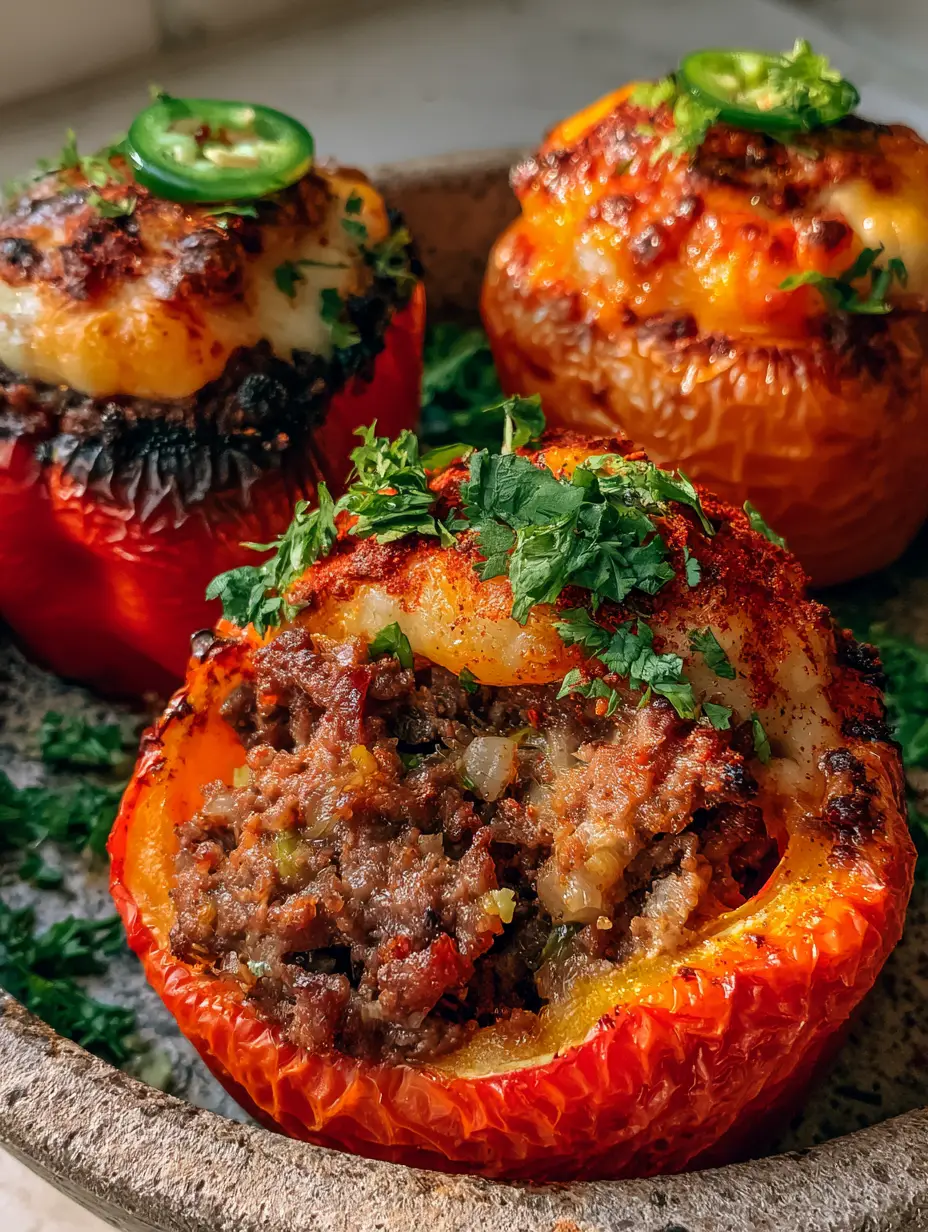
There is nothing quite as satisfying as stuffed bell peppers that strike the perfect balance between a vibrant, charred exterior and a succulent, savory filling. When you pull these from the oven, the first thing you notice is the aroma of roasted red and orange bell peppers, their skins beautifully blistered and showing those signature dark, smoky patches that signal deep flavor. This isn’t just a weekday dinner; it’s a multi-sensory experience that combines the brightness of Mexican-inspired spices with the indulgent, bubbling “macro melt” of a dual-cheese crust.
Every bite offers a contrast in texture, from the crisp-tender snap of the roasted pepper walls to the moist, juicy interior of seasoned ground beef and roasted onion bits. The crowning glory is the thick layer of Monterey Jack and sharp cheddar, toasted until golden-brown peaks form across the surface. Whether you are hosting a festive weekend dinner or looking to elevate your meal prep, these peppers are designed to impress both visually and culinarily.
The Anatomy of the Perfect Roasted Mexican Stuffed Pepper
- Blistered and Charred Skins: By roasting at a high temperature, we achieve a smoky, rustic texture on the red and orange pepper walls that mimics a professional wood-fired oven.
- The “Macro Melt” Crust: A strategic blend of Monterey Jack for gooey elasticity and sharp cheddar for a toasted, flavorful crust provides that sought-after cheese pull.
- Juicy Beef Interior: We use specific moisture-retaining techniques, incorporating green chiles and diced onions to ensure the ground beef never turns dry or crumbly.
- Vibrant Garnishes: Fresh cilantro, sliced jalapeños, and a dusting of smoked paprika add layers of heat and freshness that cut through the richness of the beef and cheese.
The Ultimate Component List for Mexican Stuffed Peppers
Large Red and Orange Bell Peppers: Choose peppers that are firm and have a flat bottom so they can stand upright in your rustic stone baking dish. Their natural sugars caramelize beautifully under high heat, providing the “blistered” look required for this dish.
Ground Beef (80/20 Lean-to-Fat Ratio): 1.5 lbs (680g) of high-quality beef ensures the interior stays moist. The fat content is essential for carrying the flavors of the chili flakes and roasted onion bits.
Monterey Jack Cheese: 1.5 cups (170g) of shredded Monterey Jack provides the creamy, white base of the melt. Its high moisture content is what creates the “glistening moisture” seen in the final photo.
Sharp Cheddar Cheese: 1 cup (113g) of sharp cheddar is used specifically for the top layer. Because it has a lower moisture content than Jack, it toasts into those beautiful golden-brown peaks and a crispy crust.
Diced Yellow Onion & Green Chiles: 1 cup (150g) of onion and 4 oz (113g) of canned green chiles. These provide the “tiny flecks” of green and the “roasted onion bits” that define the savory profile of the filling.
Fresh Garnishes & Spices: You will need 1/4 cup (15g) of freshly chopped cilantro, 1 medium jalapeño sliced into thin rounds, and a dusting of smoked paprika and fine chili flakes. These elements provide the final pop of color and a controlled hit of heat.
Foundational Seasonings: 1 tbsp (15ml) avocado oil for searing, 2 tsp (12g) sea salt, 1 tsp (2g) cracked black pepper, and 1 tbsp (8g) chili powder. These “invisible” ingredients are scientifically required to bridge the flavors of the meat and peppers.
Essential Kitchen Tools for Achieving Professional Results
To replicate the visual depth of this recipe, a rustic stone baking dish is highly recommended. The stone retains heat evenly, helping to blister the bottom and sides of the peppers while the top heat chars the skin. You will also need a heavy-bottomed cast iron skillet to sear the beef and onions, ensuring you get that deep browning (the Maillard reaction) before the peppers even hit the oven.
A handheld smartphone camera might capture the final result, but a sharp chef’s knife is what gets you there. Precision-slicing the jalapeños and finely chopping the cilantro ensures the garnish looks intentional and professional rather than cluttered. If you enjoy precision-based recipes, you might also love our creamy Cajun chicken stuffed shells for another cheesy, oven-baked delight.
Mastering the Char: A Step-by-Step Culinary Guide
Phase 1: Preparing the Peppers for Roasting
Preheat your oven to 400°F (205°C). Carefully slice the tops off your red and orange bell peppers and remove the seeds and membranes. Rub the exterior of each pepper with a light coating of oil and a pinch of salt. Place them upright in the stone baking dish and roast for 10-12 minutes before stuffing; this “pre-roast” ensures the skins begin to blister without overcooking the meat later.
Phase 2: Crafting the Savory Beef Filling
In your skillet, heat the oil over medium-high heat. Add the ground beef, breaking it apart with a wooden spoon. Listen for the sizzle—this sound indicates the moisture is evaporating and browning is beginning. Add the diced onions and cook until they become translucent and begin to turn into “roasted onion bits.” Stir in the green chiles, chili powder, and fine chili flakes. The mixture should look moist and glistening.
Phase 3: The Art of the Macro Melt
Stuff each pre-roasted pepper tightly with the beef mixture. Create a small well at the top of the beef and pack in the shredded Monterey Jack. Finally, mound the sharp cheddar on top, allowing it to spill slightly over the edges. This creates the “thick, bubbling crust” described in our visual blueprint. Return the dish to the oven and bake for another 20 minutes, or until the cheese is bubbling and the pepper skins show dark, charred spots.
Phase 4: The Final Garnish and Presentation
Remove the dish from the oven and let it rest for 5 minutes. This resting period allows the juices inside the stuffed bell peppers to redistribute, ensuring a “moist, juicy interior” when sliced. Scatter the fresh cilantro generously over the top, place two to three jalapeño slices on each pepper, and finish with a light dusting of smoked paprika for that vibrant red glow.
Expert Tips for Culinary Success
- Control the Moisture: Drain any excess fat from the beef after browning but before adding the green chiles. This prevents the bottom of the peppers from becoming soggy.
- The Broiler Trick: If your cheese isn’t forming those golden-brown peaks after 20 minutes, switch the oven to broil for the final 60-90 seconds. Watch closely to prevent burning!
- Standing Tall: If your peppers are wobbly, slice a tiny sliver off the bottom bumps to create a flat surface, being careful not to cut a hole all the way through to the cavity.
- Flavor Depth: For an even deeper flavor, try adding a teaspoon of Worcestershire sauce to the beef mixture while it sears.
Safe Storage and Reheating Methods
Leftover stuffed bell peppers can be stored in an airtight container in the refrigerator for up to 4 days. To maintain the integrity of the blistered skin, reheat them in the oven at 350°F (175°C) for 15 minutes rather than using a microwave, which can make the peppers mushy.
For long-term storage, these peppers freeze surprisingly well. Wrap each individual roasted pepper in foil and place them in a freezer bag for up to 3 months. Thaw overnight in the fridge before reheating to ensure the beef stays juicy and the cheese crust regains its texture.
What to Serve with Stuffed Bell Peppers
These peppers are a complete meal on their own, but they pair beautifully with light, acidic sides that cut through the richness of the Monterey Jack and beef. A crisp Thai peanut noodle salad offers a refreshing crunch, or you could serve them alongside smash tacos for a full Mexican-themed spread.
If you’re looking for something lighter, a simple green salad or even some healthy Reese’s eggs for dessert can balance out the savory intensity of the main course. For those who enjoy handheld treats, these peppers share a similar flavor profile to our popular sausage egg and cheese breakfast roll ups.
Frequently Asked Questions
Yes, you can assemble the peppers and store them in the fridge for up to 24 hours before baking. Wait to add the fresh cilantro and jalapeño garnish until after they come out of the oven.
This specific recipe focuses on a high-protein beef and onion filling without rice for maximum juiciness, but if you choose to add rice, it must be fully cooked before mixing with the beef.
To achieve blistered skin, pre-roast the peppers at 400°F (205°C) with a light coating of oil before adding the filling. This allows the high heat to caramelize the sugars in the pepper walls quickly.
A combination of Monterey Jack and Sharp Cheddar is ideal. The Jack provides the creamy melt, while the Cheddar has a lower moisture content that allows it to form toasted, golden-brown peaks.
Filling often turns dry if the meat is too lean or overcooked. Using 80/20 ground beef and adding moisture-rich ingredients like diced onions and green chiles ensures a juicy interior.
The Ultimate Recipe for Blistered Mexican Stuffed Bell Peppers
Stuffed Bell Peppers with a Toasted Cheddar Crust and Blistered Skin
Ingredients
Equipment
Method
- Preheat oven to 400°F (205°C). Coat pepper exteriors with oil and salt. Roast upright in a stone dish for 10-12 minutes until skins begin to blister.
- Brown ground beef in a skillet. Add onions and cook until they become roasted onion bits. Stir in green chiles and seasonings until glistening.
- Fill peppers with beef, top with Monterey Jack and Cheddar. Bake for 20 minutes until a thick, bubbling crust forms with golden peaks.
- Top with fresh cilantro, jalapeño slices, and a dusting of smoked paprika before serving.
Notes
Ensure the peppers are wiped dry before oiling to help the skin blister properly.
Join the Mindful Feast Community
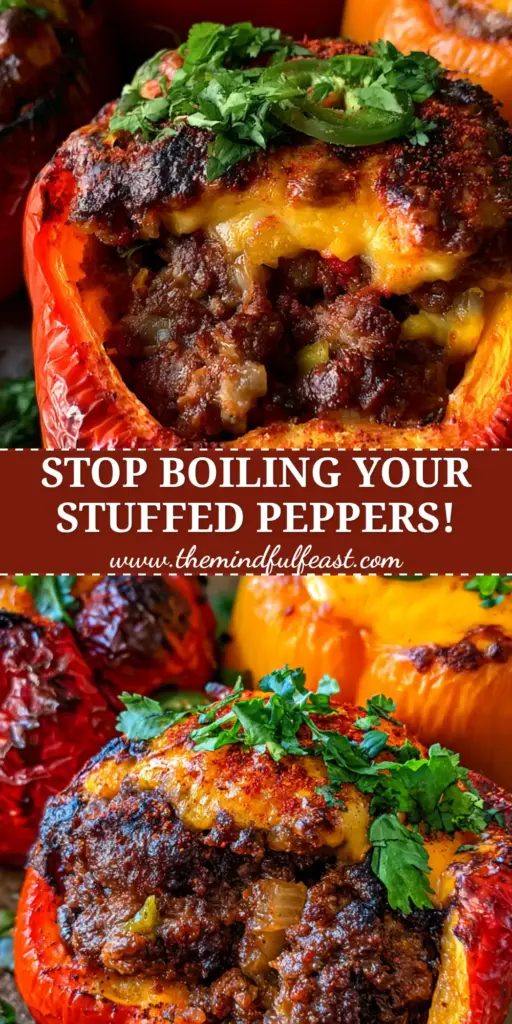
We hope these stuffed bell peppers become a new staple in your home kitchen. The combination of charred skins, juicy beef, and that irresistible toasted cheddar crust is a guaranteed crowd-pleaser. If you enjoyed this recipe, please leave a comment below and let us know how your “macro melt” turned out! Don’t forget to share your creations and follow us on Pinterest for more culinary inspiration.