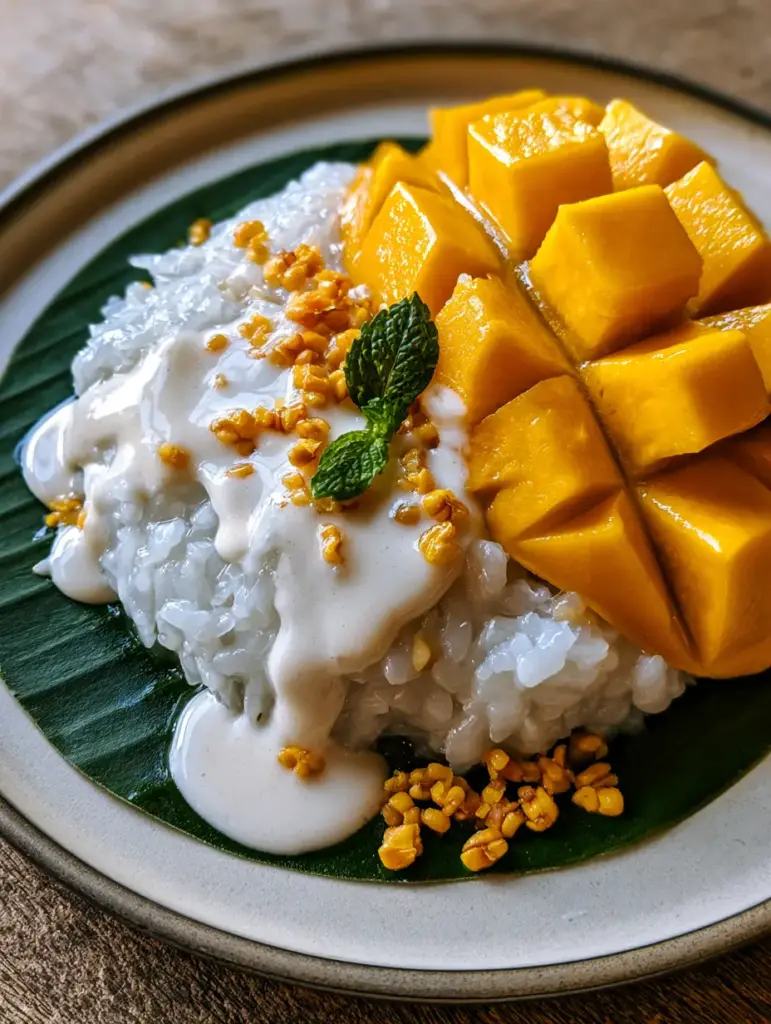
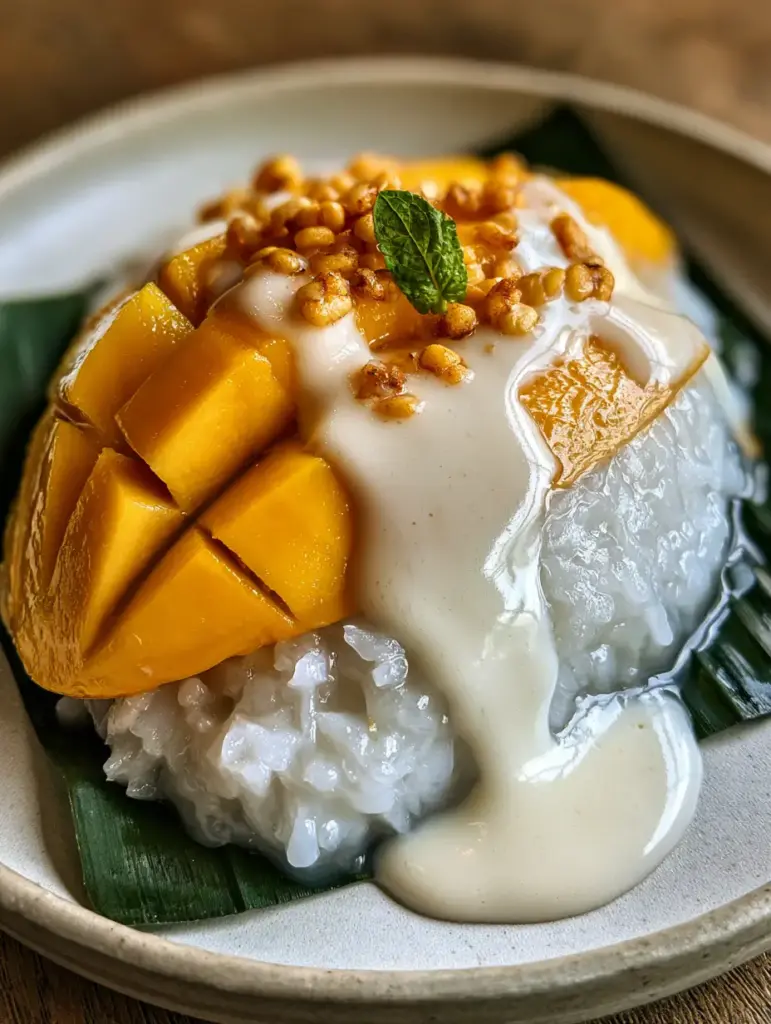
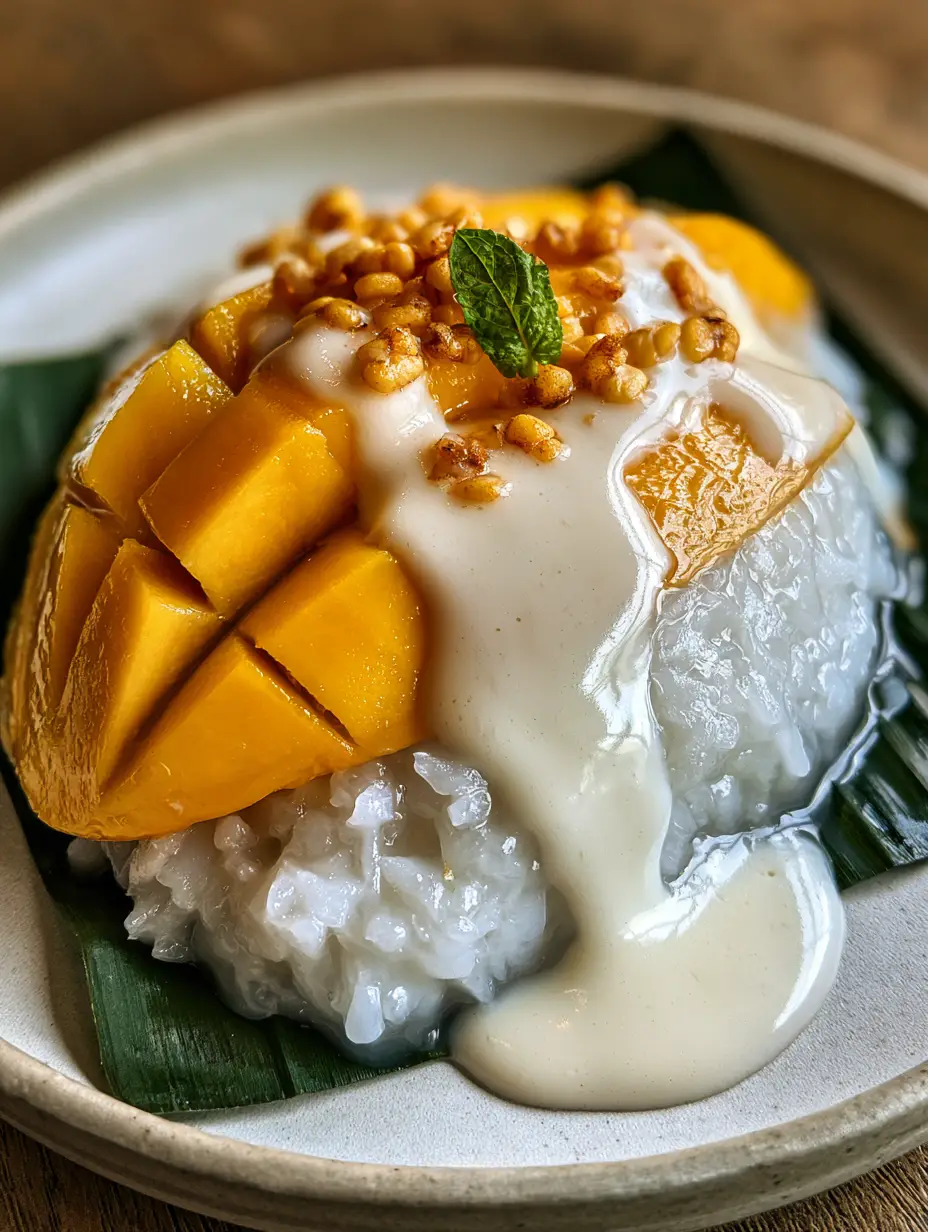
There is a specific, ethereal magic found in a plate of authentic Thai Mango Sticky Rice. Imagine a soft morning light hitting a minimalist ceramic plate, where a vibrant, dark green banana leaf serves as the stage for a mound of pearly-white glutinous rice. This rice isn’t just cooked; it’s glistening with sweet coconut moisture, reflecting the soft daylight with a translucent, glossy sheen.
Beside the rice lay thick, fan-sliced wedges of perfectly ripe Ataulfo mango, their vibrant golden-yellow flesh shimmering with a slight juice glisten. To finish, a generous, ivory-white coconut cream sauce cascades over the fruit and grain, pooling slightly at the base with a rich, silky texture. A scattering of toasted, crunchy golden mung beans and a single tiny sprig of fresh mint complete this culinary masterpiece.
This Thai Mango Sticky Rice recipe is designed to help you recreate that exact sensory experience in your own kitchen. Whether you are a seasoned home cook or a tropical dessert enthusiast, this guide will walk you through the forensic details of texture, temperature, and taste to ensure a result that looks just like a professional food photograph.
Sensory Perfection: Why This Thai Mango Sticky Rice Stands Apart
- Visual Brilliance: The contrast between the translucent white rice, the deep green leaf, and the golden-yellow mango creates a stunning, high-contrast presentation.
- Textural Harmony: You will achieve a perfect balance between the chew of the glutinous rice, the silkiness of the coconut glaze, and the sudden crunch of toasted mung beans.
- Authentic Flavor Profile: By using traditional palm sugar and a hint of salt, we create a complex sweetness that elevates the Ataulfo mango’s natural honey notes.
- Professional Gloss: Our specific steaming and soaking technique ensures the rice looks pearly and moist, never mushy or dry.
The Anatomy of Ingredients for Authentic Khao Niew Mamuang
Creating a dish this visually specific requires the right raw materials. Every ingredient in this Thai Mango Sticky Rice has a structural and flavor-based purpose to fulfill.
Long-Grain Glutinous Rice (Sweet Rice): You must use glutinous rice (labeled as “sweet rice” or “sticky rice”), which contains the high amylopectin content required for that signature translucent, chewy texture. Do not substitute with jasmine or sushi rice, or you will lose the “pearl” appearance described in our visual blueprint.
Ataulfo Mangoes: Also known as Champagne mangoes, these are preferred for their vibrant golden-yellow color and lack of fibrous strings. Their buttery texture allows for the clean, fan-sliced wedges seen in professional food photography.
Full-Fat Coconut Milk: For that opaque, ivory-white drizzle, you need the high fat content of canned coconut milk. If you enjoy these tropical flavors, you might also love our mango coconut pie which uses a similar flavor base.
Peeled Split Mung Beans: These are the “golden beans” scattered on top. They provide a crucial toasted aroma and a necessary “snap” to break up the soft textures of the dish.
Palm Sugar & Salt: Palm sugar provides a deep, caramel-like sweetness, while a precise amount of salt is the “invisible” ingredient that makes the coconut cream taste intensely rich rather than just sugary.
Fresh Mint & Banana Leaf: While often considered garnishes, the dark green banana leaf provides the visual anchor, and the tiny mint sprig offers a pop of bright green color that makes the yellows and whites “pop.”
Essential Equipment for the Perfect Rice Texture
To achieve the “glossy, steamed” look of the Thai Mango Sticky Rice, the right tools are non-negotiable. You will need a fine-mesh sieve for rinsing the rice until the water runs clear, which is the secret to that translucent finish.
A traditional Thai bamboo steamer basket (steaming pot) is ideal, but a standard steamer insert lined with cheesecloth works perfectly well. You will also need a small saucepan to emulsify the coconut glaze into a thick, cascading drizzle.
The Culinary Blueprint: Step-by-Step Instructions
Phase 1: Preparing the Crunchy Mung Bean Garnish
Before starting the rice, we must prepare the toasted golden mung beans. Soak 2 tbsp (30g) of peeled split mung beans in warm water for 20 minutes, then drain and pat them completely dry.
In a small skillet over medium-low heat, toast the beans, stirring constantly, until they turn a deep golden brown and become fragrant. They should be audibly crunchy when pressed with a spoon; set these aside to maintain their texture.
Phase 2: Rinsing and Soaking the Glutinous Rice
Measure 1.5 cups (300g) of glutinous rice. Rinse the rice at least 5 times in cold water, swirling with your hand, until the water transitions from milky to crystal clear. This removes excess surface starch, preventing the rice from becoming a gummy mass.
Soak the rinsed rice in 4 cups (960ml) of water for at least 4 hours, or ideally overnight. This ensures each grain hydrates evenly, leading to that “pearly-white” appearance after steaming.
Phase 3: Steaming for the Pearly-White Finish
Drain the rice and transfer it to a cheesecloth-lined steamer. Steam over boiling water for 20-25 minutes. Halfway through, flip the rice mound to ensure even cooking.
The rice is done when it looks translucent and feels tender but chewy. It should have a glistening, moist exterior rather than a dry, matte look.
Phase 4: The Coconut Milk Infusion
While the rice steams, whisk 1 cup (240ml) of coconut milk, 1/2 cup (100g) of palm sugar, and 1/2 tsp (3g) of salt in a saucepan over medium heat. Do not let it boil; just dissolve the sugar.
Once the rice is done, immediately transfer it to a bowl and pour 3/4 of this warm coconut mixture over it. Stir gently, cover, and let it rest for 20 minutes. The rice will absorb the liquid, becoming the “glistening, sweet coconut moisture” described in our visual prompt.
Phase 5: Crafting the Thick Ivory-White Glaze
Take the remaining 1/4 of the coconut mixture and return it to the saucepan. Add 1 tsp (5g) of rice flour or cornstarch slurry (mixed with a little water). Simmer gently until the sauce thickens into an opaque, ivory-white cream that can “cascade” and “pool” without running off the plate.
Expert Tips for Visual and Flavor Success
- The Temperature Secret: Always mix the warm coconut milk with the hot, freshly steamed rice. If the rice cools down, it won’t absorb the flavors or achieve that glossy sheen.
- Mango Selection: Use mangoes that give slightly to pressure but aren’t mushy. If you have leftover fruit, try using it in a mango boba recipe for a refreshing drink.
- The Salt Balance: Don’t skip the salt in the coconut sauce! It is the scientific key to balancing the high fat content of the coconut and the sugar in the mango.
- Banana Leaf Preparation: If using a real banana leaf, lightly singe it over an open flame for 2 seconds. This releases the oils, making it a deep, vibrant green and very flexible.
What to Serve With Thai Mango Sticky Rice
While this is a standout dessert, it fits perfectly within a larger Southeast Asian feast. You might start with a refreshing Thai peanut noodle salad to provide a savory, zesty contrast to the sweet rice.
For those who love incorporating fruit into their daily routine, our mango overnight oats offer a similar flavor profile for a healthy breakfast option. If you prefer a more formal dessert presentation, consider comparing this texture to a mango tart recipe.
Storage, Reheating & Freezing
Thai Mango Sticky Rice is best enjoyed fresh and slightly warm. However, you can store the rice and coconut sauce separately in the refrigerator for up to 2 days. To reheat, steam the rice for 5 minutes or microwave it covered with a damp paper towel to restore its gloss.
Do not freeze the assembled dish, as the mango will lose its structural integrity and the rice will become grainy upon thawing.
Frequently Asked Questions
While possible, steaming in a basket is the traditional method to ensure the rice is ‘glossy’ and not mushy. If using a rice cooker, use a steamer tray to avoid direct boiling.
No, jasmine rice will not work. You specifically need ‘glutinous’ or ‘sweet’ rice to achieve the chewy, translucent, and sticky texture that defines this dish.
Use full-fat canned coconut milk and a small amount of rice flour slurry. Simmering gently helps the sauce thicken into an opaque, silky glaze that pools beautifully.
Mung beans must be soaked for 20 minutes before toasting to soften them slightly. Once toasted, they should be crunchy but brittle enough to eat easily.
The Authentic Thai Mango Sticky Rice Recipe Card
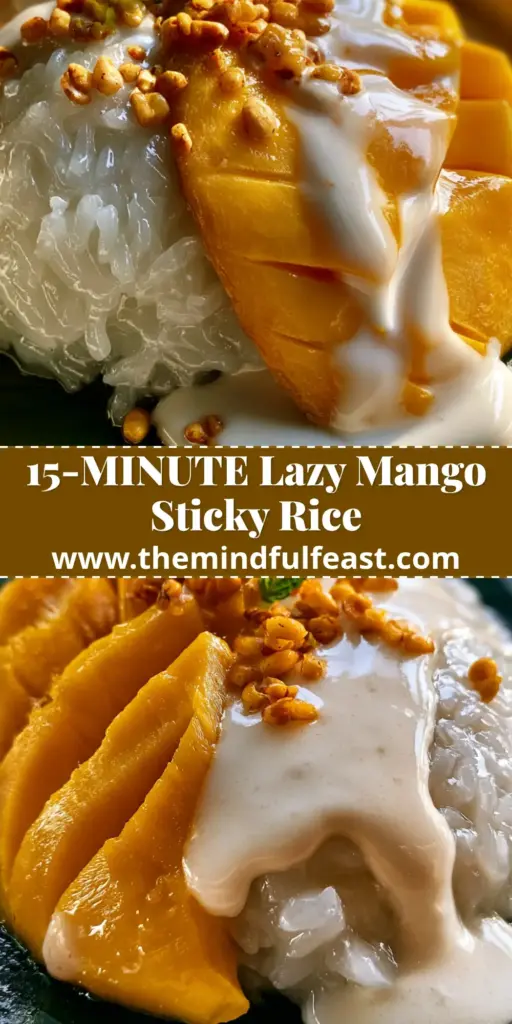
Thai Mango Sticky Rice Recipe: The Ultimate Guide to Authentic Khao Niew Mamuang
Ingredients
Equipment
Method
- Place soaked and drained rice into a cheesecloth-lined steamer. Steam for 20-25 minutes until translucent and pearly.
- Whisk 1 cup coconut milk, palm sugar, and salt in a pan over low heat until dissolved. Pour 3/4 over the hot rice; let sit for 20 minutes.
- Toast soaked and dried mung beans in a dry skillet until deep golden brown and crunchy.
- Mix remaining coconut sauce with rice flour slurry and simmer until thick and opaque ivory-white.
- Place a mound of rice on a banana leaf. Arrange fan-sliced mangoes next to it. Drizzle with thick glaze and top with mung beans and mint.
Notes
Ensure the coconut milk is full-fat for the best ivory glaze appearance.
Conclusion: Bringing the Tropics Home
Creating authentic Thai Mango Sticky Rice is a rewarding exercise in culinary precision. By focusing on the translucency of the rice, the thickness of the ivory glaze, and the vibrant golden hues of the Ataulfo mango, you create a dish that is as much a visual work of art as it is a comforting dessert.
We invite you to share your beautiful recreations with us! If you enjoyed this guide, please leave a comment below and follow us on Pinterest for more visually-driven recipe inspiration. Happy cooking!