There is something undeniably magical about the perfect Birthday Cake Pops. It is not just a dessert; it is a handheld celebration, a miniature masterpiece of textures that combines the nostalgic flavor of a moist vanilla cake with the sophisticated snap of a professional-grade candy shell. When you hold one of these treats, the soft natural light dancing off the glossy pastel pink exterior hints at the vibrant, moisture-rich surprise hidden within.
Achieving that clean bite—the one that reveals a dense, vibrant pink cake center against a crack-free shell—requires more than just a recipe; it requires a culinary blueprint. Whether you are prepping for a milestone party or just want to master the art of the cake truffle, these pops are designed to look as though they stepped right off a minimalist marble countertop in a high-end boutique bakery. The rainbow nonpareil sprinkles add that final pop of color, making every stick-held morsel a visual and literal feast.
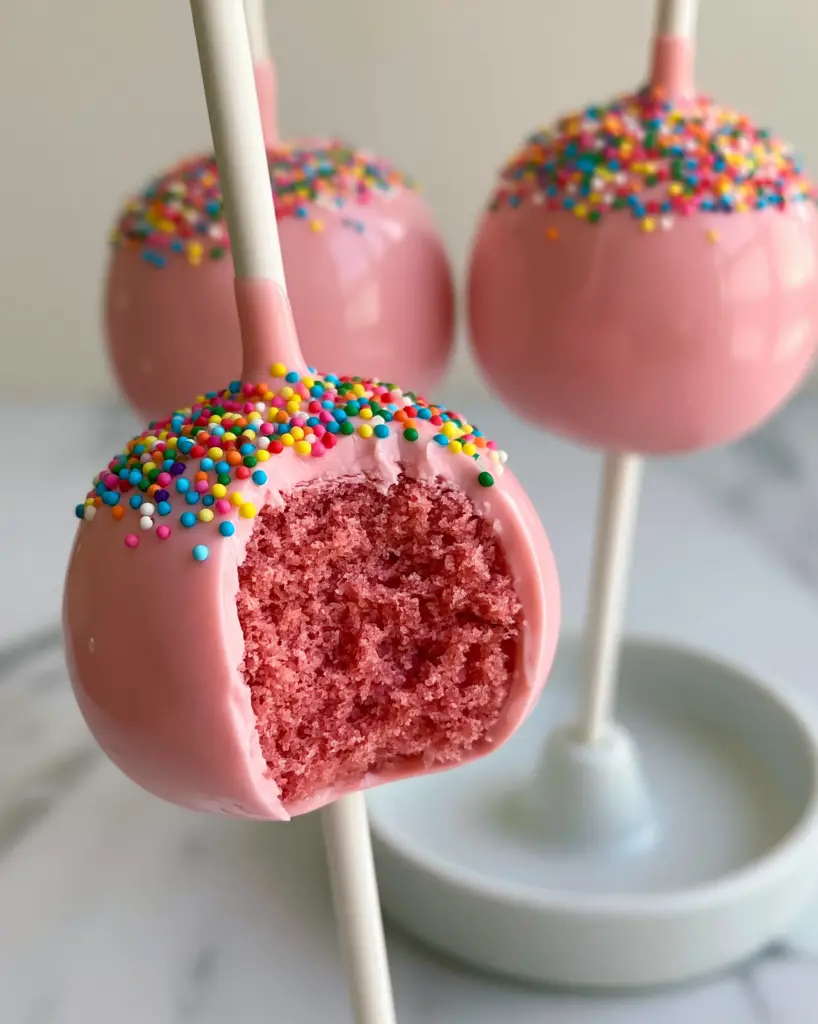
The Anatomy of a Perfect Pink Cake Pop: Texture and Visuals
- Moist Pink Vanilla Core: Unlike dry, crumbly imitations, our center is a dense, vibrant pink vanilla sponge infused with professional-grade gel coloring for maximum visual impact.
- High-Gloss Candy Shell: We utilize a specific tempering technique with a touch of coconut oil to ensure a pastel pink coating that is perfectly smooth and mirrors the light.
- Structural Integrity: By using sturdy white lollipop sticks and the correct chilling ratios, we ensure your pops stay upright in their white ceramic stand without slipping or cracking.
- Textural Contrast: The crunch of rainbow nonpareils provides a necessary counterpoint to the velvet-soft cake interior revealed after the first bite.
Essential Elements for Perfectly Pink Cake Pops
To achieve the visual and structural results seen in our gourmet photos, you need a balance of foundational pantry staples and specific decorative elements. Every ingredient serves a purpose, from the crumb structure of the cake to the fluidity of the coating.
For the Vibrant Pink Vanilla Cake:
1 ½ cups (190g) All-Purpose Flour: This provides the structural framework for the cake, ensuring it can hold the moisture of the binding frosting without becoming mushy.
1 cup (200g) Granulated Sugar: Beyond sweetness, sugar helps tenderize the crumb and keeps the vibrant pink center moist for days.
1 tsp (5g) Baking Powder: This leavening agent creates a slight lift, preventing the cake from becoming too dense before it is crumbled and reformed.
½ cup (115g) Unsalted Butter, softened: Creamed butter provides the rich, nostalgic vanilla flavor profile essential for a true birthday cake experience.
1 tsp (5ml) Pure Vanilla Extract: High-quality vanilla is the backbone of the flavor; it rounds out the sweetness of the pastel pink shell.
2 large Eggs: Eggs act as the primary binder, giving the cake center the elasticity it needs to stay on the stick.
½ cup (120ml) Whole Milk: Milk adds necessary fat and hydration to ensure the “moist, dense center” described in our visual blueprint.
Neon Pink Gel Food Coloring: Use gel rather than liquid to achieve that vibrant pink hue without altering the moisture content of the batter.
For the Silky Binder and Coating:
¼ cup (60g) Vanilla Buttercream Frosting: Just enough to bind the crumbs into a “fudgy” consistency without making them greasy.
12 oz (340g) Pastel Pink Candy Melts: These provide the perfectly smooth, crack-free exterior that is hallmark to a gourmet pop.
1 tbsp (15ml) Refined Coconut Oil: The secret to the “glossy texture”; it thins the candy melts for a professional, drip-free finish.
2 tbsp (30g) Rainbow Nonpareil Sprinkles: These provide the classic birthday aesthetic and a delightful crunch.
Tools for a Boutique Bakery Finish
To replicate the minimalist, high-end look of our three gourmet cake pops, you will need a few specific tools. A white ceramic stand is vital for holding the pops upright while they set, preventing flat sides. You will also need standard white lollipop sticks, which offer a clean, neutral contrast to the colorful pops. A small, deep microwave-safe bowl is essential for the dipping process, ensuring the pops can be fully submerged in one motion for that crack-free finish. If you enjoy creating beautiful kitchen art, you might also be interested in avocado-toast wall art to decorate your baking space.
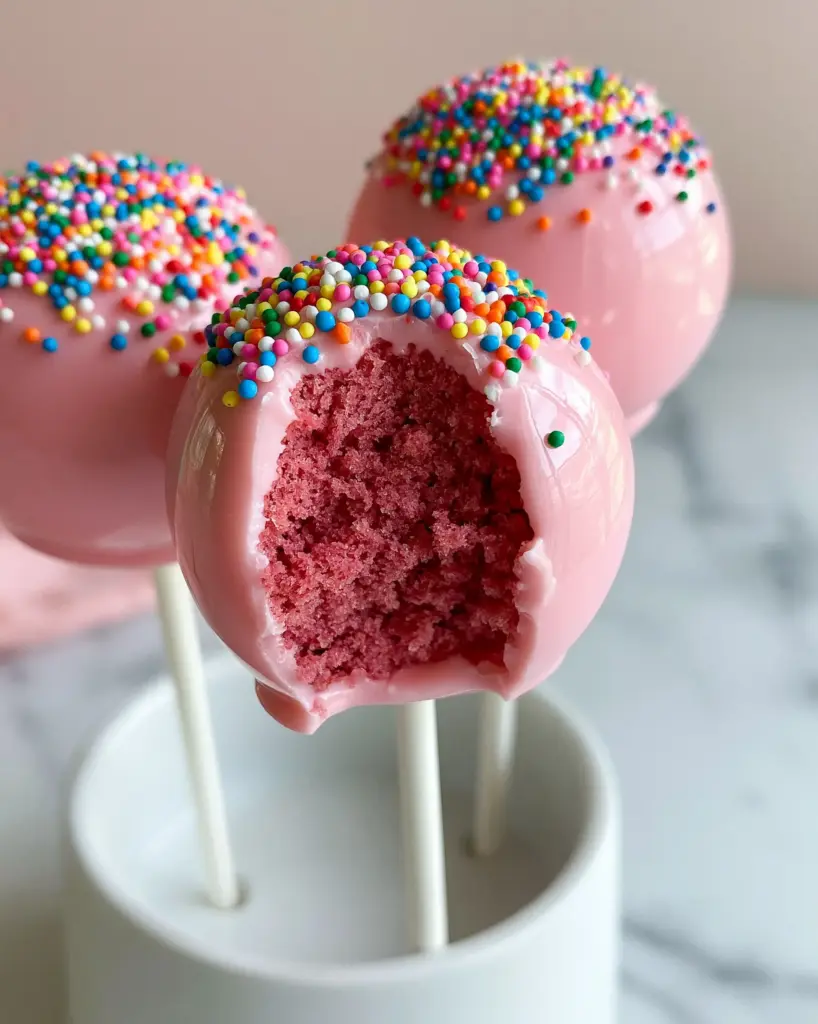
Crafting the Ultimate Gourmet Birthday Treats Step-by-Step
1. Baking the Vibrant Pink Base
Preheat your oven to 350°F (175°C). In a large bowl, cream the butter and sugar until pale and fluffy, which takes about 3 minutes of high-speed mixing. Add eggs one at a time, followed by the vanilla and a small drop of pink gel coloring. Sift in the flour and baking powder, alternating with the milk, until a smooth, bright pink batter forms. Pour into a greased 9-inch pan and bake for 25-30 minutes, or until a skewer comes out clean. The cake should look vibrant and smell like a classic bakery.
2. The Crumb and Bind Technique
Once the cake is completely cool, tear it into small pieces and place them in a large bowl. Using your hands or a stand mixer, break the cake down into fine, uniform crumbs. Add the vanilla buttercream frosting one tablespoon at a time. You are looking for a “Play-Doh” consistency—it should hold together when squeezed but not feel wet. If you enjoy this flavor profile, you’ll love the textures in our funfetti loaf cake as well.
3. Rolling and Structural Chilling
Scoop about 1 tablespoon (approx. 30g) of the pink cake mixture and roll it between your palms until a perfectly smooth sphere forms. Place these on a parchment-lined tray. Dip the tip of a white lollipop stick into melted pink candy coating, then insert it halfway into the cake ball. This acts as “culinary glue.” Chill the pops in the freezer for exactly 15 minutes. This is critical; if they are too cold, the shell will crack, and if they are too warm, they will fall off the stick.
4. Achieving the Glossy Pastel Shell
Melt the pink candy melts with the coconut oil in 30-second intervals, stirring until completely fluid. Hold a chilled cake pop by the stick and dip it vertically into the coating until the cake is fully submerged. Lift it straight up and gently tap your wrist—not the stick—to let the excess coating drip off. Before the shell sets, scatter the rainbow nonpareils across the top. Place the stick into your white ceramic stand to dry.
Expert Tips for Success
- Avoid the Oil Bleed: If you see oil spots on your pops, you likely used too much frosting. The cake should be moist but not saturated.
- Temperature Control: Never dip a frozen cake pop into hot candy melts. The extreme temperature difference is the primary cause of the shell cracking. Aim for “cool to the touch.”
- Thin is In: If your candy coating is too thick, it will pull the cake off the stick. Add an extra teaspoon of coconut oil until the coating flows like warm honey.
- The Perfect Drip: When removing excess coating, rotate the pop slowly to ensure an even, glossy distribution without streaks.
Storage, Reheating & Freezing
Birthday Cake Pops are incredibly resilient when stored correctly. Keep them in an airtight container in the refrigerator for up to 5 days. The candy shell acts as a vacuum seal, keeping the pink center moist and fresh. For longer storage, you can freeze the pops for up to 6 weeks; however, be aware that condensation may form on the glossy shell as they thaw, slightly dulling the shine. To prevent this, thaw them slowly in the refrigerator before bringing them to room temperature.
What to Serve With This
These sweets are the star of the show, but they pair beautifully with a variety of party favorites. For a full dessert table spread, consider serving them alongside a birthday cake cheesecake for a mix of textures. If you’re hosting a brunch-themed celebration, these pops look stunning next to a cinnamon roll cake. For those who prefer a savory balance to the sugary pastel coating, a fresh cucumber salad or a savory snack like pickle poppers can cleanse the palate between bites.
Frequently Asked Questions
It is not recommended. Liquid coloring can alter the consistency of the cake batter and is often not concentrated enough to achieve a ‘vibrant’ pink. Gel food coloring provides intense color without adding extra moisture.
The secret to a glossy, professional finish is adding a small amount of refined coconut oil or paramount crystals to your candy melts. This thins the coating, allowing it to flow smoothly and set with a high shine.
When stored in an airtight container in the refrigerator, these pops stay moist and delicious for up to 5 days. The candy shell acts as a seal to keep the interior from drying out.
This happens if the cake balls are too heavy, too warm, or if you didn’t use ‘glue.’ Always dip the tip of the stick into the melted candy before inserting it into the cake ball, and ensure your frosting-to-cake ratio isn’t too high.
Cracking usually occurs due to extreme temperature changes. If the cake balls are too cold (frozen) and the candy coating is too warm, the shell will expand and crack as the temperature equalizes. Aim for chilled, not frozen, cake balls.
The Official Birthday Cake Pops Recipe
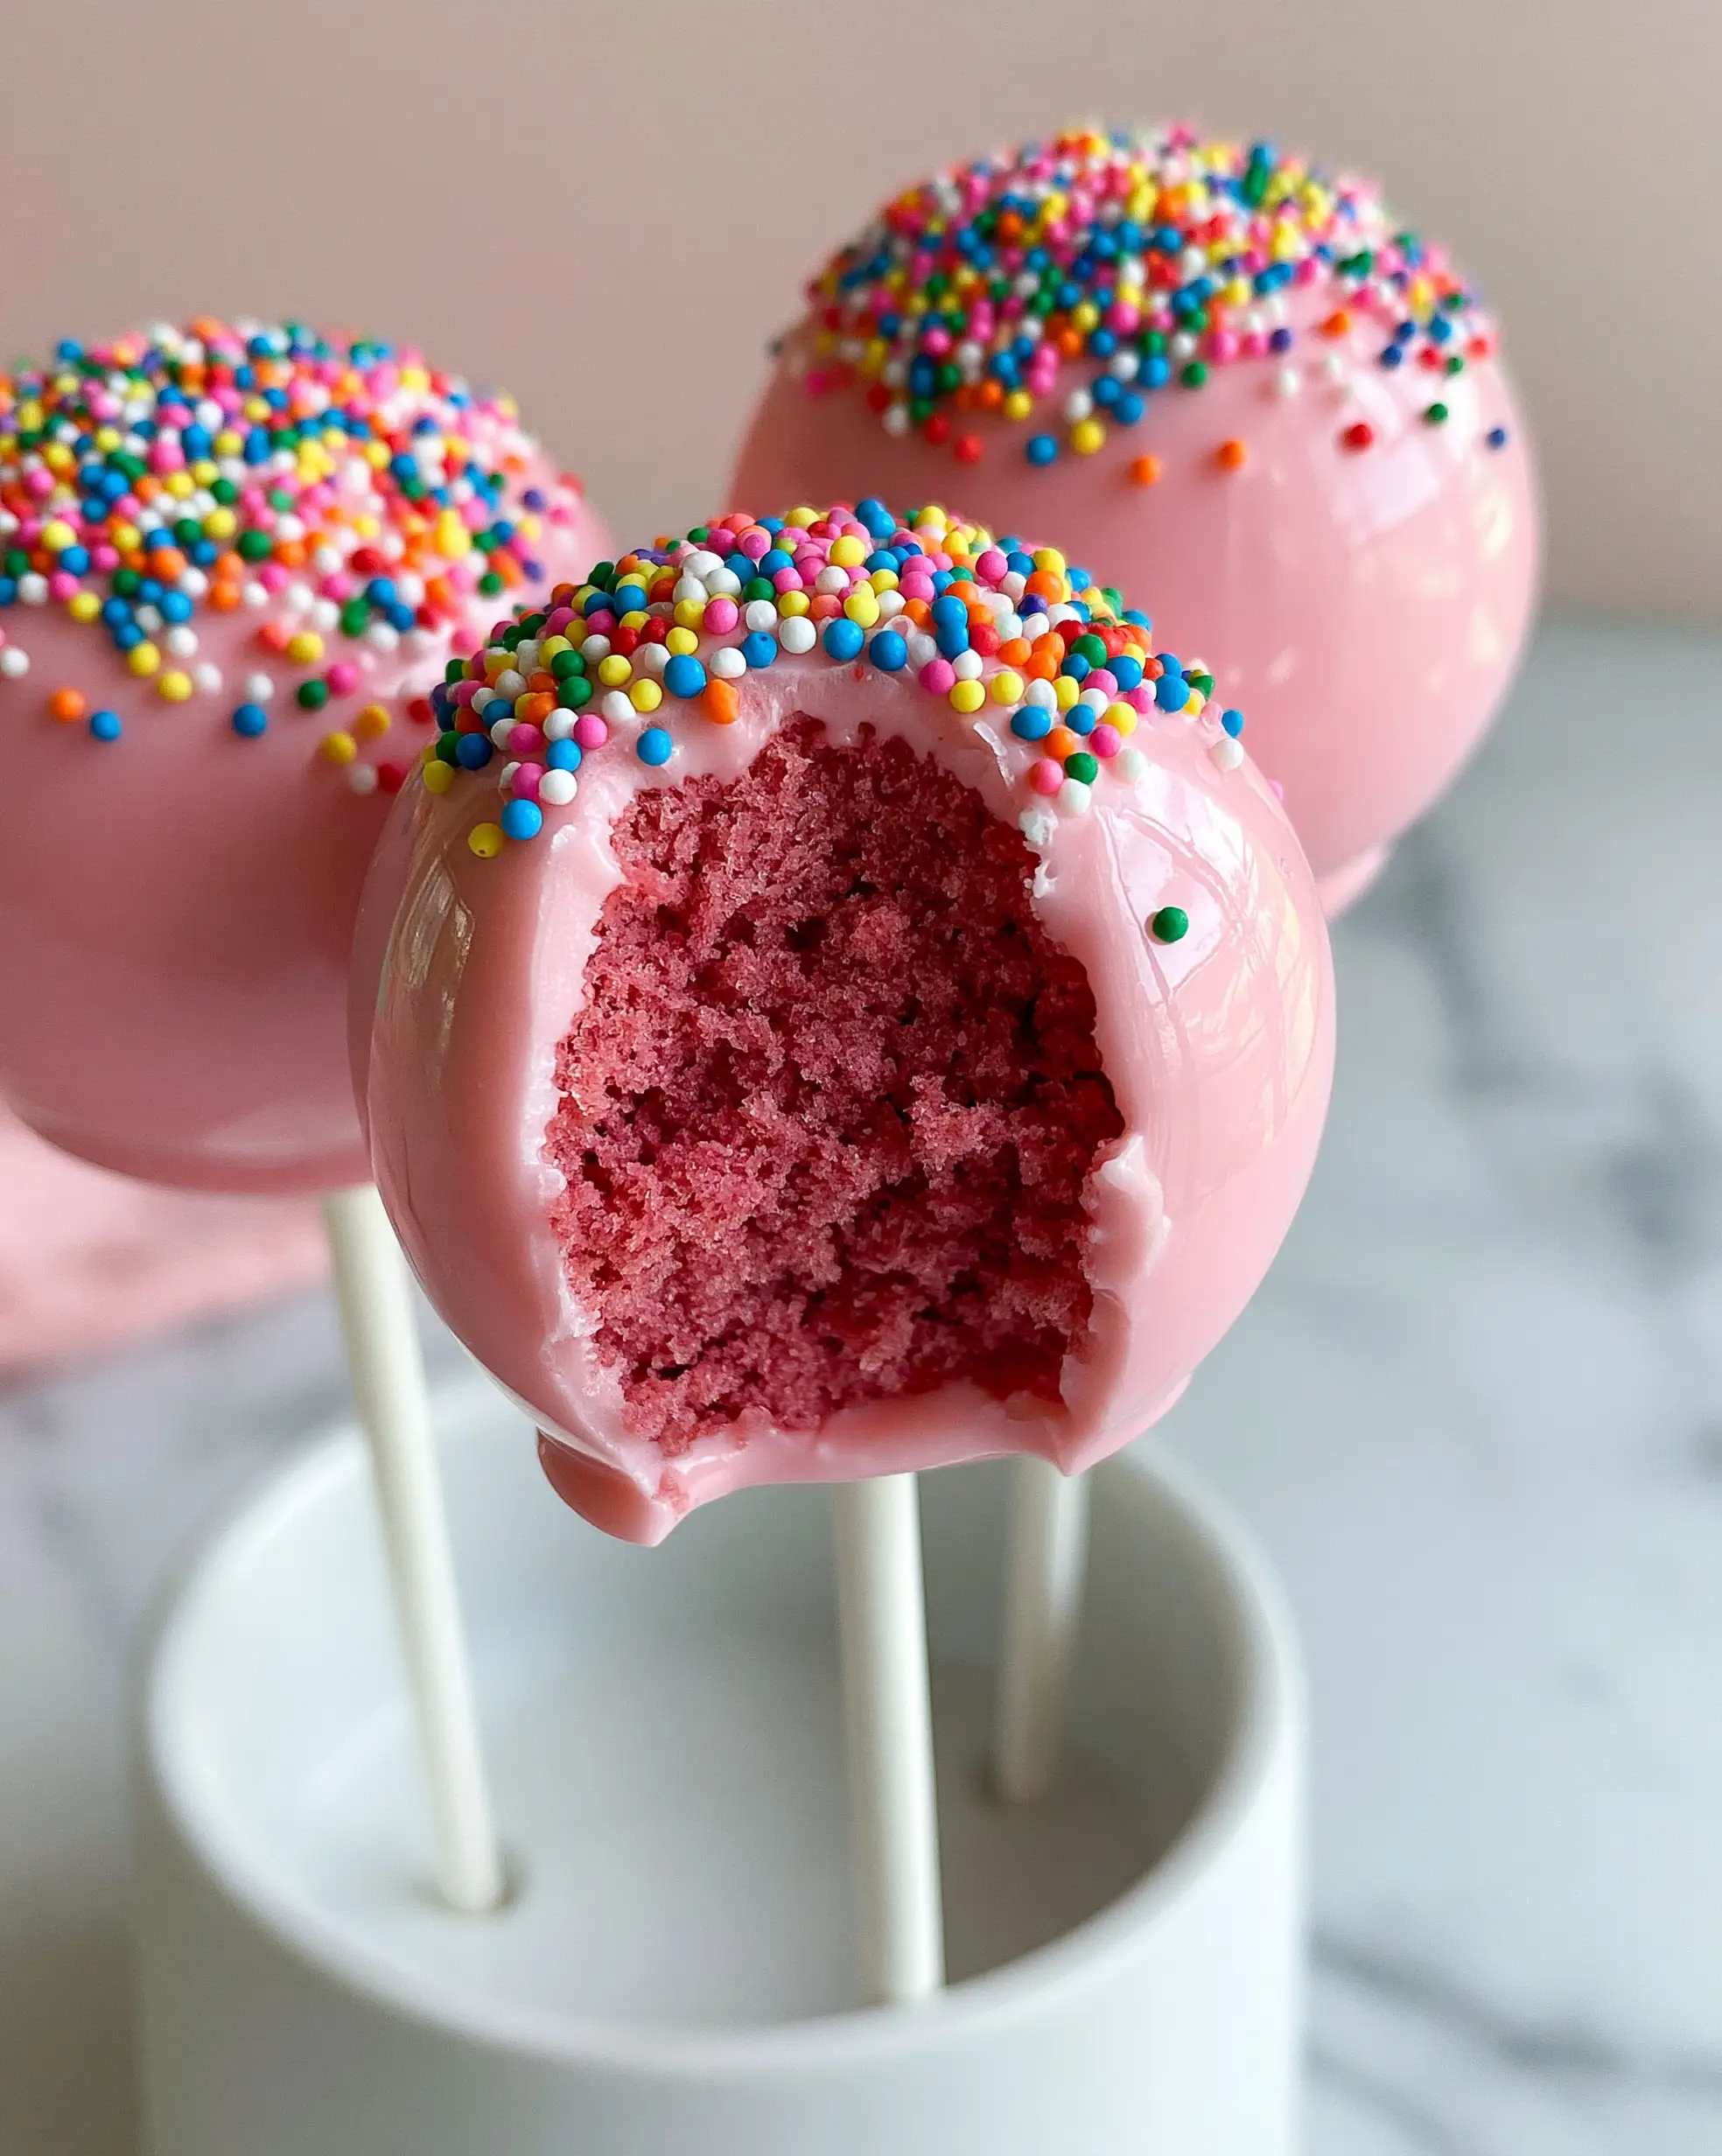
Birthday Cake Pops: The Ultimate Guide to Glossy, Vibrant Pink Gourmet Treats
Ingredients
Equipment
Method
- Cream butter and sugar, add eggs, vanilla, and pink gel. Mix in dry ingredients and milk. Bake at 350°F (175°C) for 25-30 minutes.
- Crumble cooled cake into fine pieces. Mix with buttercream until a dough-like consistency forms.
- Roll cake into 1-inch balls. Dip sticks in melted candy, insert into balls, and freeze for 15 minutes.
- Melt candy melts with coconut oil. Dip chilled pops vertically, tap off excess, and top with rainbow nonpareils.
Notes
Add coconut oil to your candy melts for a professional, high-gloss shine.
Closing & Call to Action
Mastering the Birthday Cake Pops is a rite of passage for any home baker looking to elevate their dessert game. The contrast of the moist, vibrant pink center against the glossy, pastel pink shell is a sensory experience that never fails to impress. Whether you are displaying them in a minimalist stand or gifting them to a friend, these pops represent the pinnacle of gourmet home baking. If you enjoyed this recipe, please leave a comment below and share your photos with us! Don’t forget to follow us on Pinterest for more visual recipe inspiration and gourmet tips.


