There is a specific kind of magic that happens when you combine the creamy texture of a frozen fruit with the decadent snap of dark chocolate. These frozen banana snickers are the physical embodiment of that magic, offering a gourmet twist on a childhood favorite. If you have been searching for a treat that satisfies your sweet tooth while maintaining a profile of wholesome ingredients, you have arrived at the right place.
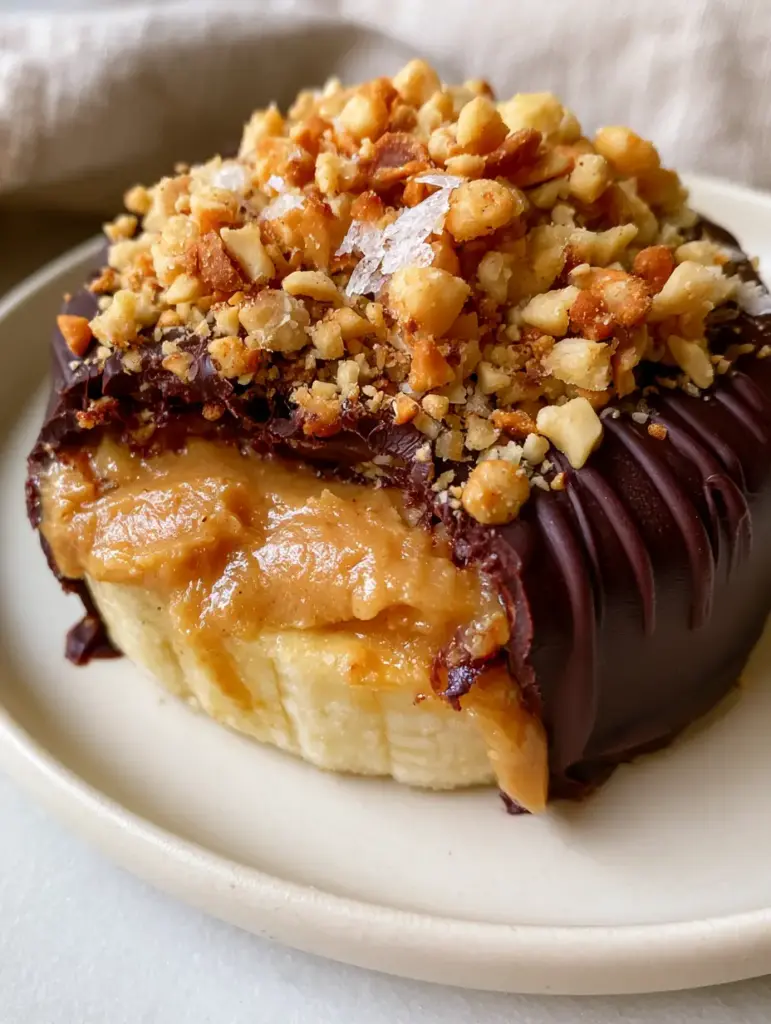
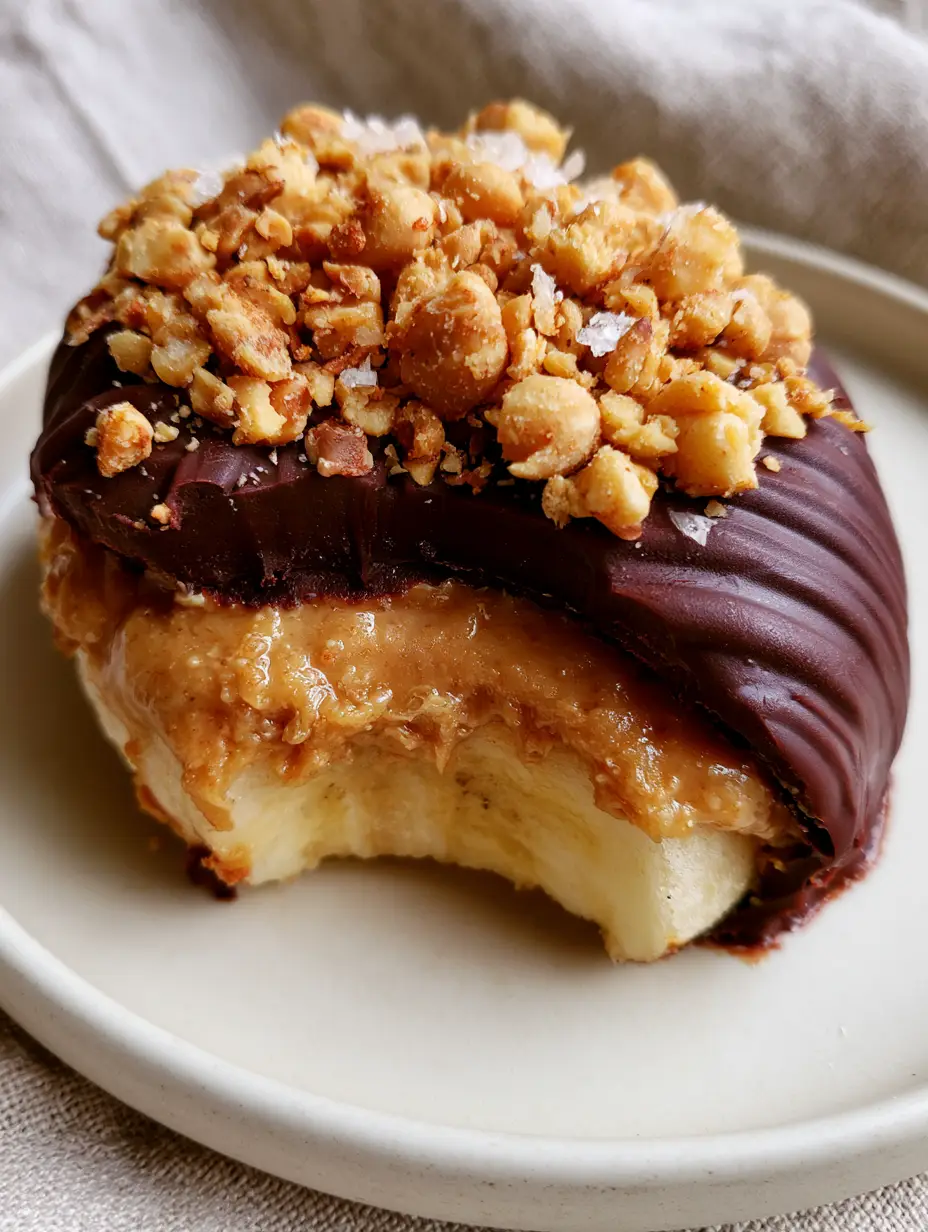
Imagine biting into a thick, round slice of a perfectly ripe banana that has been transformed by the cold into a texture resembling premium custard. As your teeth break through the matte dark chocolate shell, a layer of gooey, light-brown peanut butter begins to ooze down the side, meeting the crunch of roasted golden peanuts and the sharp finish of crystalline sea salt. This isn’t just a snack; it is a multi-sensory experience designed for the modern palate.
The beauty of this recipe lies in its simplicity and its visual architecture. We aren’t just making “banana bites”; we are engineering a snack that looks as good on a minimalist ceramic plate as it does coming straight out of a freezer bag. Whether you are looking for a post-workout recovery bite or a refined dessert for a summer gathering, these bites are the answer.
Why You Will Crave These Frozen Delights
- The Perfect Texture Contrast: You get the creamy “ice cream” feel of the frozen banana paired with the hard “snap” of a matte chocolate shell.
- Visual Gourmet Appeal: Each slice features a generous layer of oozing peanut butter and a cluster of crushed roasted peanuts that make them look like high-end patisserie.
- Natural Sweetness: By using ripe, pale yellow bananas, we utilize natural sugars that satisfy cravings without the energy crash.
- Meal-Prep Friendly: These stay perfectly preserved in the freezer, making them one of our favorite quick 5-minute snacks for busy weekdays.
The Pantry Essentials for Your Frozen Banana Snickers
To achieve the specific visual and structural results of this recipe, every ingredient plays a vital role. We are looking for high-quality fats and natural sugars to ensure the bite is as delicious as it is beautiful.
Ripe Bananas: 2-3 large bananas. You want them to be ripe with a few brown spots on the skin, but the flesh must be firm and a pale yellow color inside to provide the sturdy foundation required for the “Snickers” stack.
Creamy Peanut Butter: 1/2 cup (120ml). Look for a light-brown, drippy variety that will provide that signature “ooze” down the side of the banana slice once it’s assembled.
Dark Chocolate Chips: 1 cup (175g). A high cocoa percentage (70% or higher) ensures a sophisticated flavor and that beautiful matte-finish shell once frozen.
Coconut Oil: 1 tbsp (15ml). This is an “invisible” but crucial ingredient that thins the chocolate, allowing it to ripple perfectly and create a shell that doesn’t shatter too aggressively when bitten.
Roasted Salted Peanuts: 1/3 cup (50g). These must be golden-brown and crushed to provide the essential crunch and a savory counterpoint to the sweet banana.
Flaky Sea Salt: 1 tsp (5g). Large crystalline flakes provide the finishing touch, catching the light and enhancing the depth of the dark chocolate.
Lemon Juice: 1 tbsp (15ml). A light brush of acidity on the banana slices ensures they maintain their pale yellow hue and don’t oxidize during the assembly process.
Necessary Tools for Culinary Success
Achieving the perfect “rippled” chocolate look and the “oozing” peanut butter layer requires a few specific tools. You don’t need a professional kitchen, but a few basics will make the process seamless.
You will need a sharp chef’s knife to ensure clean, round slices of banana without bruising the fruit. A parchment-lined baking sheet is essential to prevent the peanut butter from sticking as it sets in the freezer.
For the chocolate dipping process, a small, deep microwave-safe bowl or a small stainless steel pot for a double boiler is ideal. Using a deep bowl rather than a shallow one allows for the “half-dipped” aesthetic seen in the visual prompt.
Step-by-Step Architecture: Building the Perfect Bite
Follow these steps carefully to ensure your frozen banana snickers have the structural integrity to stand up to a handheld “bitten” photo.
Step 1: Preparing the Banana Foundation
Peel your bananas and slice them into thick, uniform rounds, approximately 1/2 inch (1.25cm) thick. It is vital that they are thick enough to support the toppings without bending.
Arrange the slices on your parchment-lined tray. Lightly brush the tops with a tiny amount of lemon juice to preserve that bright pale yellow color. This is the “Experience” cue: if the banana looks grey, the final snack will lose its fresh appeal.
Step 2: The Peanut Butter Ooze
Using a small spoon or a piping bag, place a generous dollop (about 1 tsp) of creamy peanut butter onto the center of each banana slice. Don’t worry if it stays in a mound; the next step will settle it.
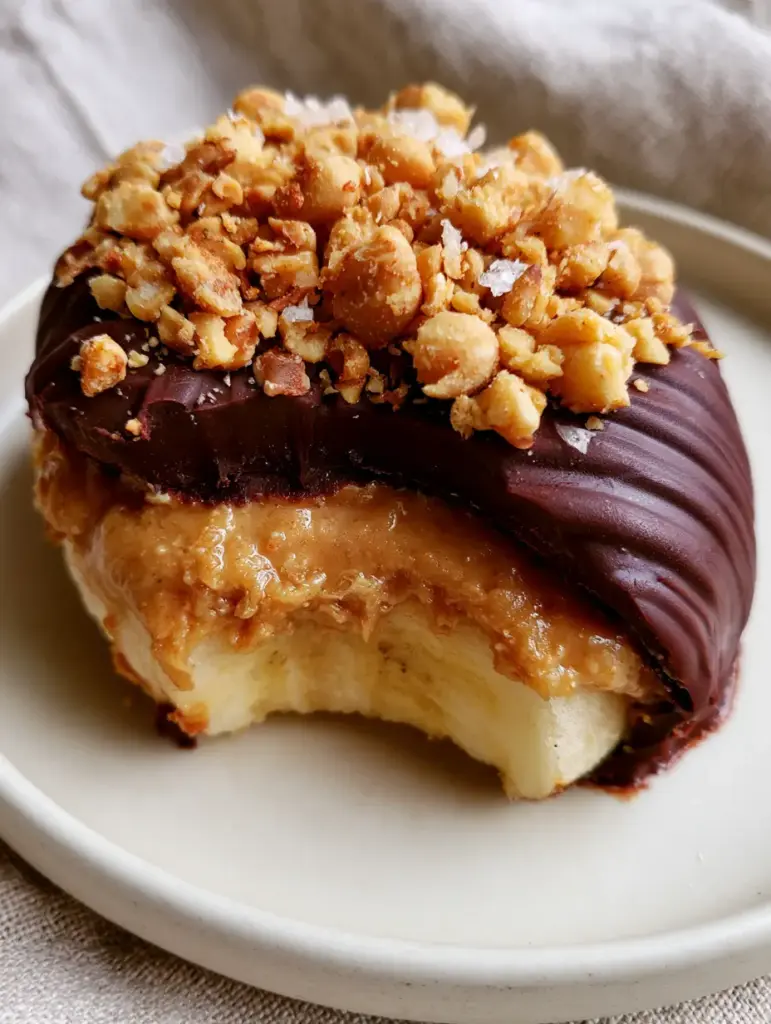
Place the tray in the freezer for at least 30-45 minutes. You want the peanut butter to be firm enough to handle, but still slightly soft so it can “ooze” slightly when dipped later. This creates the light-brown layer seen in the cross-section.
Step 3: Crafting the Matte Chocolate Shell
In your bowl, combine the dark chocolate chips and the coconut oil. Microwave in 30-second intervals, stirring in between, until the mixture is silky and smooth. The coconut oil is the secret to the “matte” finish and the “rippled” appearance.
Let the chocolate cool for 5 minutes. If it’s too hot, it will melt your peanut butter layer completely, ruining the distinct layers we want to see in the final “bitten” result.
Step 4: The Dipping and Garnishing Ritual
Remove the bananas from the freezer. Take one slice and dip it halfway into the chocolate at an angle. This creates the elegant half-covered look that showcases the banana, the peanut butter, and the chocolate all at once.
Immediately, while the chocolate is still wet, press a cluster of crushed roasted peanuts into the top. Sprinkle a few flakes of crystalline sea salt over the chocolate ripples. The salt should look like tiny jewels against the dark background.
Step 5: The Final Deep Freeze
Return the tray to the freezer for a final 60 minutes. This sets the chocolate shell into its matte state and ensures the banana has that distinct frozen, ice-cream-like texture when you take your first bite.
Expert Tips for a Flawless Result
- Avoid Over-Ripeness: If your bananas are too brown (like the ones you’d use for soft banana bread cookies), they will be too soft to dip and will turn into a mushy mess.
- The “Ripple” Technique: To get the ripples mentioned in the visual prompt, gently shake your hand as you pull the banana out of the melted chocolate.
- Peanut Consistency: Ensure you use roasted salted peanuts. The roasting process provides that golden-brown color that contrasts beautifully with the dark chocolate.
- Temperature Control: If the chocolate starts to thicken too much, reheat it for 10 seconds. You need it fluid to get that thin, elegant coating.
Storage and Preservation Science
These frozen banana snickers are best kept in an airtight container in the freezer. They will maintain their peak flavor and texture for up to 2 weeks.
When you are ready to eat, let them sit at room temperature for about 2-3 minutes. This allows the peanut butter to soften just enough to achieve that “oozing” quality while the banana remains firmly frozen and refreshing.
Do not store these in the refrigerator, as the banana will become slimy and the chocolate will lose its matte snap. Treat them like individual ice cream bites.
What to Serve With Your Snickers Bites
While these are a standalone star, they fit perfectly into a larger dessert spread. You might pair them with a warm plate of decadent banana brownies for a study in temperature contrasts.
If you are hosting a brunch, serve these alongside a selection from our comprehensive pancake guide to provide a cold, refreshing finish to a hearty meal. They also make a great “side” for kids who are enjoying traditional celebration cakes.
Frequently Asked Questions
Yes! They are rich in potassium from the bananas, healthy fats from the peanut butter and peanuts, and antioxidants from the dark chocolate. They contain no refined sugars, making them a great alternative to processed candy bars.
Yes, you can use crunchy peanut butter, but you will lose the signature ‘ooze’ visual. Creamy peanut butter provides that smooth, light-brown layer that drips down the side, which is a hallmark of this specific Snickers-inspired look.
The key is to use ripe but firm bananas and lightly brush the slices with lemon juice before freezing. This acidity prevents oxidation, keeping the banana foundation a beautiful pale yellow color.
This usually happens if the banana or peanut butter is too wet. Make sure the peanut butter is pre-frozen until firm before dipping, and ensure the banana slices were patted dry if they had excess moisture before the lemon juice application.
A matte finish is usually achieved by using high-quality dark chocolate with at least 70% cocoa and adding a small amount of coconut oil. Ensure the bites are fully frozen, as the temperature difference helps the chocolate set quickly with that desired finish.
The Ultimate Frozen Banana Snickers Recipe
Frozen Banana Snickers: The Ultimate Healthy Bite-Sized Snack
Ingredients
Equipment
Method
- Slice bananas into 1/2 inch rounds. Brush with lemon juice and place on a parchment-lined tray.
- Add 1 tsp of peanut butter to each slice. Freeze for 45 minutes until the peanut butter is semi-firm.
- Melt dark chocolate and coconut oil together until smooth and rippled. Let cool slightly.
- Dip frozen slices halfway into chocolate. Immediately top with crushed peanuts and sea salt.
- Freeze for 1 hour until the dark chocolate shell achieves a matte finish and bananas are solid.
Notes
Add 1 tsp of coconut oil to your chocolate to ensure it doesn't crack too much when you bite it.
Bringing the Snickers Experience Home
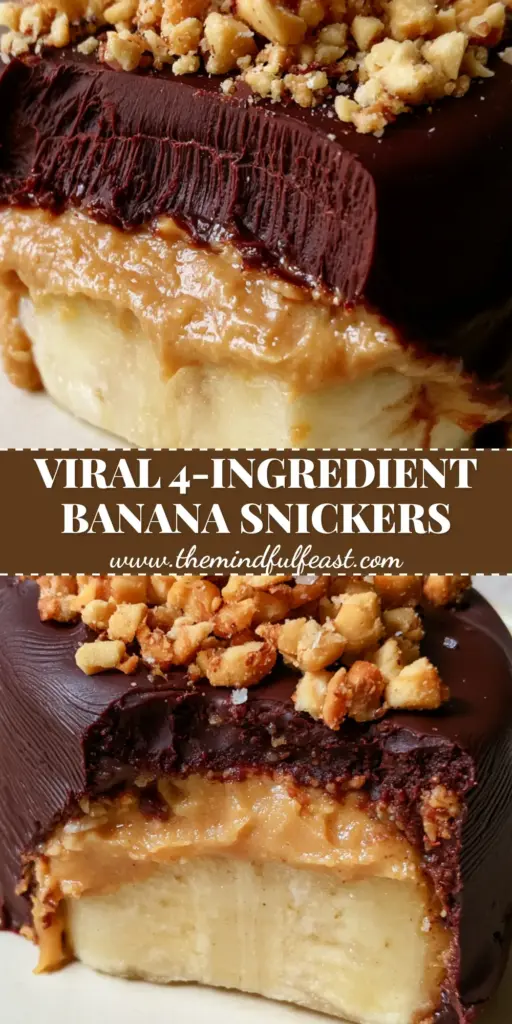
The frozen banana snickers represent the perfect intersection of health-conscious eating and pure indulgence. By focusing on the visual cues—the pale yellow banana, the light-brown ooze of the peanut butter, and the matte dark chocolate shell—you create a snack that is as satisfying to look at as it is to eat.
We invite you to try this recipe and share your results! Did you get those perfect chocolate ripples? Did your peanut butter ooze just right? Leave a comment below and let us know your thoughts. If you loved this visual guide, please share it to Pinterest so others can discover the joy of the perfect frozen bite!


