There is something inherently joyful about the first bite of a perfectly crafted watermelon mochi. This isn’t just a dessert; it is a sensory experience that combines the whimsical aesthetics of a summer fruit with the sophisticated, “QQ” elasticity of traditional Japanese wagashi.
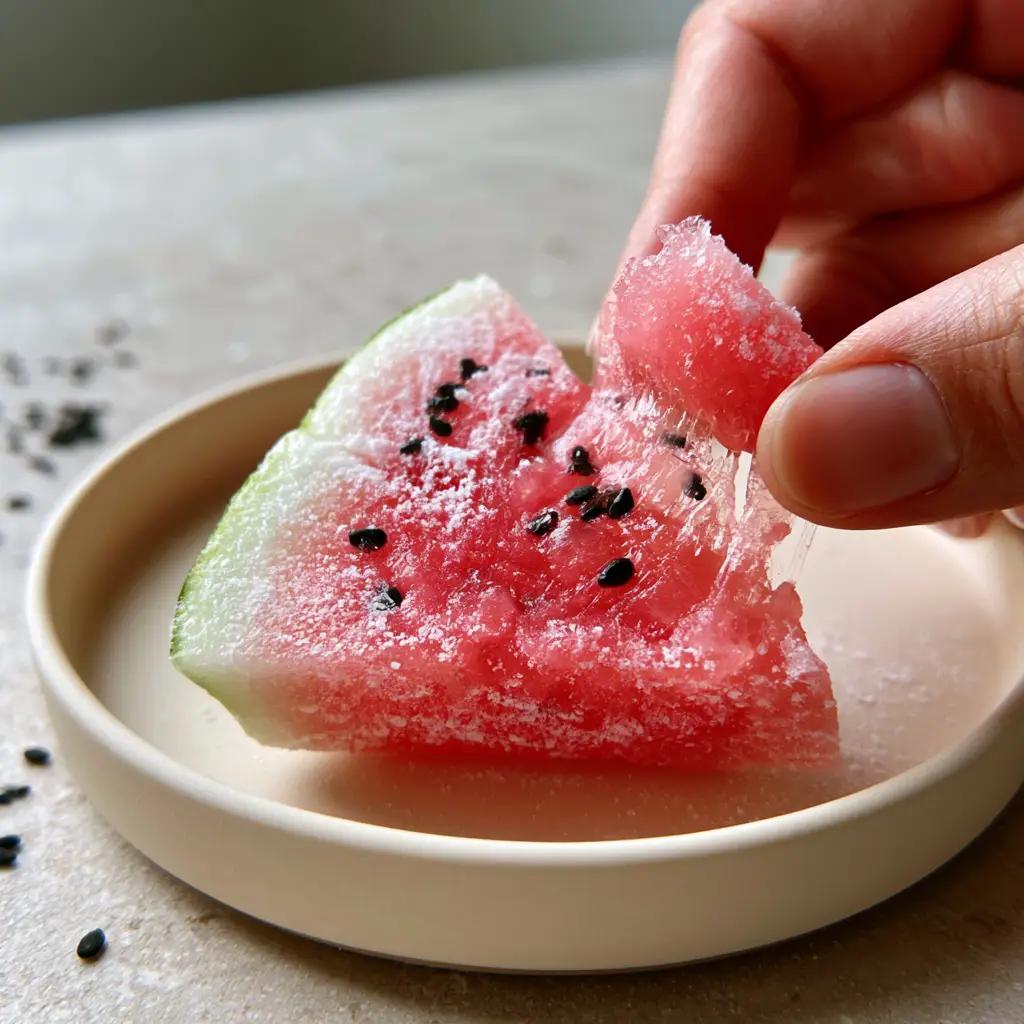
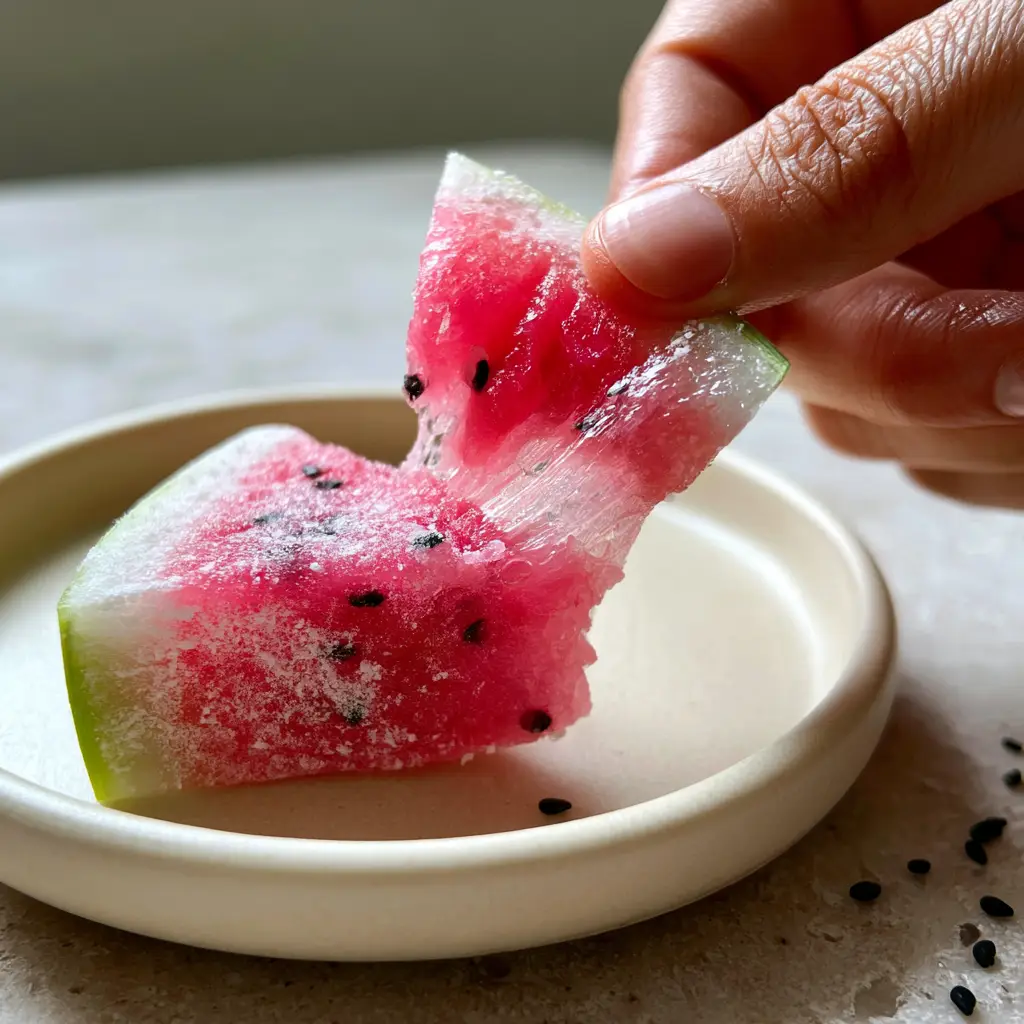
When you pull a piece of this vibrant pink dough apart, you should see a translucent, elastic center that stretches effortlessly before giving way. This specific texture, often referred to as “QQ” in Taiwanese and Southeast Asian culinary circles, is the hallmark of a masterfully hydrated glutinous rice dough.
In this guide, we are going to reconstruct the watermelon mochi from the ground up, focusing on the forensic details: the matte matcha-green rind, the embedded toasted black sesame seeds that mimic pips, and that signature fine white starch dusting that prevents sticking while adding a professional finish.
Why This Watermelon Mochi Recipe Redefines Summer Desserts
- The Perfect “QQ” Pull: Achieve a translucent, elastic center that offers a satisfyingly chewy resistance without being tough or sticky.
- Natural Visual Fidelity: We use a combination of matcha and vibrant pink hues to create a mini watermelon slice that looks as good as it tastes.
- Textural Contrast: The soft, matte potato starch dusting provides a velvet-like mouthfeel that contrasts beautifully with the moist, stretchy interior.
- Authentic Flavor Profile: Unlike store-bought versions, our mochi utilizes real watermelon notes and toasted sesame for a nutty, earthy depth.
The Anatomy of an Elite Watermelon Mochi: Essential Ingredients
To achieve the visual recipe blueprint of a thin matcha-green rind and a stretchy pink center, we must select our ingredients with scientific precision. Each component serves a structural and aesthetic purpose.
Glutinous Rice Flour (Mochiko or Shiratamako): 1.5 cups (240g). This is the backbone of our mochi; it provides the essential amylopectin starch required for that signature “QQ” stretch and translucent finish.
Granulated Sugar: 0.5 cups (100g). Sugar is a humectant here, keeping the mochi soft and preventing the rice starches from retrograding (hardening) too quickly.
Watermelon Juice (Strained): 0.75 cups (180ml). Using fresh juice provides a natural pink hue and a subtle, refreshing sweetness that complements the rice dough.
Matcha Powder (Ceremonial Grade): 1 tsp (2g). A small amount of high-quality matcha provides the earthy, pale green color for our “rind” without overpowering the palate.
Toasted Black Sesame Seeds: 1 tbsp (9g). These are meticulously folded into the pink dough to replicate the iconic look of watermelon seeds while providing a toasted flavor pop.
Potato Starch (Katakuriko): 0.5 cups (65g). Essential for dusting; potato starch is finer than cornstarch and creates that soft, matte, professional finish described in our visual blueprint.
Neutral Oil (Grape seed or Avocado): 1 tsp (5ml). A tiny amount of oil ensures the dough remains elastic and prevents it from becoming overly brittle as it cools.
Precision Tools for Mochi Success
To replicate the macro-level detail seen in high-resolution food photography, you need the right tools to handle the sticky, elastic nature of glutinous rice.
A high-quality silicone spatula is non-negotiable for folding the dough as it thickens. You will also need a fine-mesh sieve for straining your watermelon juice and sifting the potato starch to avoid clumps. For the steaming method, a bamboo steamer or a heat-proof glass bowl for the microwave is required to gelatinize the starches evenly.
The Science of the Steam: Crafting the Pink Elastic Center
The secret to a translucent center lies in the gelatinization of the rice starch. We want to apply even heat until the opaque white slurry transforms into a vibrant, semi-clear dough.
Mixing the Vibrantly Pink Base
In a medium heat-proof bowl, whisk together 1.25 cups (200g) of the glutinous rice flour and the sugar. Slowly pour in the strained watermelon juice while whisking constantly to ensure no lumps remain. The mixture should look like thick cream and have a uniform pink color.
The Gelatinization Phase
Cover the bowl with plastic wrap (leaving a small vent) or place it in a steamer. If microwaving, heat in 45-second intervals, stirring vigorously with a wet silicone spatula between each burst. You are looking for a visual cue: the dough will transition from a liquid pink to a thick, translucent, and extremely sticky mass.
Incorporating the ‘Seeds’
Once the dough is hot and elastic, fold in the toasted black sesame seeds. Work quickly while the dough is warm; this ensures the seeds are “embedded” rather than just sitting on the surface, matching our forensic visual blueprint.
Developing the Matcha-Green Mochi Rind
The “rind” of our watermelon mochi must be thin and delicate, providing a color contrast without being thick enough to distract from the chewy center. This requires a separate, smaller batch of dough.
Creating the Pale Green Dough
Mix the remaining 0.25 cups (40g) of glutinous rice flour with 2 tbsp (30ml) of water and the matcha powder. Steam or microwave this mixture until it becomes a stretchy, pale green elastic dough. This will serve as the protective outer layer of our “mini watermelon.”
The Lamination Process
Dust your clean stone countertop generously with potato starch. Roll the pink dough into a thick cylinder. Roll the green dough into a very thin, flat sheet. Wrap the green sheet around the pink cylinder, sealing the edges with a slight pinch. The moisture of the dough will act as a natural adhesive.
Achieving the Signature Matte Dusting and Shape
Now that the structural elements are combined, we must focus on the final presentation to match the minimalist, matte aesthetic of our visual prompt.
Using a bench scraper or a sharp knife dusted with starch, slice the cylinder into rounds. To create the “watermelon slice” look, cut each round in half. Immediately toss the pieces gently in a bowl of fine white potato starch. The goal is a soft, matte finish that highlights the chewy texture underneath.
Shake off any excess starch. You want just enough to ensure the hand can gently pull it apart without sticking, revealing the translucent, elastic interior. If you’ve enjoyed mastering this technique, you might also want to explore our mango mochi guide or our strawberry daifuku tutorial for more fruit-inspired textures.
Expert Tips for the Ultimate “QQ” Texture
- Temperature Control: Never try to shape mochi while it is cold. The dough is at its most elastic and “stretchy” when it is warm to the touch.
- The Water Ratio: If your watermelon juice is particularly thick, add a teaspoon of water. A dough that is too dry will result in a grainy texture rather than a translucent one.
- Starch Management: Use a soft pastry brush to remove excess potato starch before serving. This ensures the vibrant colors of the pink and green dough pop against the minimalist plate.
- Hydration Check: If the dough feels “snappy” rather than “stretchy,” it likely needs a few more drops of liquid and another 15 seconds of heat.
Preserving the Elasticity: Storage and Freshness
Watermelon mochi is best enjoyed within 24 hours of creation to experience the peak of its elastic texture. Since rice starch undergoes retrogradation, the mochi will eventually firm up and lose its translucency.
Store leftovers in an airtight container at room temperature. Do not refrigerate, as the cold will turn the “QQ” texture into a hard, chalky mass. If you must store them for longer, wrap them individually in plastic wrap and freeze. Thaw at room temperature for 30 minutes to restore the stretch.
Perfect Pairings: What to Serve with Watermelon Mochi
Since this dessert is light and refreshing, it pairs beautifully with other summer-inspired dishes. For a full seasonal spread, consider starting with a crisp chilled cucumber salad or a light zucchini-based side dish.
The earthy notes of the matcha rind also complement savory, grilled flavors. Imagine serving these after a meal of fresh chicken enchiladas or a vibrant Mediterranean Greek salad. The contrast between the savory meal and the sweet, elastic mochi is a masterclass in palate balancing.
Frequently Asked Questions
While cornstarch works, potato starch (Katakuriko) is preferred for mochi because it is finer and has a more neutral flavor, resulting in a superior matte finish and silkier mouthfeel.
Keep your hands and work surface well-dusted with potato starch. You can also use a small amount of neutral oil or keep your hands slightly damp while shaping the warm dough.
Yes! This recipe uses glutinous rice flour (which is gluten-free despite the name) and plant-based ingredients like watermelon juice and matcha, making it naturally vegan.
‘QQ’ is a term used to describe a texture that is particularly bouncy, rubbery, and elastic. In mochi, it refers to the perfect balance of chewiness and resistance achieved through proper starch gelatinization.
Opacity in the dough usually means the glutinous rice flour hasn’t been cooked enough. Continue steaming or microwaving in short intervals until the white, milky appearance turns clear and jelly-like.
The Master Watermelon Mochi Recipe
Watermelon Mochi: How to Master the Stretchy, QQ Texture of This Vibrant Summer Treat
Ingredients
Equipment
Method
- Whisk glutinous rice flour and sugar with strained watermelon juice until a smooth pink slurry forms.
- Steam or microwave in 45-second intervals until the dough becomes translucent, thick, and very elastic.
- While dough is warm, fold in black sesame seeds until evenly distributed to look like watermelon pips.
- Mix a small portion of rice flour with water and matcha; cook until elastic to create the pale green rind.
- Wrap the thin green dough around the pink cylinder. Slice into rounds and then halves to form watermelon slices.
- Toss gently in potato starch for a soft matte finish; shake off excess starch before serving on a ceramic dish.
Notes
Ensure the watermelon juice is strained of all pulp for the smoothest texture.
Closing & Call to Action
Creating watermelon mochi is an art form that rewards patience and attention to detail. From the translucent elastic center to the tiny sesame seeds mimicking fruit pips, every element of this recipe is designed to delight both the eyes and the palate. The “QQ” texture is a testament to the magic of glutinous rice flour when handled with care.
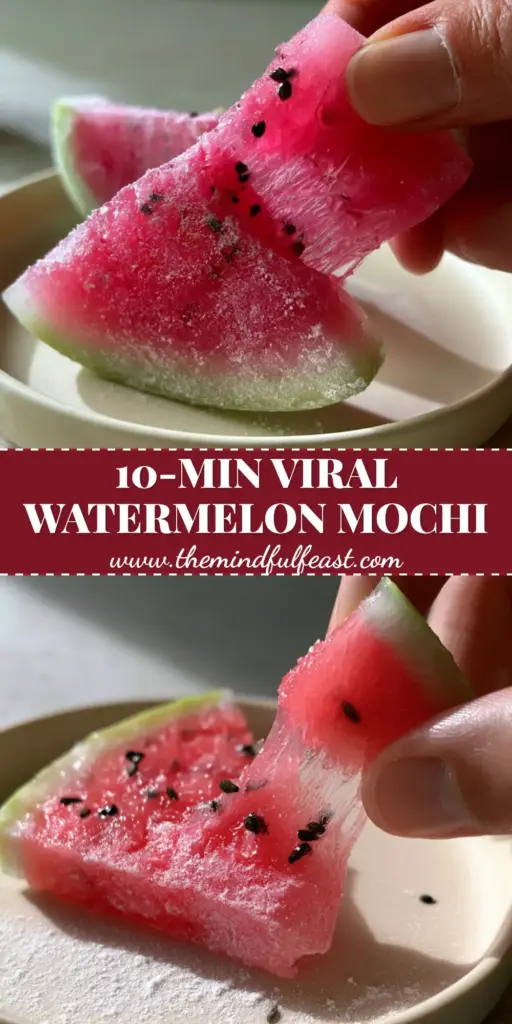
Did your mochi achieve that perfect, hand-pulled stretch? We would love to see your results! Leave a comment below, sign up for our newsletter for more culinary forensics, and don’t forget to share your creations and pin this recipe to Pinterest to inspire other home cooks.


