There is a specific, undeniable magic in a perfect sweet and sour chicken recipe that most takeout spots simply can’t replicate. We are talking about that high-contrast experience: chicken so craggy and crisp it crackles under your teeth, swathed in a thick, translucent glaze that glows like molten amber.
If you have ever been disappointed by soggy breading or a sauce that is too watery, this guide is your culinary redemption. We are going to build layers of texture, from the charred edges of the red bell peppers to the soft, individual grains of steaming jasmine rice.
This isn’t just a meal; it is a visual masterpiece of vibrant red-orange hues and bright green scallions. Let’s dive into the science of the perfect “craggy” coating and the high-heat sear that makes this dish legendary.
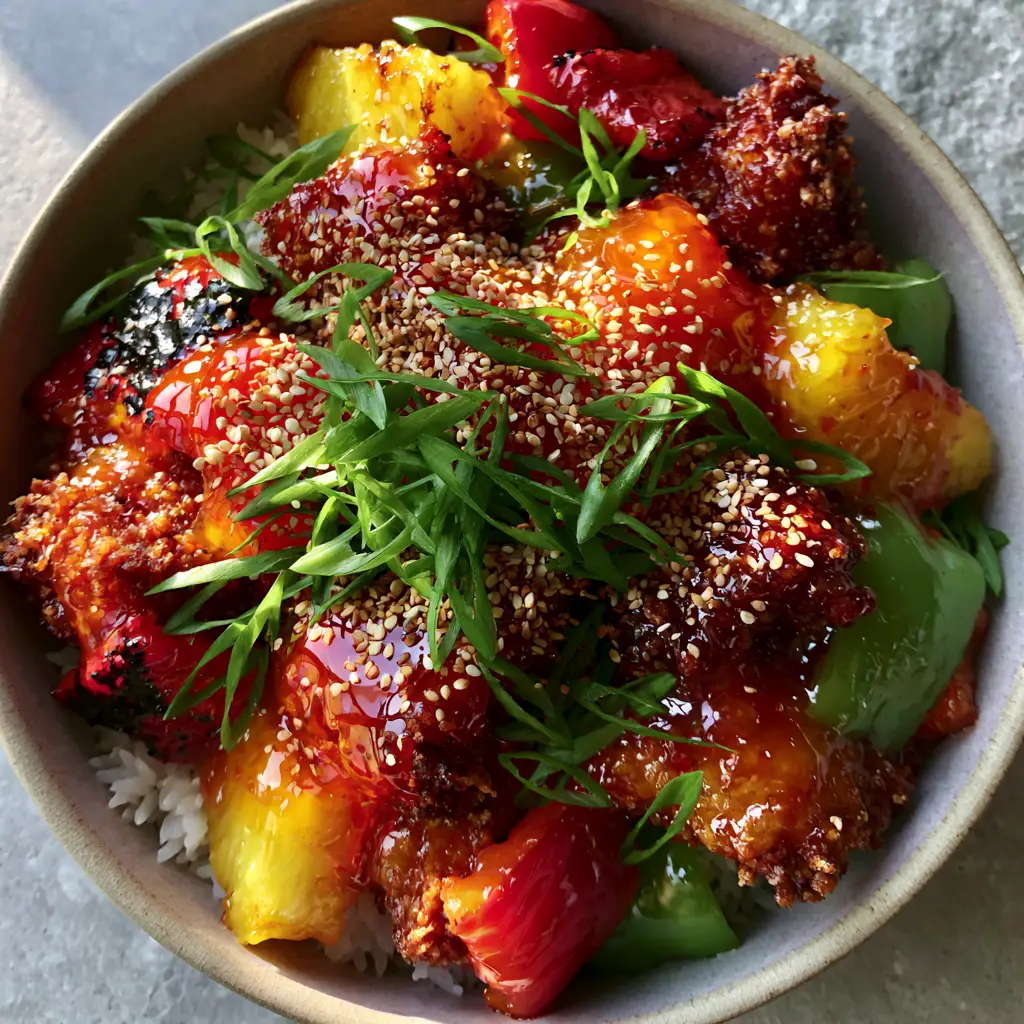
Why This Is the Ultimate Crispy Chicken Experience
- The Craggy Texture: We use a specific double-dredge technique to create those golden-brown nooks and crannies that hold onto the sauce.
- Vibrant Visual Contrast: The combination of charred red bell peppers and softened green peppers creates a professional, restaurant-quality aesthetic.
- Balanced Glaze: A glossy, reflective sauce that strikes the perfect equilibrium between tangy rice vinegar and caramelized sugar.
- Aromatic Foundation: We serve this over fluffy jasmine rice to soak up every drop of that signature red-orange nectar.
The Essential Components for a Glossy, Golden Glaze
To achieve the visual and textural standards of this sweet and sour chicken recipe, every ingredient serves a forensic purpose. We don’t just want flavor; we want structural integrity.
Chicken Thighs or Breast: 1.5 lbs (680g) of boneless, skinless chicken cut into 1-inch (2.5cm) cubes. Thighs stay juicier, but breast meat provides a cleaner, firmer bite for that “craggy” look.
Cornstarch (Cornflour): 1 cup (125g) divided for the dredge and the sauce slurry. This is the secret to a crisp coating that doesn’t turn mushy immediately upon hitting the sauce.
All-Purpose Flour: 1/2 cup (65g) mixed with the starch to provide a sturdy, golden-brown structure to the breading.
Egg Whites: 2 large egg whites, beaten until frothy. These act as the “glue” that binds the craggy flour bits to the chicken surface.
The Sauce Base: 1/2 cup (120ml) rice vinegar, 1/2 cup (100g) granulated sugar, and 1/3 cup (80ml) high-quality ketchup. The ketchup provides that essential vibrant red-orange color and a touch of tomato umami.
Pineapple Chunks: 1 cup (165g) of fresh or canned pineapple. These must be seared until the natural sugars brown, creating caramelized yellow wedges that pop against the sauce.
Bell Peppers: 1 large red and 1 large green pepper. We want the red chunks charred for depth and the green slices softened for a mellow, earthy sweetness.
Aromatic Finish: 2 tbsp (30ml) neutral oil for searing, 1 tsp (5g) toasted white sesame seeds, and 3 thinly sliced green scallions for that final shower of brightness.
Tools for Professional Results
Achieving the perfect sear requires the right conductivity. A heavy-bottomed wok or a large cast-iron skillet is non-negotiable for getting those charred edges on your peppers.
You will also need a wire cooling rack. Placing the fried chicken on a rack instead of paper towels prevents steam from building up underneath, keeping the “craggy” texture intact while you finish the sauce.
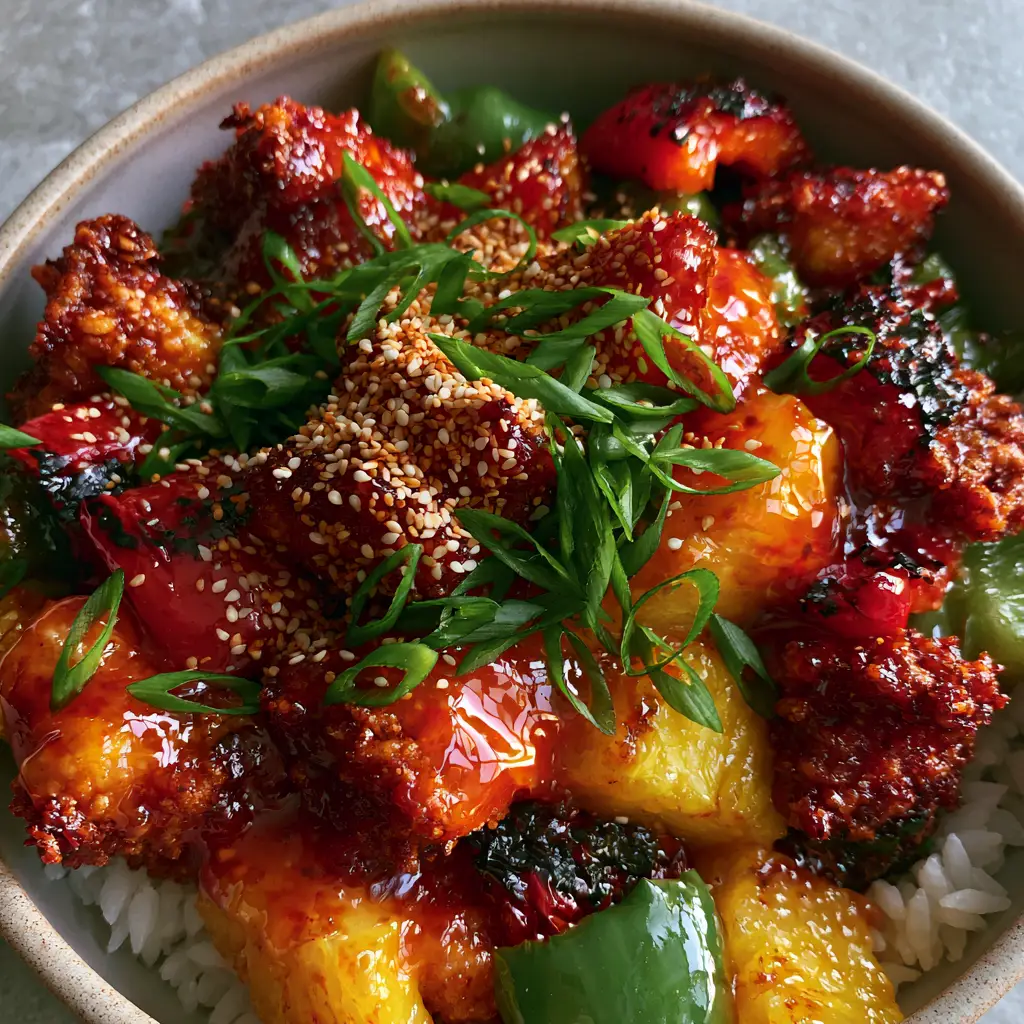
Mastering the Golden Craggy Crunch: Step-by-Step
Creating the High-Textured Chicken Base
In a large bowl, whisk your egg whites until they are bubbly and light. Toss the chicken pieces in the egg whites until fully submerged, then move them into a gallon-sized bag containing the flour and cornstarch mixture.
Shake the bag vigorously; the goal is for the flour to clump slightly against the wet chicken, creating those irregular “craggy” bits. Similar to making a crispy coconut chicken, the texture is all in the unevenness of the coating.
The Art of the Double Fry
Heat your oil to 350°F (175°C). Fry the chicken in batches for 3-4 minutes until they reach a pale golden hue. Let them rest for two minutes, then flash-fry them again at 375°F (190°C) for 60 seconds.
This second fry drives out any remaining moisture in the crust, resulting in a deep golden-brown breaded texture that stays crunchy even when smothered in sauce. If you enjoy the technique of Japanese-style skewers, you’ll appreciate the precision required here.
Charring the Aromatics and Pineapple
In a separate hot pan, add a splash of oil and toss in your red bell pepper chunks and pineapple wedges. Leave them undisturbed for 90 seconds to develop those beautiful charred, black-speckled edges and caramelized surfaces.
Add the green bell pepper slices last, sautéing just until they are tender-crisp. This preserves their vibrant green color, which is a key visual marker in our Hawaiian-style chicken dishes.
Achieving the Reflective, Translucent Glaze
Whisk the vinegar, sugar, ketchup, and a small cornstarch slurry in a saucepan over medium heat. Bring it to a simmer, stirring constantly, until the sauce transforms from cloudy to a thick, translucent, vibrant red-orange.
The sauce is ready when it coats the back of a spoon and has a glossy, reflective quality. Toss the crispy chicken and charred vegetables into the glaze, coating every crag and crevice.
Expert Tips for Success
- Dry the Pineapple: If using canned pineapple, pat it bone-dry with paper towels before searing. Excess moisture prevents the caramelization we are looking for.
- Don’t Overcrowd the Pan: Frying too many chicken pieces at once drops the oil temperature, leading to greasy, soggy breading rather than a “craggy” crunch.
- The Slurry Secret: Always mix your cornstarch with a little cold water before adding it to the warm sauce to avoid unsightly white lumps.
- Visual Cues: Look for the “steam” rising from your jasmine rice; individual grains should be distinct and fluffy, never mushy.
Storage, Reheating, and Freezing
This sweet and sour chicken recipe is best served immediately to enjoy the contrast of the hot glaze and crunchy chicken. However, you can store leftovers in an airtight container for up to 3 days.
To reheat, avoid the microwave as it will make the breading soft. Instead, use an air fryer at 350°F (175°C) for 5 minutes or a toaster oven to revive that signature “craggy” exterior.
Perfect Pairings for a Balanced Meal
While the jasmine rice is the classic base, you can elevate this meal by pairing it with other vibrant sides. Try starting the meal with a light side of sautéed asparagus for an extra hit of green.
If you love the interplay of fruit and protein, our shrimp and avocado bowls offer a similar tropical flair. For a fusion feast, serve this chicken alongside a portion of Thai basil chicken for a spicy contrast.
Frequently Asked Questions
While ketchup provides the classic red-orange color and acidity, you can substitute it with tomato paste mixed with a little extra vinegar and sugar, though the color will be deeper and less vibrant.
The secret is a double-fry technique and a cornstarch-heavy dredge. The second fry at a higher temperature removes excess moisture, creating a ‘craggy’ barrier that resists soaking up the sauce too quickly.
Jasmine rice is preferred for its floral aroma and slightly sticky but distinct grains, which provide a beautiful textural contrast to the thick, glossy sauce of the sweet and sour chicken.
The glossiness comes from the cornstarch slurry reaching its gelatinization point. As the sauce simmers and thickens, it becomes translucent and reflective, which is the hallmark of a high-quality sweet and sour glaze.
Mushy peppers usually result from overcrowding the pan or using a low heat. To get charred edges, ensure the pan is smoking hot and sear the red peppers in a single layer without moving them for at least a minute.
The Ultimate Sweet and Sour Chicken Recipe Card
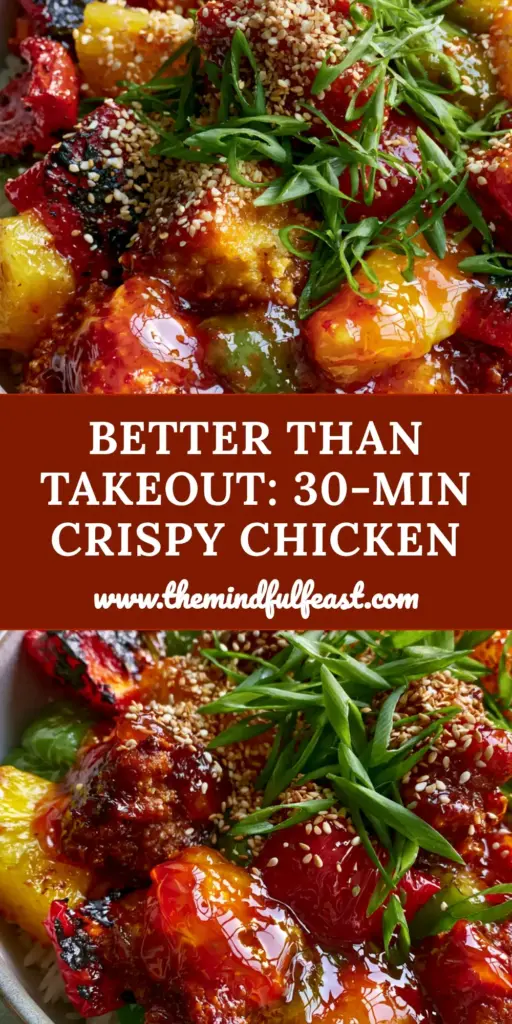
Sweet and Sour Chicken Recipe: The Secret to a Glossy, Craggy Crunch
Ingredients
Equipment
Method
- Dip chicken in frothy egg whites, then shake in a bag with flour and cornstarch to create craggy bits.
- Fry chicken at 350°F (175°C) for 4 minutes, rest, then flash-fry at 375°F (190°C) for 60 seconds until deep golden-brown.
- In a hot skillet, char the red peppers and pineapple until caramelized. Add green peppers until softened.
- Simmer sauce ingredients until thick and translucent. Toss chicken and veg to coat. Serve over jasmine rice with sesame seeds and scallions.
Notes
Use fresh pineapple for superior caramelization compared to canned.
Bring the Takeout Home Today!
This sweet and sour chicken recipe proves that you don’t need a professional kitchen to achieve that perfect, glossy finish and craggy crunch. By focusing on the high-heat char of the peppers and the double-fry technique for the chicken, you create a dish that is as beautiful as it is delicious.
If you enjoyed this recipe, please leave a comment below and let us know how your caramelization turned out! Don’t forget to sign up for our newsletter for more culinary deep-dives and share your creations with us on Pinterest.


